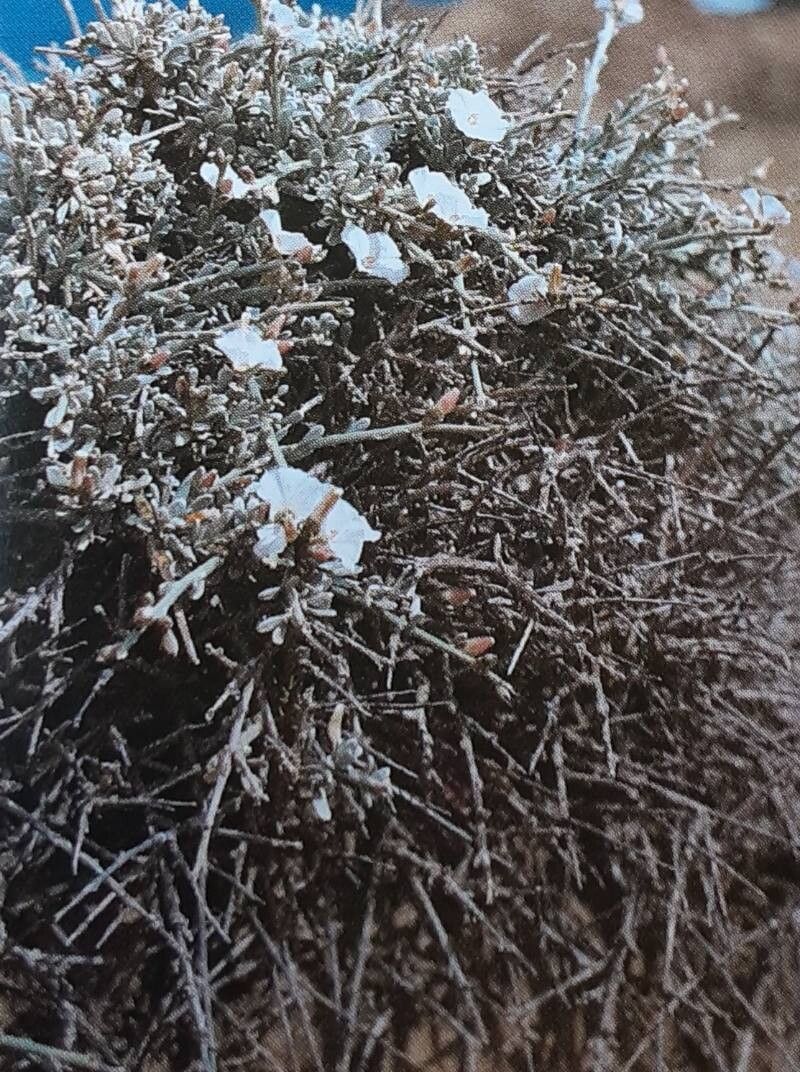
Hello there, fellow garden enthusiasts! Today, we’re diving into the wonderful world of a charming plant that often brings a touch of magic to our landscapes: Convolvulus caput-medusae. If you haven’t met this beauty before, imagine delicate, silvery-green foliage and cheerful, star-shaped white flowers that seem to twinkle amongst the leaves. It’s a truly captivating little shrub, and the joy of coaxing new life from an existing plant is one of gardening’s greatest rewards. Now, if you’re wondering if this is a good plant for beginners to try propagating, I’d say it’s moderately easy. With a little attention and the right approach, you’ll be well on your way to multiplying your Convolvulus caput-medusae!
The Best Time to Start
For the most success with propagating Convolvulus caput-medusae, I find the late spring to early summer is your sweet spot. This is when the plant is actively growing, putting out new shoots that have enough energy to root. Trying to take cuttings too early, when growth is still a bit tentative, or too late in the season when things are winding down, can make things tougher. You want vibrant, healthy stems!
Supplies You’ll Need
Gathering your supplies beforehand makes the whole process much smoother. Here’s what I always have on hand:
- Sharp Pruning Shears or a Craft Knife: Clean cuts are essential for healthy rooting.
- Rooting Hormone (Optional, but Recommended): This can significantly boost your success rate. Look for a powdered or gel form.
- Well-Draining Potting Mix: I prefer a blend of equal parts perlite and peat moss or coco coir. You can also use a commercial seed-starting mix.
- Small Pots or Seedling Trays: Make sure they have drainage holes.
- Watering Can with a Fine Rose: Gentle watering is key.
- Clear Plastic Bags or a Propagator Lid: This creates a humid environment for your cuttings.
- Soft Pencil or Plant Labels: For keeping track of your little ones.
Propagation Methods
While you might find other methods out there, I’ve had the best luck with stem cuttings for Convolvulus caput-medusae. It’s straightforward and yields great results.
Stem Cuttings:
- Select Your Stems: Head out to your established plant and look for healthy, non-flowering tip cuttings. You want stems that are about 4-6 inches long. They should be firm but not woody. It’s best to take a few more than you think you’ll need, as not every one is guaranteed to root.
- Make the Cut: Using your sharp pruning shears or craft knife, make a clean cut just below a leaf node (where a leaf attaches to the stem). This is where the plant has the best chance of developing roots.
- Prepare the Cuttings: Gently remove the lower leaves from the stem, leaving just the top couple of leaves to conserve energy. If you’re using them, dip the cut end into rooting hormone, tapping off any excess.
- Plant Them Up: Fill your small pots or trays with the well-draining potting mix. Make a small hole in the center of the soil with a pencil or your finger.
- Insert the Cuttings: Place the prepared cuttings into the holes, about 1-2 inches deep, and gently firm the soil around them.
- Water Gently: Water the soil lightly so it’s moist but not waterlogged.
- Create Humidity: Cover the pots with a clear plastic bag or propagator lid, making sure the leaves don’t touch the plastic if possible. This traps moisture and mimics the humid conditions cuttings need. Place the pots in a bright spot away from direct, harsh sunlight.
The “Secret Sauce” (Pro Tips)
Over the years, I’ve learned a thing or two that can make a real difference.
- Avoid Flooding the Base: Even though we’re creating humidity, overwatering the soil at the base of the cutting is a fast track to rot. The goal is consistently moist, not soggy. I sometimes even lightly mist the leaves once a day or two if the humidity feels like it’s escaping.
- Think Warmth, Not Heat: While not strictly necessary for Convolvulus caput-medusae, placing your propagation pots on a gentle heat mat can really speed up root development. The warmth encourages the plant to send out those vital roots, making them establish faster. Just ensure it’s a low, consistent warmth, not scorching hot.
Aftercare & Troubleshooting
Once roots have started to form – you’ll usually see new growth at the tip in a few weeks – it’s time for careful nurturing. Gradually acclimate your new plants to normal conditions by opening the plastic bag or propagator lid a little more each day. Once they seem sturdy and well-rooted (you can give them a gentle tug; if there’s resistance, they’ve rooted!), you can transplant them into slightly larger pots.
The most common issue you might encounter is rot. If your cuttings look limp, mushy, or have black spots, it’s usually a sign of too much moisture or poor air circulation. Unfortunately, once rot sets in, it’s hard to save the cutting. In this case, it’s best to discard it and try again, making sure to use sterile soil and avoid overwatering. Another sign of trouble is if the cuttings simply shrivel up without any signs of rooting or rot; this might mean they were too dry or the ambient humidity wasn’t high enough.
A Little Patience Goes a Long Way
Creating new plants is a journey, and Convolvulus caput-medusae are no different. Be patient with your cuttings. Some might surprise you by rooting quickly, while others take their sweet time. Enjoy the process of watching them develop, and don’t be afraid to experiment a little. Happy propagating, and may your gardens bloom twice as beautifully!
Resource:
https://identify.plantnet.org/k-world-flora/species/Convolvulus%20caput-medusae%20Lowe/data