Hey there, fellow plant lovers! Today, we’re diving into the wonderful world of Conchocarpus guyanensis, often known for its gorgeous, velvety foliage and a really satisfying, almost tropical vibe. If you’re looking to expand your collection or share some green goodness with friends, propagating this beauty is incredibly rewarding. And the good news? While it might sound intimidating, it’s actually quite manageable, even for those just starting their plant journey!
The Best Time to Start
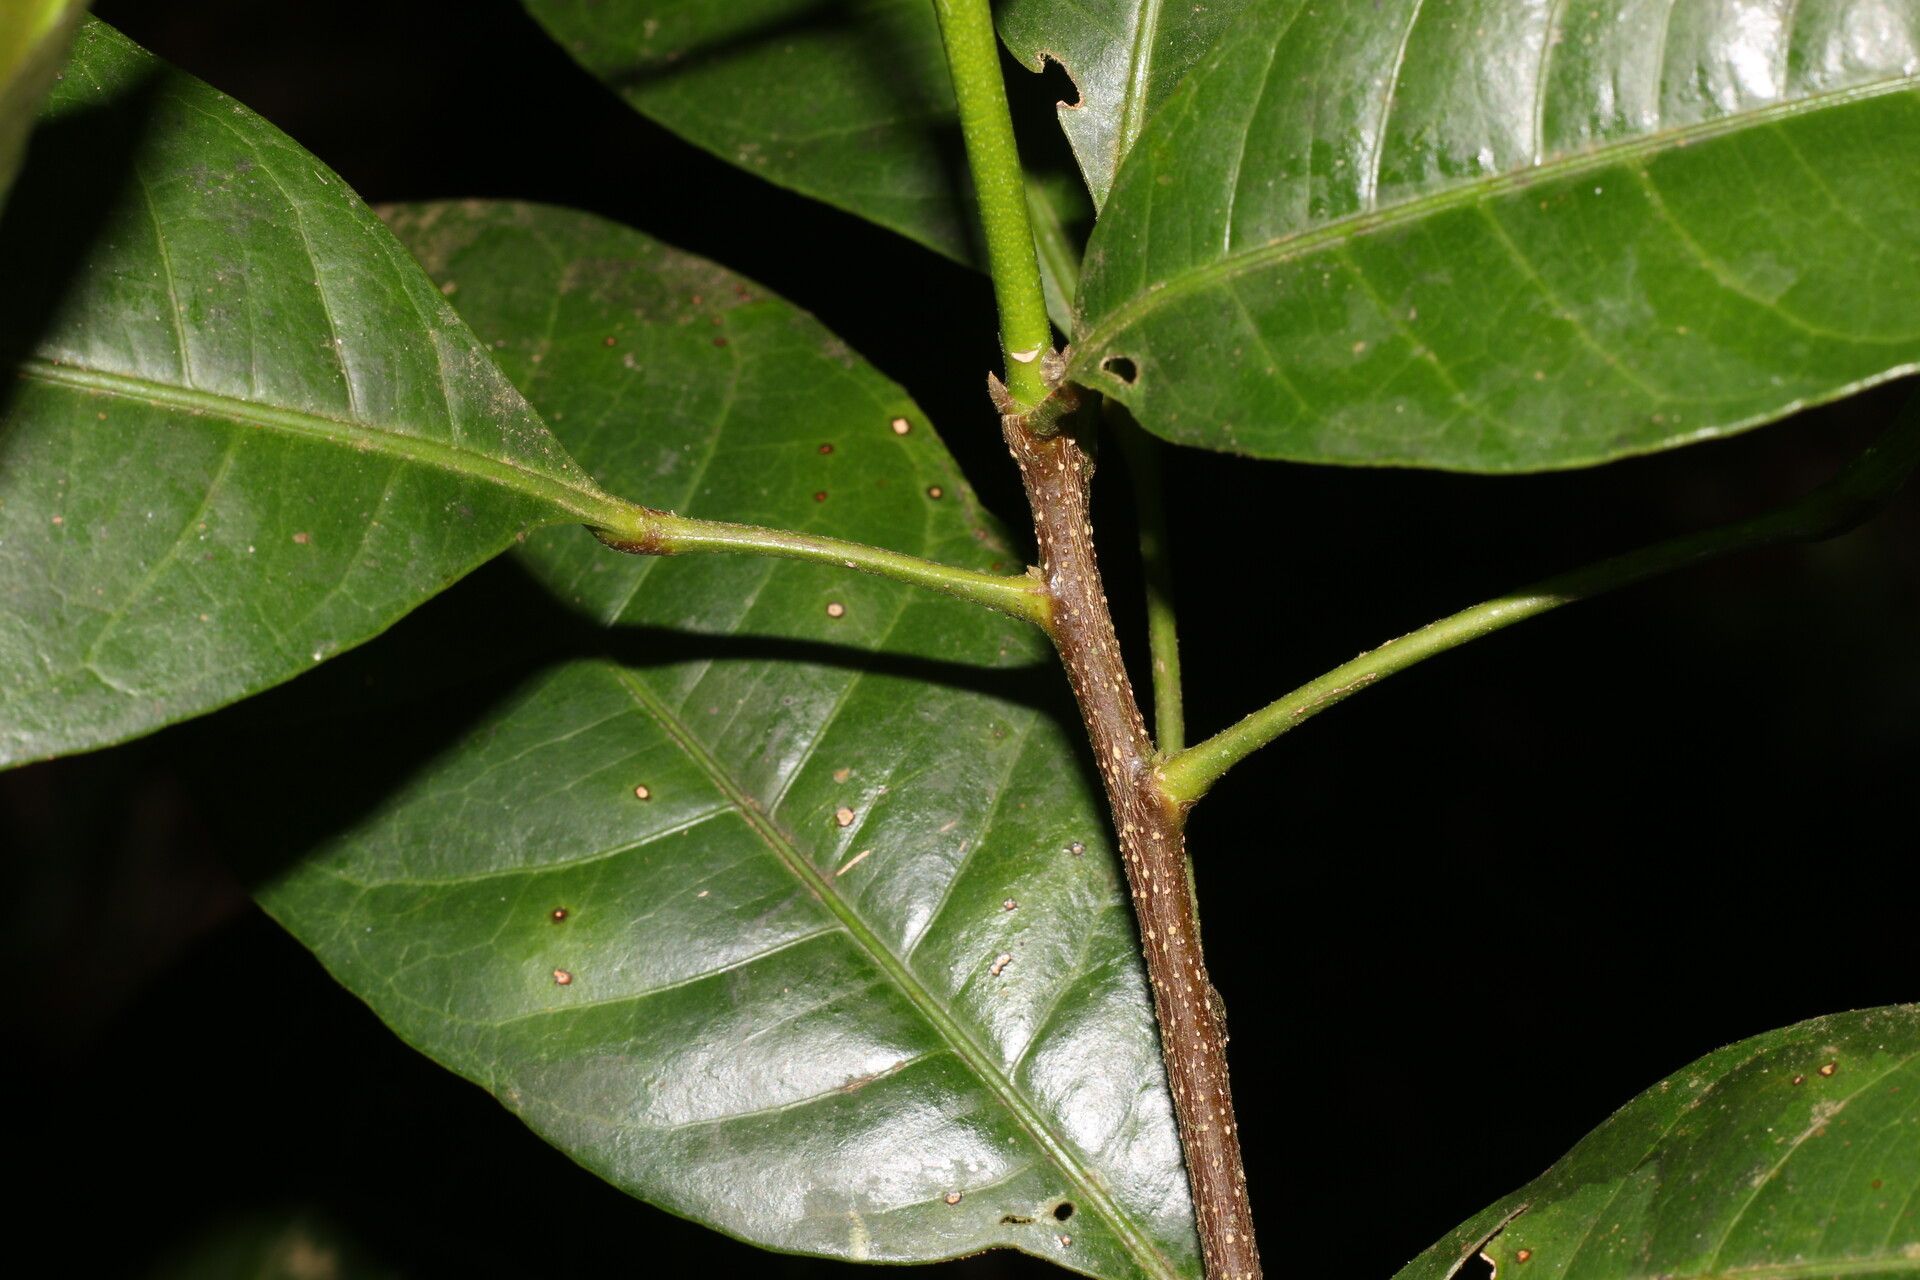
For the highest success rates, I always find that spring and early summer are your best bets. This is when the plant is actively growing and has the most energy to put into developing new roots. Look for actively growing shoots, not the old, woody stems.
Supplies You’ll Need
Here’s a little rundown of what you’ll want to have on hand:
- Sharp, clean pruning shears or a knife: Think of your scissors for plant surgery!
- Rooting hormone (optional, but helpful): Don’t be scared of it; it just gives your cuttings a little nudge. I like to use a gel or powder.
- Well-draining potting mix: A good quality houseplant mix is usually fine, but adding a bit of perlite or orchid bark can make it even better.
- Small pots or propagation trays: Terracotta pots are great because they allow the soil to breathe.
- Plastic bags or a humidity dome: This helps create that cozy, humid environment our new cuttings crave.
- Water: For keeping things moist and for water propagation, if you choose that route.
Propagation Methods
Let’s get our hands dirty with a couple of tried-and-true methods.
1. Stem Cuttings (My Personal Favorite!)
This is generally the most reliable way to go for Conchocarpus guyanensis.
- Take Your Cutting: Find a healthy, non-flowering stem that’s about 4-6 inches long. Make a clean cut just below a leaf node. A leaf node is that little bump where a leaf attaches to the stem. This is where the magic happens and roots will emerge.
- Remove Lower Leaves: Gently remove the lower leaves from the cutting, leaving just a few at the top. This prevents them from rotting in the soil.
- Apply Rooting Hormone (If Using): Dip the bottom inch of your cutting into the rooting hormone, tapping off any excess.
- Plant Your Cutting: Fill your small pot with the well-draining mix. Make a small hole with your finger or a pencil, and gently insert the cutting. Firm the soil around it so it stands upright.
- Create a Humid Environment: Water the soil lightly, then cover the pot with a plastic bag or a clear plastic dome. Make sure the leaves aren’t touching the plastic! Poke a few small holes in the bag for ventilation.
- Find a Spot: Place your pot in a bright location, but out of direct sunlight. Too much sun will scorch your delicate cuttings.
- Be Patient: Keep the soil consistently moist but not soggy. You should start to see signs of new growth or feel some gentle resistance when you tug on the cutting (don’t tug hard, though!) within 4-8 weeks.
2. Water Propagation
This is a super neat way to watch the roots develop!
- Prepare Your Cutting: Follow the same steps as above for taking and preparing your stem cutting, but you don’t need to remove the lower leaves if they won’t be submerged.
- Submerge the Node: Place the cutting in a clean jar or glass of water, ensuring that at least one leaf node is submerged.
- Change the Water: Change the water every few days to keep it fresh and prevent bacteria build-up.
- Location is Key: Just like with soil propagation, place the jar in bright, indirect light.
- Watch Them Grow! You’ll start to see little white roots emerge from the leaf node. Once the roots are an inch or two long, you can plant your cutting in soil using the method described above.
The “Secret Sauce” (Pro Tips)
Here are a couple of little tricks I’ve picked up over the years that can really boost your success:
- Bottom Heat is Your Friend: If you can, place your pots on a gentle heating mat. This mimics the warm soil conditions from spring and really encourages root development. It doesn’t need to be hot, just consistently warm.
- Don’t Over-Water: This is probably the most common mistake I see. It’s tempting to keep things really wet, but soggy soil is a recipe for rot. Aim for consistently moist, not waterlogged.
Aftercare & Troubleshooting
Once you see those roots have established themselves (either from your soil cutting or when you transplant your water-propagated cutting), it’s time for a little extra TLC.
- Gradual Acclimation: If your cutting was in a covered environment, gradually start to increase ventilation over a week or two before removing the cover entirely. This helps your new baby adjust to normal humidity levels.
- Watering: Continue to water when the top inch of soil feels dry.
- Fertilizing: Wait a few weeks after you see active new growth before you introduce a very diluted liquid fertilizer.
- Signs of Trouble: The biggest red flag is wilting that doesn’t improve with watering, or black, mushy stems. This is usually a sign of rot from overwatering or poor drainage. If you see this, try to salvage any healthy parts of the cutting and start fresh with drier soil. Yellowing leaves can sometimes indicate insufficient light, but if the stem is firm and the plant is otherwise looks okay, give it time.
A Encouraging Closing
Propagating plants is such a rewarding journey, and Conchocarpus guyanensis is a wonderful plant to practice with. Don’t be discouraged if your first attempt isn’t perfect. Gardening is all about learning and observing. Be patient, trust the process, and enjoy the magic of watching new life spring forth from your efforts! Happy propagating!
Resource: