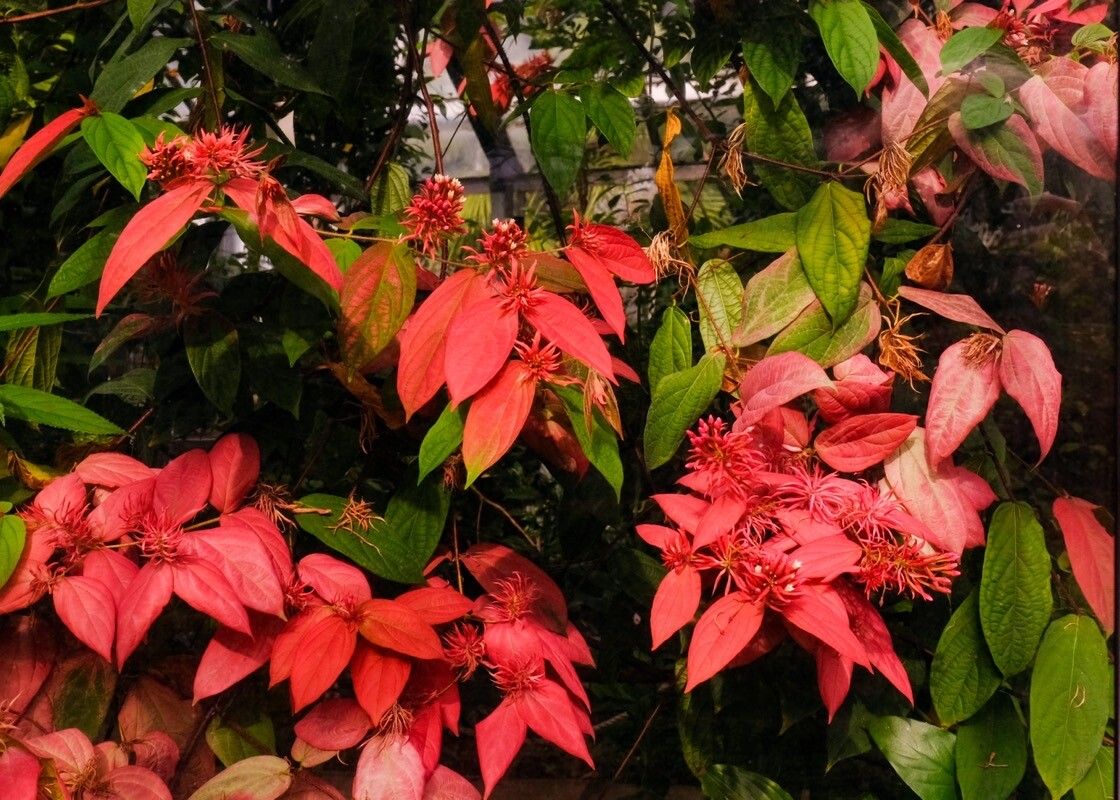
Oh, Combretum mussaendiflorum! If you’ve ever seen this beauty cascading with its fiery blossoms, you know why it’s such a garden treasure. It’s that burst of sunshine, that vibrant splash of color that just makes your heart sing. And the best part? You can bring that magic into your own space by propagating it! It’s a wonderfully rewarding experience, like nurturing a tiny spark into a full-blown flame. Now, if you’re a beginner, I wouldn’t say this is the absolute easiest plant to start with, but with a little care and attention, you’ll be seeing success in no time. Think of it as a gentle challenge, a chance to really hone your skills.
The Best Time to Start
For Combretum mussaendiflorum, the sweet spot for propagation is definitely late spring or early summer. This is when the plant is actively growing, pushing out new shoots. These so-called “softwood” or “semi-hardwood” cuttings have the best chance of rooting. You want to catch them when they’re pliable but not too tender.
Supplies You’ll Need
Gathering your supplies before you begin will make the whole process so much smoother. Here’s what I keep on hand:
- Sharp Pruning Shears or a Craft Knife: Clean cuts are essential to prevent disease.
- Rooting Hormone: Not strictly required for all plants, but it gives cuttings a significant boost. I prefer a powder form for stem cuttings.
- Well-Draining Potting Mix: A mix of perlite, peat moss, and a little bit of compost works wonders. You can also buy specialized seedling or succulent mixes.
- Small Pots or Seedling Trays: About 4-6 inches deep is ideal for cuttings. Make sure they have drainage holes!
- Plastic Bags or a Propagator Lid: To create a humid environment around your cuttings.
- Watering Can with a Fine Rose or Spray Bottle: For gentle watering.
- Labels and a Marker: For keeping track of what you’ve planted.
Propagation Methods
We’ll focus on the most reliable method for Combretum mussaendiflorum: stem cuttings.
-
Taking Your Cuttings: Find a healthy, actively growing stem on your mature plant. Look for a section that’s slightly firm but not woody. Using your sharp shears or knife, take a cutting that is roughly 4-6 inches long. Make the cut just below a leaf node (where a leaf attaches to the stem). Remove the lower leaves, leaving just a few at the top.
-
Preparing the Cuttings: Dip the cut end of the stem into your rooting hormone. Gently tap off any excess.
-
Planting the Cuttings: Fill your pots with your prepared potting mix. Make a small hole in the center of the soil with your finger or a pencil. Insert the prepared cutting into the hole, ensuring the leaf nodes are buried. Gently firm the soil around the stem.
-
Creating Humidity: Water the soil lightly. Then, cover the pot with a plastic bag or propagator lid. This creates a mini-greenhouse effect, keeping the humidity high, which is crucial for cuttings that can’t yet absorb water through roots.
-
Placement: Place your pots in a bright location, but avoid direct, intense sunlight. A warm spot is best, as warmth encourages root development.
The “Secret Sauce” (Pro Tips)
Here are a few tricks I’ve learned over the years that really seem to make a difference:
- Don’t Let Leaves Touch the Water (if water propagating): If you ever decide to try water propagation (though I find stem cuttings more reliable for this plant), it’s vital that the leaves of your cutting don’t sit submerged in the water. They’ll rot quickly. Only the stem end should be in contact with the water.
- Bottom Heat is Your Friend: For those really stubborn cuttings, a seedling heat mat placed underneath your pots can significantly speed up root formation. It mimics the warmth of the soil you’d find in spring.
- Strike More Than You Need: It’s a bit of a numbers game with propagation. Not every cutting will make it. So, take a few extra than you think you’ll need. You’ll be so pleased when a few more than expected take root!
Aftercare & Troubleshooting
Once you see new leaves emerging, congratulations – your cutting has likely rooted! Gradually remove the plastic bag or propagator lid over a few days to acclimate the new plant to normal humidity. Continue to water gently, keeping the soil consistently moist but not soggy.
The most common issue you’ll encounter is rot. If a cutting turns mushy and black, it’s usually a sign of too much moisture and not enough air circulation, or it might have had a disease. Sadly, if this happens, it’s best to discard it and start again. Another sign of failure? If the stem just shrivels and turns brown without any root development. This could be due to lack of humidity, too much sun, or simply a cutting that wasn’t quite ready.
A Encouraging Closing
Be patient with your Combretum mussaendiflorum cuttings. Nature has its own rhythm. Enjoy the process, observe the tiny changes, and celebrate every little sign of progress. Soon enough, you’ll have your own vibrant little blooms adorning your garden. Happy propagating!
Resource: