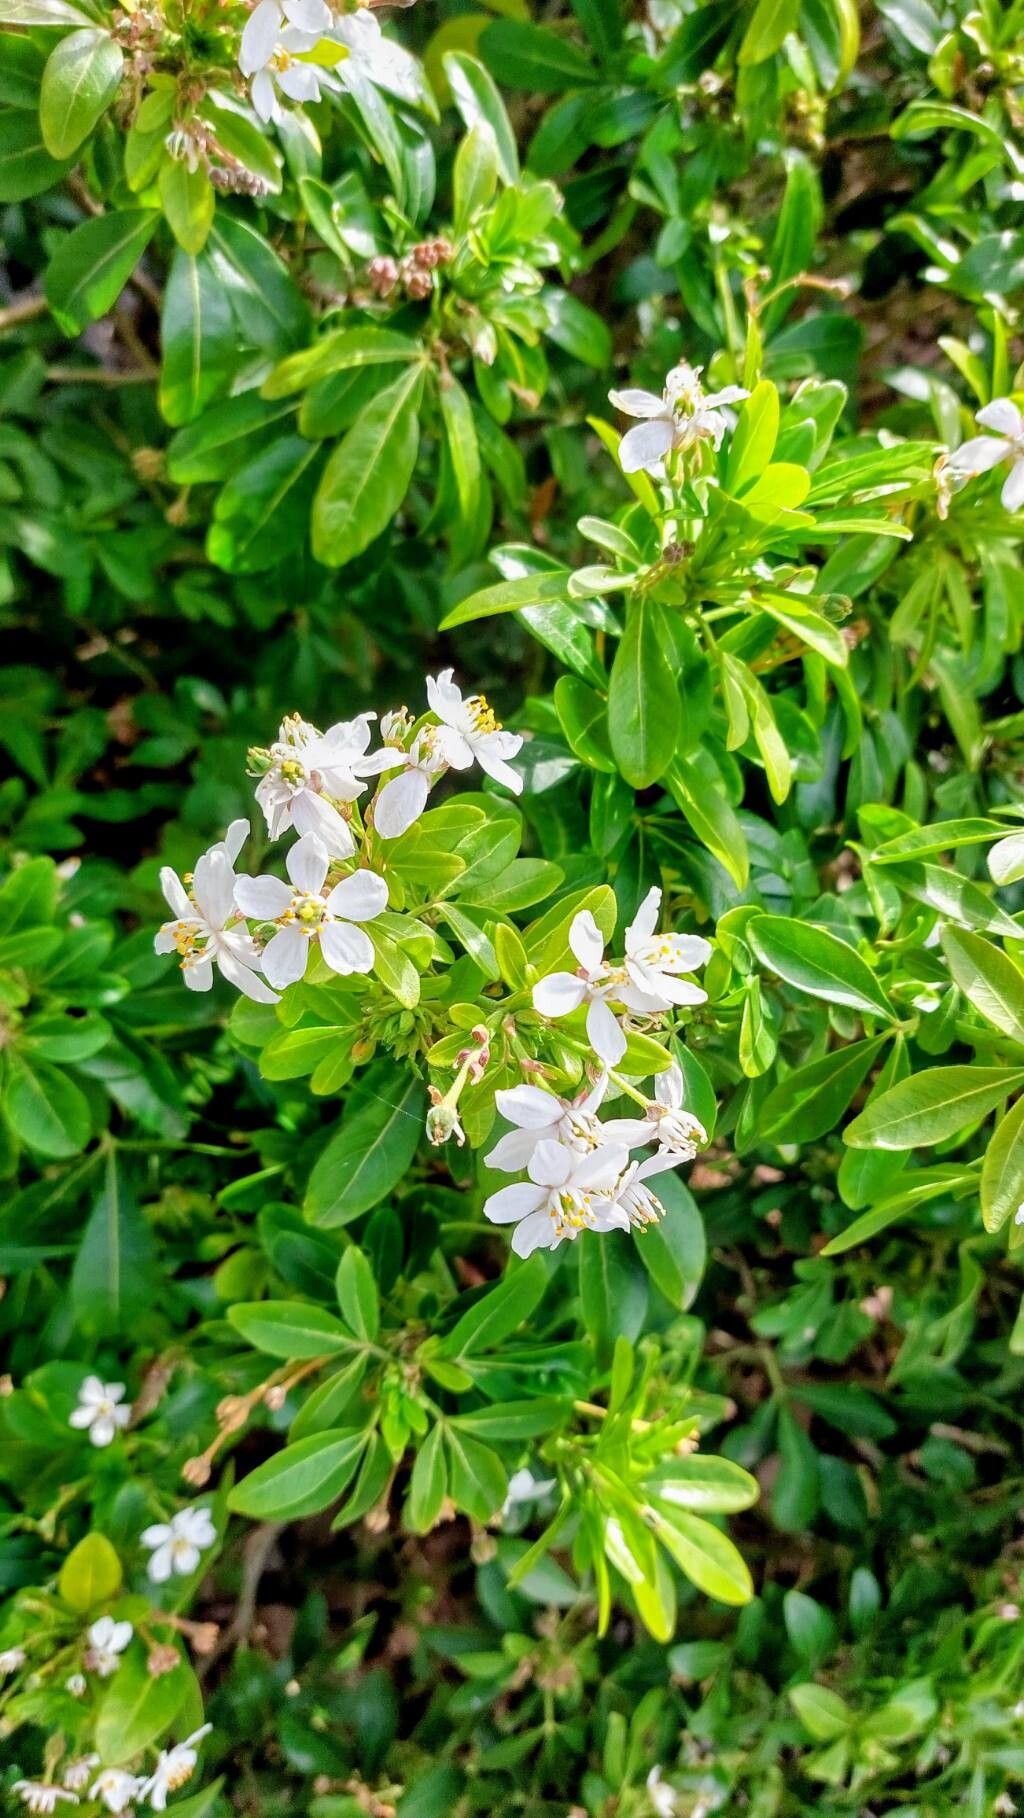
Hello there, fellow plant enthusiasts! Today, we’re diving into one of my absolute favorite shrubs for cheerful, reliable color: Choisya ternata, commonly known as Mexican Orange Blossom. If you’ve ever admired its glossy, deep green leaves and those delightfully fragrant, white, citrus-scented flowers that appear in spring and often again in fall, you’re not alone. It’s a fantastic plant for adding structure and scent to any garden.
The truly wonderful thing about Choisya ternata is how rewarding it is to propagate. It’s a process that gives you a real sense of accomplishment, and honestly, it’s not a fussy task at all. For beginners looking to dip their toes into the world of plant propagation, this shrub is an absolute dream. You’ll have plenty of success with minimal fuss.
The Best Time to Start
When it comes to the ideal window for taking cuttings, I’ve found that late spring to early summer is your best bet. This is when the plant is actively growing, and you’ll be able to find plenty of healthy, semi-hardwood stems. These are stems that have started to mature a bit but are still flexible enough to root easily. Don’t be afraid to take a few more cuttings than you think you’ll need; it’s always better to have extras!
Supplies You’ll Need
Gathering your tools before you begin makes the whole process much smoother. Here’s what you’ll want to have on hand:
- Sharp Pruning Shears or a Craft Knife: For clean cuts that heal well.
- Rooting Hormone: A powder or gel will help encourage root development.
- Small Pots or Seedling Trays: With drainage holes, of course!
- Well-Draining Potting Mix: A good blend is essential. I often use a mix of equal parts peat moss (or coir) and perlite, or a commercially available seed-starting mix.
- Plastic Bags or a Propagator: To create a humid environment.
- Small Labels and a Marker: To keep track of your cuttings.
- Watering Can or Mister: For gentle watering.
Propagation Methods: Taking Stem Cuttings
This is my go-to method for Choisya ternata, and it consistently yields great results.
- Select Your Stems: Look for healthy, non-flowering shoots that are about 4-6 inches long. You want stems that are a mix of soft new growth and slightly firmer, woody growth from last year – this is your semi-hardwood.
- Make the Cut: Using your sharp pruning shears or a craft knife, make a clean cut just below a leaf node (the point where a leaf attaches to the stem). This is where roots are most likely to form.
- Prepare the Cuttings: Gently remove the lower leaves from your cutting, leaving only the top two sets of leaves. If the remaining leaves are very large, you can cut them in half horizontally. This reduces water loss through transpiration while still allowing for photosynthesis.
- Apply Rooting Hormone: Dip the cut end of the stem into your rooting hormone, tapping off any excess.
- Potting Up: Fill your small pots or trays with your chosen potting mix. Make a small hole in the center of each pot with a pencil or your finger.
- Insert the Cuttings: Gently insert the treated end of each cutting into the hole, ensuring the bottom leaf nodes are buried beneath the soil surface. Firm the soil gently around the stem to make sure it’s in good contact.
- Water Gently: Water the soil thoroughly but gently. You want it moist but not waterlogged.
The “Secret Sauce” (Pro Tips)
Now, for a couple of little tricks I’ve picked up over the years that can really boost your success rate:
- Bottom Heat is Your Friend: If you’re propagating indoors, placing your pots on a heated propagator mat can make a world of difference. It encourages root development from below, mimicking the warmth of spring soil. It’s not strictly necessary for Choisya, but it’s a definite advantage.
- Mist Regularly, But Don’t Drown: Create a mini-greenhouse effect by covering your pots with a clear plastic bag or placing them in a propagator. Crucially, make sure the leaves of the cuttings don’t touch the sides of the bag or the propagator lid, as this can lead to fungal issues. I like to give the foliage a light misting a couple of times a day, just to keep things humid without water sitting on the leaves for too long.
Aftercare & Troubleshooting
Once your cuttings are potted, find them a bright spot with indirect light. Avoid direct scorching sun, which can fry delicate new growth. Keep the potting mix consistently moist but not soggy.
You’ll know your cuttings have rooted when you see new leaf growth emerging. This usually takes anywhere from 4 to 8 weeks, sometimes a bit longer. You can also give a very gentle tug – if there’s resistance, you’ve got roots!
The most common pitfall is rot. If you see your cuttings turning black and mushy at the base, it’s usually a sign of too much moisture and not enough air circulation. Don’t be discouraged if some don’t make it; it’s part of the learning process! Just remove them and try again.
A Little Encouraging Closing
Watching a tiny cutting transform into a new plant is one of gardening’s greatest joys. Be patient with your Choisya ternata cuttings. Some will root faster than others, and that’s perfectly okay. Enjoy the process, celebrate each success, and before you know it, you’ll have a whole collection of these lovely shrubs to plant in your garden or share with friends. Happy propagating!
Resource:
https://identify.plantnet.org/k-world-flora/species/Choisya%20ternata%20Kunth/data