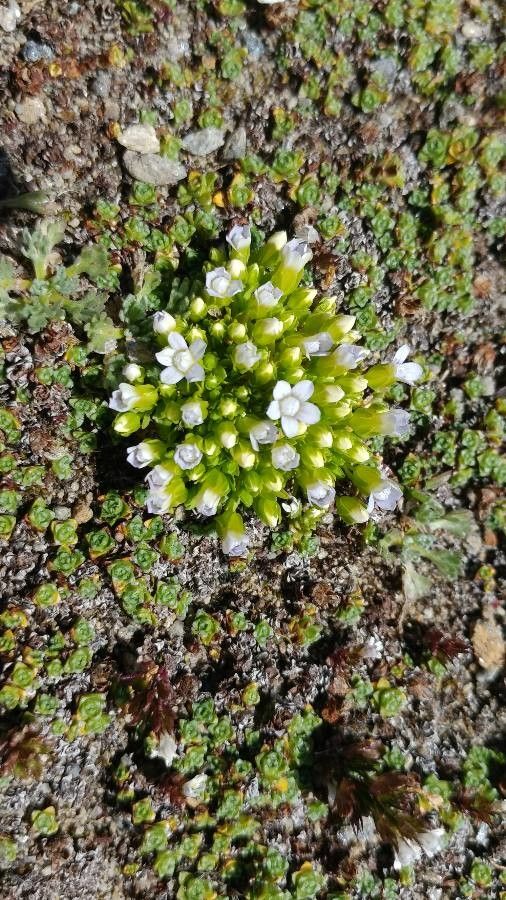
Hello, fellow plant lovers! I’m so excited to talk to you today about one of my favorite little gems: Comastoma nanum. If you’re looking for a splash of delicate, star-shaped blooms that are just a joy to behold, this is your plant. They remind me of tiny little sapphires sprinkled across your garden beds. Propagating them is a truly rewarding endeavor, allowing you to fill your space with even more of these cheerful flowers.
Now, I won’t sugarcoat it – Comastoma nanum can be a bit of a tinkerer for absolute beginners. They’re not as forgiving as, say, a pothos, but with a little patience and attention to detail, you can absolutely master it. Think of it as learning a new dance – a few missteps at first, and then you’re gracefully twirling!
The Best Time to Start
For the highest success rate with Comastoma nanum, I’ve found that early to mid-spring is your sweet spot. This is when the plants are actively growing and have the most energy to dedicate to putting out roots. You’ll want to take cuttings from healthy, vigorous stems that haven’t yet flowered. If your spring is particularly short or cool, don’t be afraid to push this into late spring, but aim for that period of strong new growth.
Supplies You’ll Need
Here’s what I reach for when I’m ready to multiply my Comastoma nanum collection:
- Sharp, clean pruning shears or a sharp knife: Crucial for making a clean cut, which reduces stress on the plant and minimizes disease risk.
- Potting mix: A well-draining seed-starting mix or a blend of peat moss and perlite is perfect. We want to avoid anything that holds too much moisture.
- Small pots or trays: Clean containers with drainage holes are essential.
- Rooting hormone (optional but recommended): This can significantly speed up root formation. I prefer the powder form, but gel works too.
- Watering can with a fine rose or a spray bottle: For gentle watering.
- Plastic bags or a clear propagation dome: To create a humid environment for your cuttings.
- Bottom heat source (optional but fantastic): A seedling heat mat can make a big difference, especially in cooler conditions.
Propagation Methods
Comastoma nanum is best propagated from stem cuttings. It’s straightforward, and I’ve had great luck doing it this way.
- Select and Gather Cuttings: During that prime spring growth period, find a healthy, non-flowering stem. Using your clean shears, make a cut just below a leaf node (where a leaf attaches to the stem). You’re looking for cuttings that are 3-4 inches long.
- Prepare the Cuttings: Gently remove the lower leaves from the cutting, leaving just the top couple of sets. This prevents them from rotting in the soil or water (if you go that route).
- Apply Rooting Hormone (if using): Dip the cut end of the stem into your rooting hormone, tapping off any excess. This is like giving your little cutting a helping hand.
- Plant Your Cuttings: Fill your small pots with your dampened potting mix. Make a small hole with your finger or a pencil. Gently insert the cut end of the Comastoma nanum cutting into the hole, ensuring the node(s) are buried. Firm the soil gently around the stem.
- Create a Humid Environment: Water your cuttings lightly. Then, cover the pot with a clear plastic bag or place it under a propagation dome. This traps humidity, which is vital for cuttings before they develop roots. If using a bag, you can prop it up with a few twigs so it doesn’t touch the leaves.
- Placement: Place your pots in a bright, indirect light location. Avoid direct sun, which can scorch the delicate cuttings. If you have a heat mat, this is where you’d employ it – about 70-75°F (21-24°C) is ideal.
The “Secret Sauce” (Pro Tips)
Here are a couple of things I’ve learned that really give your Comastoma nanum cuttings an edge:
- Don’t be afraid to be ruthless with lower leaves. Seriously. Any leaf that’s going to be buried in the soil is a potential rot hazard. Take them off completely.
- Bottom heat is a game-changer. I’ve noticed propagation is so much faster and more successful when the roots have a warm base to grow from, even if the air temperature is a bit cooler. It mimics natural conditions.
- A light misting can help. While you want to avoid sogginess, giving the leaves a light mist with your spray bottle every few days, especially if you’re not using a dome, can keep them from drying out too quickly.
Aftercare & Troubleshooting
Once you start seeing new growth or feel a gentle tug when you test a cutting (very gently!), you know roots are forming. At this point, you can gradually remove the plastic covering over a few days to acclimate your new plants to the regular humidity. Continue to keep the soil lightly moist, but never waterlogged. Once they have a good root system and are showing strong new growth, you can transplant them into their own small pots.
The biggest challenge you’ll likely face is rot. This happens when the soil is too wet and there isn’t enough air circulation. If you see your cutting looking limp, mushy, or developing dark spots, it’s probably succumbed to rot. Prevention is key here – choose well-draining soil, don’t overwater, and ensure good air circulation once roots start appearing.
A Little Encouragement
Don’t get discouraged if your first few attempts aren’t a resounding success. Gardening is all about learning and adapting. Be patient with your little Comastoma nanum cuttings, give them good conditions, and enjoy the process of nurturing new life. Watching those tiny roots develop is a truly magical thing! Happy propagating!
Resource:
https://identify.plantnet.org/k-world-flora/species/Comastoma%20nanum%20(Wulfen)%20Toyok./data