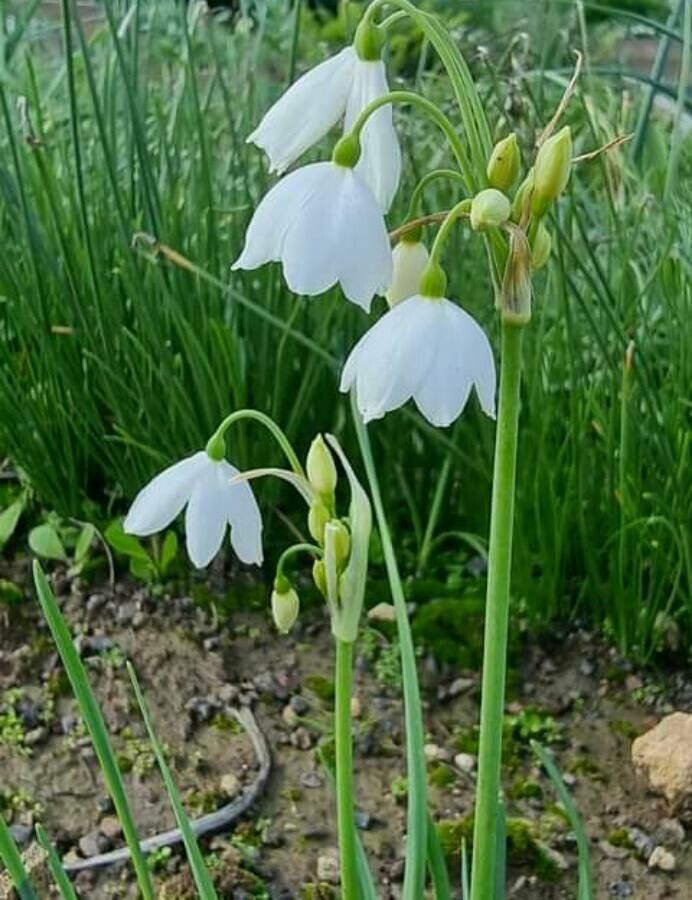
Hello there, fellow plant lovers! I’m so excited to dive into the wonderful world of Acis tingitana with you today. If you’re looking for a touch of delicate charm and unexpected tenacity in your garden, this little gem might just be your new best friend. Known for its elegant, bell-shaped white flowers that unfurl in late winter or early spring, Acis tingitana brings a whisper of springtime joy when we need it most.
Propagating Acis tingitana is a incredibly rewarding process. There’s a special kind of satisfaction in nurturing a tiny bulb or a new shoot into a mature plant. Now, I won’t lie to you – Acis tingitana isn’t quite as foolproof as, say, a spider plant. It can be a tad bit more particular, but with a little attention and the right approach, it’s absolutely achievable, even for those of you who are just starting your propagation journey. Let’s get our hands dirty!
The Best Time to Start
For Acis tingitana, the absolute sweet spot for propagation is dormancy. This typically means after the plant has finished flowering and its foliage has begun to yellow and die back. For most of us, this will be in the late spring or early summer. This is when the plant is storing energy in its bulbs and is less stressed, making it more receptive to being divided or having offsets removed. Starting during its active growing season can shock the plant and lead to less successful results.
Supplies You’ll Need
Gathering your supplies before you begin makes the whole process so much smoother. Here’s what I always have on hand:
- Sharp, clean trowel or small spade: For gently loosening soil and separating bulbs.
- Sterilized pruning shears or knife: Essential for clean cuts to prevent disease.
- Good quality potting mix: I like a mix that drains well, similar to what you might use for succulents or bulbs. A blend of peat moss, perlite, and compost is generally excellent.
- Small pots or trays: For housing your new propagations. Make sure they have drainage holes!
- Labels and a marker: So you don’t forget what you planted where!
- Optional: Rooting hormone powder: While not strictly necessary for Acis tingitana when dividing bulbs, it can give a little boost if you’re propagating from leaf cuttings.
- Watering can with a fine rose: For gentle watering.
Propagation Methods
Let’s explore the most common and effective ways to multiply your Acis tingitana.
Division: The Most Reliable Method
This is by far the easiest and most successful way to propagate Acis tingitana. These plants naturally produce small offset bulbs, sometimes called “daughter bulbs,” around the main “mother bulb.”
- Wait for Dormancy: As mentioned, make sure your plant is dormant. The foliage should be mostly gone.
- Carefully Excavate: Gently dig around the base of the Acis tingitana plant with your trowel. Be cautious not to damage the bulbs. Lift the entire clump from the soil.
- Gently Separate: You’ll see the main bulb with smaller bulbs attached. Often, these offsets will easily pull away. If a part of the root system is still attached to an offset, that’s perfectly fine. If a bulb is firmly attached, use your sterilized knife to make a clean cut. Ensure each offset has at least one root attached.
- Inspect and Discard: Check bulbs for any signs of disease or damage. Discard any that look mushy or misshapen.
- Replant: Pot your separated bulbs into your well-draining potting mix. Plant them about 2-3 inches deep, similar to how you would plant other small bulbs. If you divide many, you can plant them slightly closer together in a larger pot or tray for now.
- Water Lightly: Water the soil gently but thoroughly.
Leaf Cuttings (More Experimental)
This method is less common for Acis tingitana as success rates can be lower and it takes much longer to see results. However, if you have a healthy, mature plant and are feeling adventurous, you can try it.
- Select Healthy Leaves: Choose one or two healthy, mature leaves from a dormant plant.
- Make a Clean Cut: Using your sterilized pruning shears, cut the leaf cleanly at its base, where it emerges from the soil.
- Prepare the Cutting: You can optionally dip the cut end into rooting hormone powder.
- Plant the Cutting: Insert the cut end of the leaf about an inch deep into a pot filled with a light, sandy potting mix or perlite. You can place several cuttings in one pot.
- Maintain Moisture and Humidity: Mist the soil surface regularly to keep it slightly moist, but not waterlogged. You can cover the pot with a clear plastic bag or dome to maintain high humidity.
- Patience is Key: This method requires significant patience. It could be months before you see any signs of root development, and even longer for a new bulb to form.
The “Secret Sauce” (Pro Tips)
Here are a few little-known tricks that have helped me get the best results with my Acis tingitana:
- Bulbs like a bit of a squeeze: When dividing, don’t be afraid to gently work your fingers around the offsets. They often detach with a gentle tug, and this minimizes damage compared to brute force.
- A tiny bit of sand can work wonders: For the potting mix, I like to add a small percentage (around 10-15%) of coarse horticultural sand. This really ups the drainage and helps prevent that dreaded bulb rot, especially for these sensitive bulbs.
- Don’t rush the watering after division: Give the freshly divided bulbs a day or two before their first thorough watering. This allows any minor nicks or cuts to begin to heal, reducing the risk of infection.
Aftercare & Troubleshooting
Once your new Acis tingitana propagations are planted, the care is straightforward, but crucial.
- Initial Watering: Water thoroughly after planting, then allow the top inch of soil to dry out before watering again. Consistency is key, but avoid soggy conditions.
- Light: Place your newly potted bulbs in a bright location, but out of direct, hot sun. Once they establish and start growing, they can handle more light, but always monitor.
- Patience, again! It might be a while before you see top growth. The bulbs are busy establishing their root systems underground.
- Troubleshooting: The most common issue you’ll face is rot. This is almost always due to overwatering or poor drainage. If you notice a bulb turning mushy, black, or smelling foul, it’s likely gone. Remove it immediately to prevent it from affecting other plants. If leaf cuttings yellow and fail to develop roots, they might not have had enough moisture or were planted too deep. Sometimes, despite our best efforts, things just don’t take, and that’s okay!
A Little Bit of Patience Goes a Long Way
Watching a new plant emerge from something you’ve nurtured is truly magical. Propagating Acis tingitana is a wonderful way to expand your collection and share these delightful blooms with others. Remember to be patient, observe your plants, and don’t be discouraged if everything isn’t a perfect success on the first try. Each attempt is a learning experience, and the joy of gardening is in the journey itself. Happy propagating!
Resource: