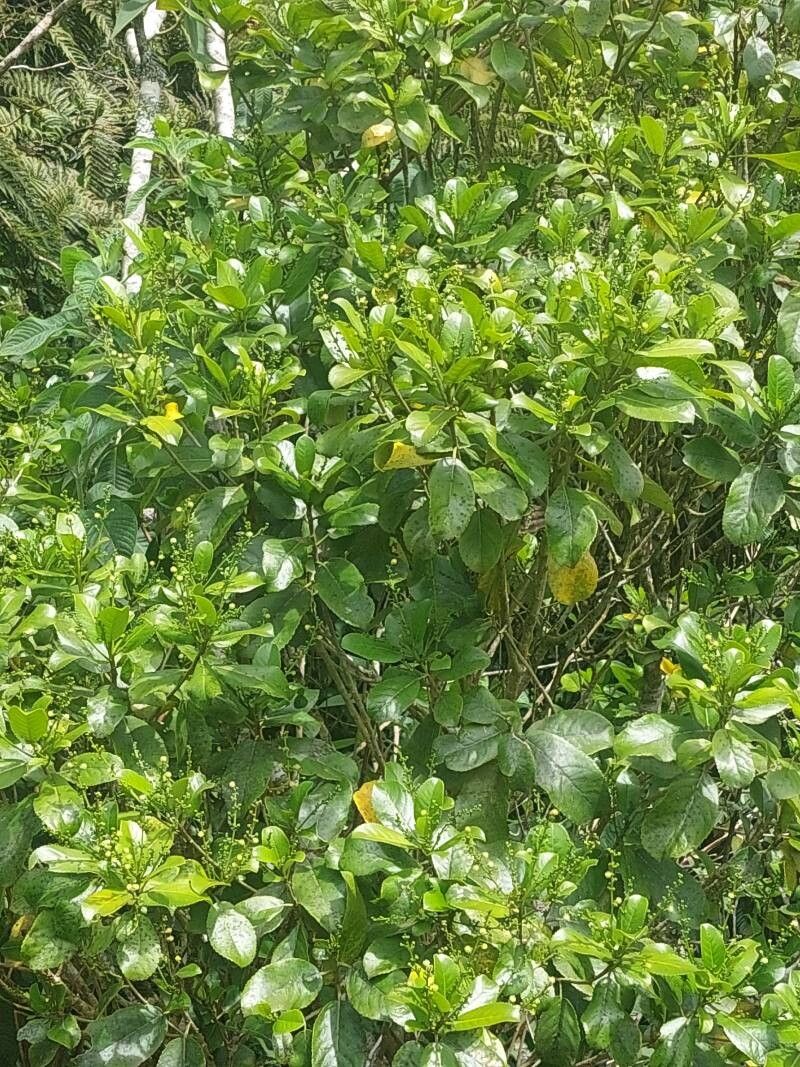
Hello fellow plant lovers! Today, we’re diving into the wonderful world of Claoxylon glandulosum. If you’re looking for a plant that brings a touch of the tropics with its lush, often glossy foliage, and can add a vibrant splash of green wherever you place it, then this is a fantastic choice. And the best part? You can easily multiply your own green beauties! Propagating Claoxylon glandulosum is a truly rewarding experience, watching a tiny cutting transform into a thriving new plant. For beginners, I’d say it’s moderately easy, but with a few simple guidelines, you’ll be a pro in no time.
The Best Time to Start
Timing is everything in the garden, and when it comes to propagating our Claoxylon glandulosum, we want to catch it at its peak. The ideal time is during its active growing season, which is typically late spring through to early autumn. This is when the plant has the most energy to put into developing roots. You’re looking for healthy, vigorous new growth, not old, woody stems.
Supplies You’ll Need
Gathering your tools beforehand makes the whole process smoother. Here’s what I always have on hand:
- Sharp Pruning Shears or a Clean Knife: For making clean cuts.
- Rooting Hormone (Optional but Recommended): A powder or gel to encourage root development.
- Well-Draining Potting Mix: A good blend of peat moss, perlite, and a bit of compost works wonders. You can also use a specific seed starting mix.
- Small Pots or Trays: With drainage holes, of course!
- Clear Plastic Bags or a Propagator: To create a humid environment.
- Watering Can with a Fine Rose: For gentle watering.
- Labels or Popsicle Sticks and a Pen: To mark your cuttings!
Propagation Methods
Let’s get our hands dirty! The most common and successful method for Claoxylon glandulosum is through stem cuttings.
Stem Cuttings:
- Take Your Cuttings: Find a healthy, non-flowering stem. Using your sharp pruners or knife, make a clean cut just below a leaf node (where a leaf attaches to the stem). Aim for cuttings that are about 4-6 inches long.
- Prepare the Cuttings: Gently remove the lower leaves from the cutting, leaving the top 2-3 leaves intact. This reduces water loss and focuses the plant’s energy on rooting. If the remaining leaves are very large, you can even cut them in half horizontally.
- Apply Rooting Hormone (Optional): Dip the cut end of the stem into your rooting hormone. Tap off any excess. This step really gives your cuttings a boost.
- Plant Your Cuttings: Fill your small pots or trays with your well-draining potting mix. Make a small hole in the center of the mix with your finger or a pencil. Insert the cut end of the stem into the hole, ensuring the rooting hormone (if used) stays in contact with the soil. Gently firm the soil around the base of the cutting.
- Water Gently: Water the soil thoroughly but gently, making sure not to disturb the cuttings.
- Create a Humid Environment: Cover the pots or trays with a clear plastic bag, a propagator lid, or even a clear plastic dome. This is crucial for keeping the humidity high and preventing the cuttings from drying out. Make sure the plastic doesn’t touch the leaves if possible.
The “Secret Sauce” (Pro Tips)
Here are a few tricks I’ve picked up over the years that can really up your propagation game:
- Bottom Heat is Your Friend: While not strictly necessary, placing your pots on a heated propagator mat can significantly speed up root formation. It mimics the warmth of spring soil.
- Don’t Be Afraid to Sterilize: Before you start, a quick wipe of your pruners with rubbing alcohol can prevent the spread of any potential diseases that might be lurking on your parent plant. Cleanliness is key!
- Keep an Eye on the Humidity: If you see large water droplets forming inside your plastic cover, air it out for an hour or two each day. We want humidity, not a swamp!
Aftercare & Troubleshooting
Once your cuttings are planted and cozy, it’s time to give them a little TLC.
- Light: Place them in a bright spot out of direct sunlight. Too much sun will scorch those tender new cuttings.
- Watering: Keep the soil consistently moist but not waterlogged. Check the soil moisture regularly by gently touching the surface. If it feels dry, give it a gentle watering.
- Checking for Roots: This is the exciting part! After a few weeks, you can give your cuttings a gentle tug. If you feel resistance, congratulations, they’ve started to root! You can also look for new leaf growth, which is a good sign.
- Troubleshooting: The most common issue is rot. If you see your cuttings turning black and mushy, it’s usually a sign of too much moisture and not enough air circulation. Remove any rotted cuttings immediately. Another sign of failure is if the leaves start to yellow and fall off – this can indicate the cutting is too dry or hasn’t rooted.
A Encouraging Closing
Propagating plants is a journey of patience and observation. Don’t get discouraged if your first few attempts aren’t perfect. Every cutting you take is a learning experience. The joy of nurturing a new plant from a mere snippet of its parent is truly special. So, grab your tools, get your hands dirty, and enjoy the magical process of creating more green life! Happy propagating!
Resource: