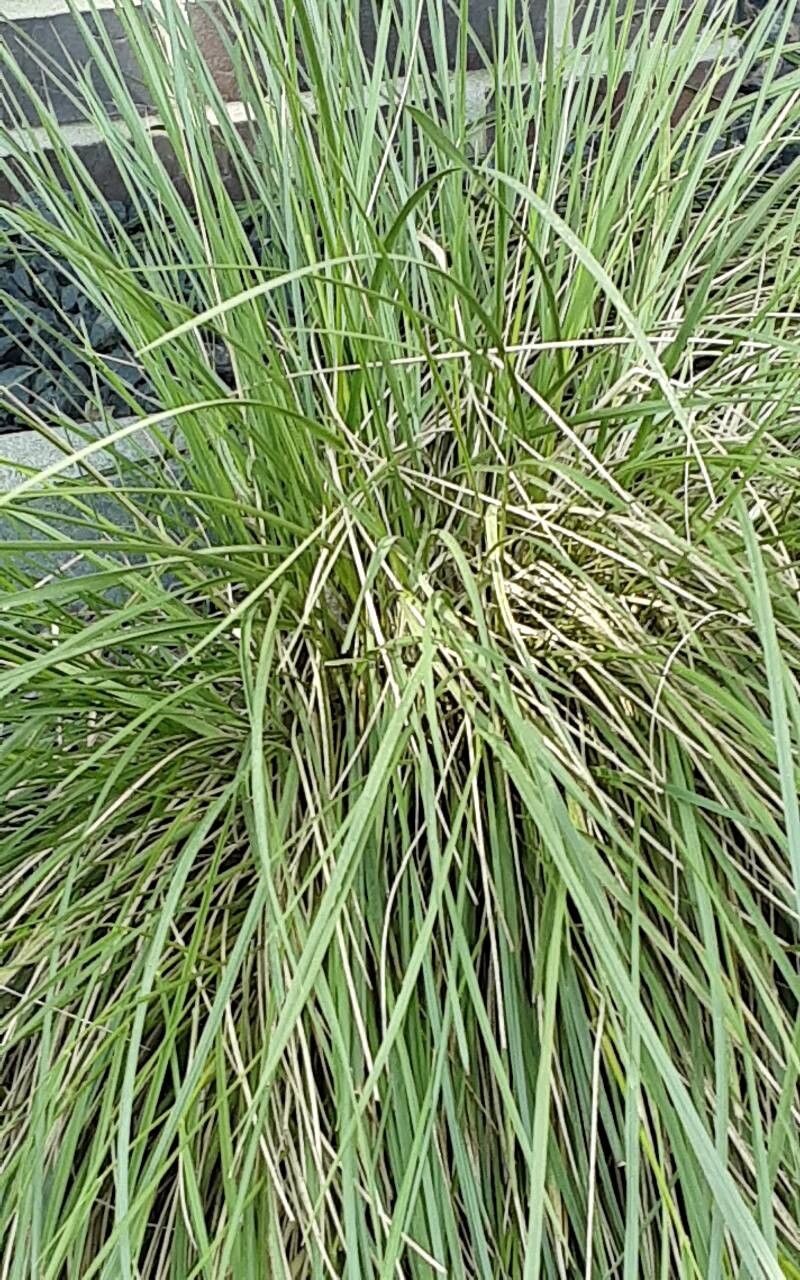
Hello fellow garden enthusiasts! I’m so delighted you’re curious about propagating Chrysopogon zizanioides, more commonly known as Vetiver grass. For years, I’ve admired this remarkable plant for its incredible resilience, its soothing aroma when you brush against its leaves, and its amazing ability to hold soil in place. Growing it from scratch is a truly rewarding experience, and I’m here to walk you through it. While Vetiver is a champion survivor, propagating it from scratch is moderately easy, making it a great project for those a little beyond their very first plant adventures.
The Best Time to Start
The best time to get your hands dirty with Vetiver propagation is typically in late spring or early summer. This is when the plant is in its active growth phase and has plenty of energy to put into developing new roots. You’re looking for healthy, vigorous shoots that are at least 8-12 inches tall. Trying to propagate too early in the season, before things warm up considerably, can lead to slow growth or even failure.
Supplies You’ll Need
To set yourself up for success, gather these essentials:
- Sharp pruning shears or a clean knife: For making clean cuts.
- Potting mix: A well-draining mix is crucial. I like to use a blend of peat moss, perlite, and compost in roughly equal parts. You can also find good quality potting mixes specifically designed for succulents or cacti, which will work wonderfully.
- Small pots or trays: Choose containers with drainage holes! This is non-negotiable for preventing waterlogged roots.
- Rooting hormone powder or gel (optional but helpful): This can give your cuttings a helpful boost.
- Watering can or spray bottle: For gentle watering.
- Labels or markers: To keep track of your efforts!
Propagation Methods
Vetiver is fantastic because it’s primarily propagated through division, which is super straightforward.
Division is our star player here.
- Prepare your mature plant: Gently lift your Vetiver clump from its current pot or the ground. Try to disturb the root ball as little as possible initially.
- Inspect the root ball: You’ll notice that Vetiver forms dense, fibrous clumps. Look for natural divisions within the clump where shoots and roots are clearly separating.
- Make the cut: Using your clean pruning shears or knife, carefully separate the clump into smaller sections. Each section should have several healthy shoots and a good portion of the root system attached. Don’t be afraid to be a little firm but decisive here. You’re aiming for divisions that look like they’re ready to start their own life.
- Potting up: Plant each division into its own pot filled with your prepared potting mix. Ensure the crown of the plant (where the shoots emerge from the roots) is at soil level.
- Water gently: Water thoroughly immediately after planting to settle the soil around the roots.
The “Secret Sauce” (Pro Tips)
Okay, here are a few things I’ve learned over the years that really make a difference:
- My absolute favorite trick for Vetiver is to always start with a healthy, established plant. A stressed or weak parent plant will produce equally weak cuttings. So, focus on nurturing your main Vetiver first!
- When you’re dividing, don’t obsess over perfectly neat divisions. Vetiver is tough! Just ensure each piece has at least 2-3 shoots and a decent root mass. Nature is often messy, and that’s okay.
- After planting your divisions, I like to lightly mist the foliage once a day for the first week or two. This helps to reduce transplant shock and keeps the leaves looking perky while the roots get established.
Aftercare & Troubleshooting
Once your Vetiver divisions are potted up, keep them in a spot that receives bright, indirect light. Avoid direct hot sun immediately after planting. Water them whenever the top inch of soil feels dry to the touch. You’ll know your divisions are happy when you see new shoot growth emerging. This can take anywhere from 2 to 6 weeks, so be patient!
The most common issue you might encounter is root rot, which is almost always due to overwatering and poor drainage. If your plant looks sad, yellowing, and the soil stays constantly soggy, it’s a sign things aren’t right. Make sure your pots have drainage holes, and adjust your watering schedule accordingly. If you see signs of rot, you might need to unpot the division, trim away any mushy, black roots, and replant it in fresh, dry soil.
A Encouraging Closing
Propagating Vetiver grass is a wonderful way to expand your collection and to feel that deep satisfaction of nurturing life from a parent plant. Be patient with the process, trust your instincts, and don’t be discouraged if every single division doesn’t take off immediately. The joy is in the journey and the learning. Happy gardening!
Resource:
https://identify.plantnet.org/k-world-flora/species/Chrysopogon%20zizanioides%20(L.)%20Roberty/data