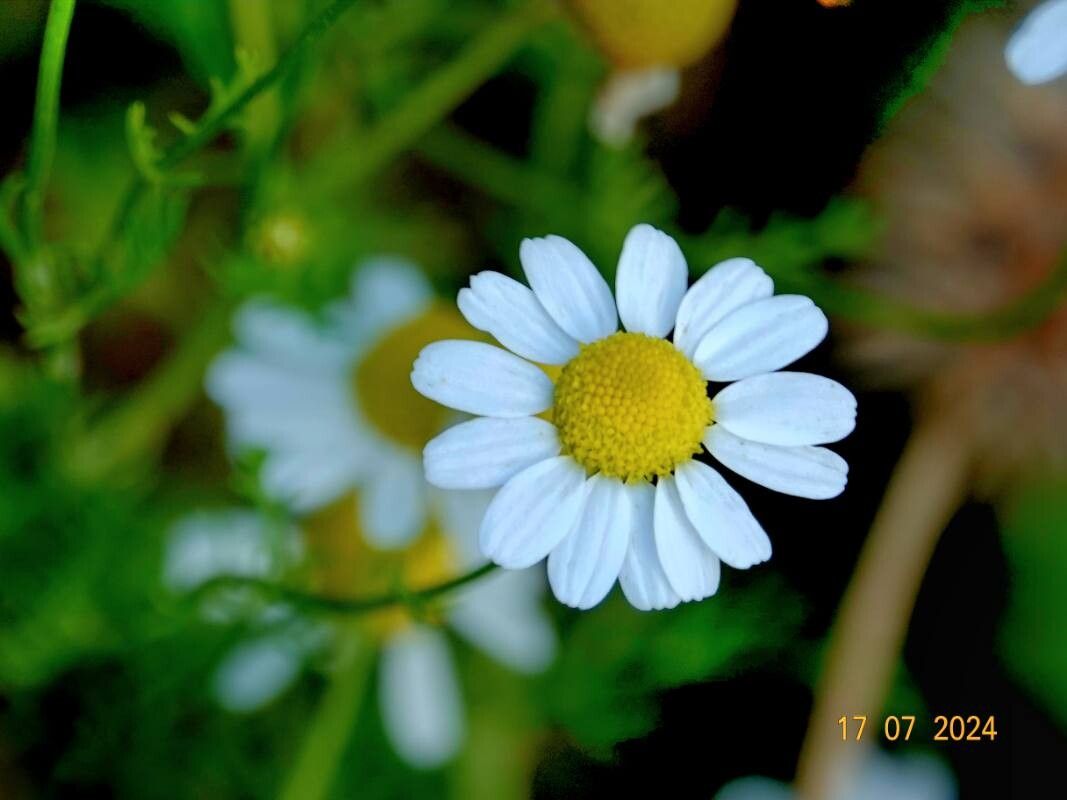
Hello there, fellow plant lovers! I’m so excited to chat about one of my absolute favorite garden staples: Roman Chamomile (Chamaemelum nobile). If you haven’t grown it before, you’re in for a treat. This low-growing perennial is a dream for borders, rock gardens, or even as a fragrant groundcover between stepping stones. Its delicate daisy-like flowers are a joy to behold, and the sweet, apple-like scent when you brush past it is simply divine. Plus, the flowers are perfect for drying for relaxing teas!
Now, you might be wondering if propagating Roman Chamomile is a tricky business. For beginners, I’d say it’s definitely on the easier side of propagation, especially with a couple of tried-and-true methods. It’s incredibly rewarding to see a little cutting or division burst into new life.
The Best Time to Start
My favorite time to get started with propagating Roman Chamomile is in late spring to early summer. This is when the plant is actively growing after emerging from dormancy, and its stems are usually nice and pliable. You’re looking for healthy, new growth – not old, woody stems. If you miss this window, don’t fret! You can also have success with divisions in early spring or fall when the plant is less actively flowering.
Supplies You’ll Need
Gathering your tools beforehand makes the whole process smoother. Here’s what I usually have on hand:
- Sharp pruning shears or a clean knife: For making neat cuts.
- Small pots or seed trays: Clean ones are crucial to prevent disease.
- A well-draining potting mix: I like a mix of seed-starting compost and perlite (about a 50/50 blend) for cuttings. For divisions, a good quality potting soil works well.
- Rooting hormone (optional but recommended): It really gives those cuttings a boost.
- A watering can with a fine rose attachment: To avoid disturbing delicate cuttings.
- A clear plastic bag or a propagation dome: To create a humid environment.
- A small trowel or dibber: For making holes in the soil.
Propagation Methods
Roman Chamomile is quite versatile, and thankfully, it’s straightforward to propagate.
Stem Cuttings
This is my go-to method for creating new plants quickly.
- Take your cuttings: In late spring or early summer, select healthy, non-flowering stems. Using your sharp shears, cut stems that are about 3-4 inches long. Make the cut just below a leaf node (where a leaf attaches to the stem).
- Prepare the cuttings: Gently remove the lower leaves from the bottom 1-2 inches of the stem.
- Apply rooting hormone (optional): Dip the cut end of each cutting into the rooting hormone powder, tapping off any excess.
- Plant the cuttings: Fill your small pots with the well-draining potting mix. Use your dibber or trowel to make holes in the soil, large enough for the cuttings. Insert the prepared cuttings into the holes, ensuring the leaf nodes are buried. Gently firm the soil around them.
- Water gently: Water the pots thoroughly with your fine-rose watering can until water drains from the bottom.
- Create humidity: Place the pots inside a clear plastic bag or cover them with a propagation dome. Seal it loosely to allow for some air circulation.
Division
When your Roman Chamomile plant gets a bit larger and fuller, you can easily divide it. This is best done in early spring or fall.
- Gently excavate: Carefully dig up the entire plant. You want to disturb the roots as little as possible.
- Separate the divisions: Gently shake off excess soil and inspect the root ball. You’ll likely see natural divisions where the plant has spread. Use your hands or a clean trowel to carefully tease apart the sections. Each division should have both roots and some healthy shoots.
- Replant immediately: Dig holes in your garden bed or new pots, large enough to accommodate the root systems of your divisions. Plant them at the same depth they were growing previously.
- Water well: Water each division thoroughly to settle the soil.
The “Secret Sauce” (Pro Tips)
Here are a couple of little tricks I’ve learned over the years that really help:
- For stem cuttings, don’t let the leaves touch the water if you decide to try water propagation (though I usually stick to soil). If any leaves dip below the water line, they’ll rot and can take the whole cutting down with them. Always keep those leaves above the water.
- Bottom heat can be a game-changer for cuttings. I’ll often place my pots on a propagation mat set to a low temperature (around 70-75°F). This encourages root development from underneath, giving your cuttings a significant head start.
Aftercare & Troubleshooting
Once your cuttings or divisions are planted, the real waiting game begins!
- Keep them consistently moist: The soil should feel damp but not waterlogged. That humid environment you created with the plastic bag is key here. Check the soil moisture every day or two.
- Provide bright, indirect light: Avoid direct, hot sun, which can scorch young cuttings. An east-facing window is often perfect.
- Be patient! Rooting can take anywhere from two to six weeks. You’ll know they’re rooting when you see new leaf growth and feel a slight tug when you gently pull on a cutting.
- Watch out for rot: The most common problem is root rot, which usually happens when the soil stays too wet. If you see stems turning black and mushy, it’s a sign of too much moisture and often too little airflow. Make sure your pots have drainage holes! If you catch it early, you might be able to salvage some healthy parts. Yellowing leaves can also indicate too much water, or sometimes, not enough.
A Little Encouragement
Propagating Roman Chamomile is a wonderfully rewarding way to expand your garden and share these lovely plants with friends. Don’t be discouraged if every single cutting doesn’t make it – that’s just part of the learning process! Enjoy the journey, celebrate the successes, and remember that the garden is always teaching us something new. Happy propagating!
Resource:
https://identify.plantnet.org/k-world-flora/species/Chamaemelum%20nobile%20(L.)%20All./data