Oh, hello there! Grab your favorite mug – I’ve got something exciting to share. Today, we’re diving into the wonderful world of Chaetopappa effusa, a plant that’s captured my heart over the years. There’s just something about those delicate, airy blooms that brings a smile to my face. And the best part? You can easily multiply this beauty yourself!
Why Propagate Chaetopappa Effusa?
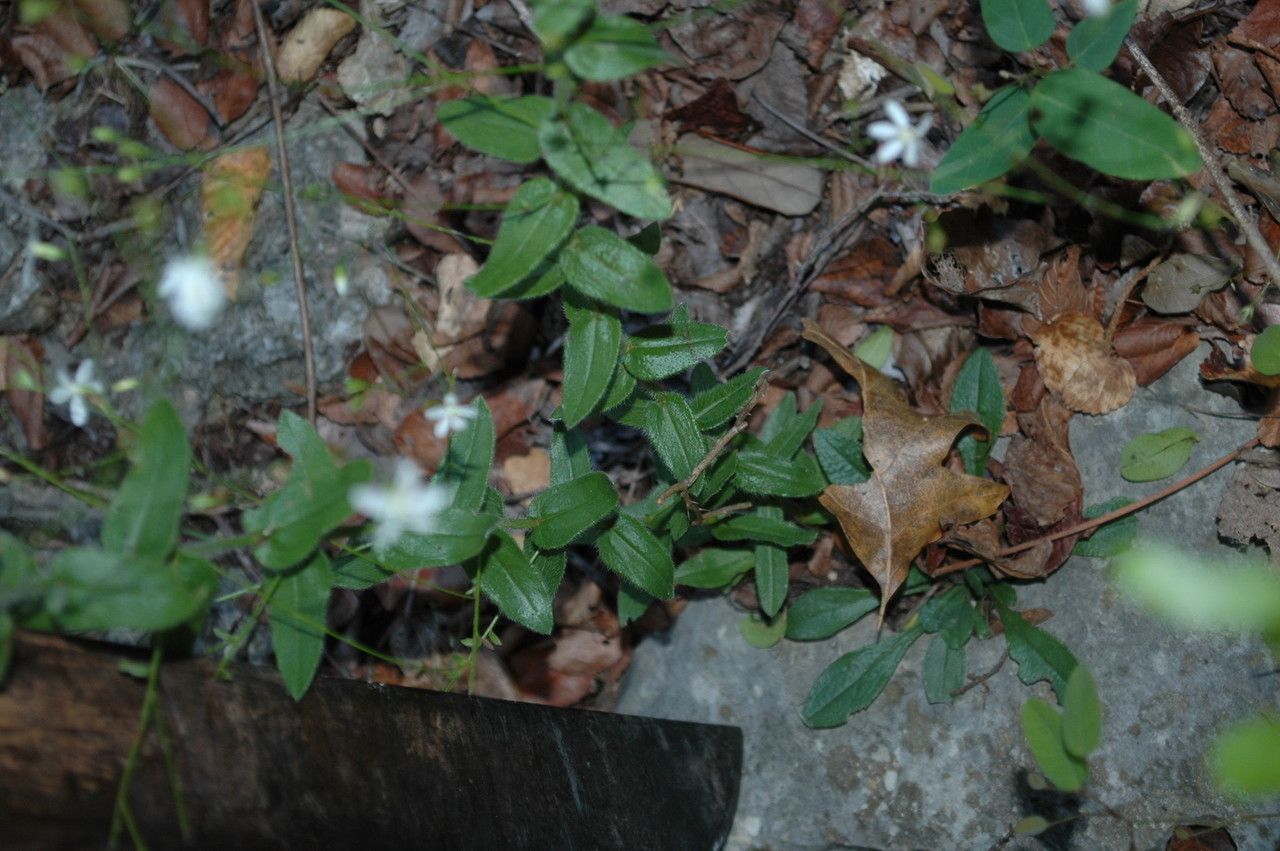
If you love a plant that adds a whisper of elegance to your garden, then Chaetopappa effusa is for you. It’s not overly fussy, and its wispy charm is simply divine. Propagating it is incredibly rewarding. It’s a chance to expand your collection, share the love with friends, or even fill in those empty spots you’ve been eyeing. For beginners, I’d say Chaetopappa effusa is moderately easy to propagate. It’s not as foolproof as a pothos, but with a little attention, you’ll be successful.
The Best Time to Start
My go-to time for propagating Chaetopappa effusa is in late spring to early summer. This is when the plant is actively growing and has plenty of energy to put into developing new roots. You want to work with healthy, vigorous stems that have plenty of life in them. Avoid taking cuttings from plants that are stressed, flowering heavily, or just coming out of dormancy.
Supplies You’ll Need
Here’s what you should have on hand to make your propagation journey smooth sailing:
- Sharp Pruning Shears or a Clean Knife: For clean cuts, which are crucial.
- Rooting Hormone (Optional but Recommended): A little boost can make a big difference.
- A Well-Draining Potting Mix: I like a blend of peat moss, perlite, and a bit of coarse sand. A cactus and succulent mix works well too.
- Small Pots or Seedling Trays: For your new baby plants.
- Watering Can with a Fine Rose: To water gently.
- Clear Plastic Bag or Dome: To create a humid environment.
Propagation Methods
While you might think of more common methods, Chaetopappa effusa is best propagated through stem cuttings. It’s straightforward and very effective.
- Take Your Cuttings: Select a healthy stem that isn’t flowering. Using your clean shears or knife, cut a section about 4-6 inches long. Make the cut just below a leaf node (the spot where a leaf attaches to the stem).
- Prepare the Cuttings: Gently remove the lower leaves from your cutting, leaving about 2-3 sets of leaves at the top. This prevents the submerged leaves from rotting.
- Apply Rooting Hormone: If you’re using rooting hormone, dip the cut end of each stem into the powder or gel. Tap off any excess.
- Plant Your Cuttings: Fill your small pots or trays with your prepared potting mix. Make a small hole in the center of the soil with your finger or a pencil.
- Insert and Water: Place the cutting into the hole, ensuring the leaf nodes where you removed leaves are below the soil surface. Gently firm the soil around the stem. Water thoroughly until water drains from the bottom of the pot.
The “Secret Sauce” (Pro Tips)
Now, for a couple of little tricks I’ve picked up over the years that can really help your Chaetopappa effusa cuttings thrive:
- Humidity is Key: Once planted, cover the pots loosely with a clear plastic bag or place a clear dome over them. This creates a mini-greenhouse effect, keeping the humidity high, which is perfect for root development. Make sure the leaves aren’t touching the plastic if possible, as this can encourage mold.
- Warm Feet: A little warmth from below can significantly speed up rooting. If you have a propagation mat or can place your pots on top of a refrigerator, this gentle bottom heat will really encourage those root systems to get going.
- Don’t Rush It: I know it’s tempting, but resist the urge to pull up your cuttings frequently to check for roots. You can damage delicate new growth. Give them at least 3-4 weeks before you gently tug on a stem to feel for resistance.
Aftercare & Troubleshooting
Once you start to feel resistance when gently tugging on a cutting, congratulations! Roots are forming.
- Acclimatize: Gradually remove the plastic bag or dome over a few days to help your new plant adjust to normal humidity levels.
- Light: Place your rooted cuttings in a bright spot with indirect sunlight. Direct sun can scorch tender new growth.
- Watering: Water when the top inch of soil feels dry. It’s better to err on the side of underwatering than overwatering at this stage.
- Troubleshooting: The most common issue you’ll encounter is rot, which usually happens from overwatering or poor drainage. If the stem turns black and mushy, it’s likely gone. Don’t despair! Just try again with another cutting, ensuring better air circulation and less moisture. Yellowing leaves can sometimes indicate too much water, or sometimes too little light. Observe your plant and adjust accordingly.
Happy Planting!
So there you have it – your guide to multiplying your beautiful Chaetopappa effusa. Remember, gardening is all about patience and observation. Don’t be discouraged if your first attempt isn’t perfect. Each cutting is a learning opportunity. Enjoy the process of nurturing these new lives, and soon you’ll have a whole tribe of these lovely plants to enjoy! Happy propagating!
Resource:
https://identify.plantnet.org/k-world-flora/species/Chaetopappa%20effusa%20(A.Gray)%20Shinners/data