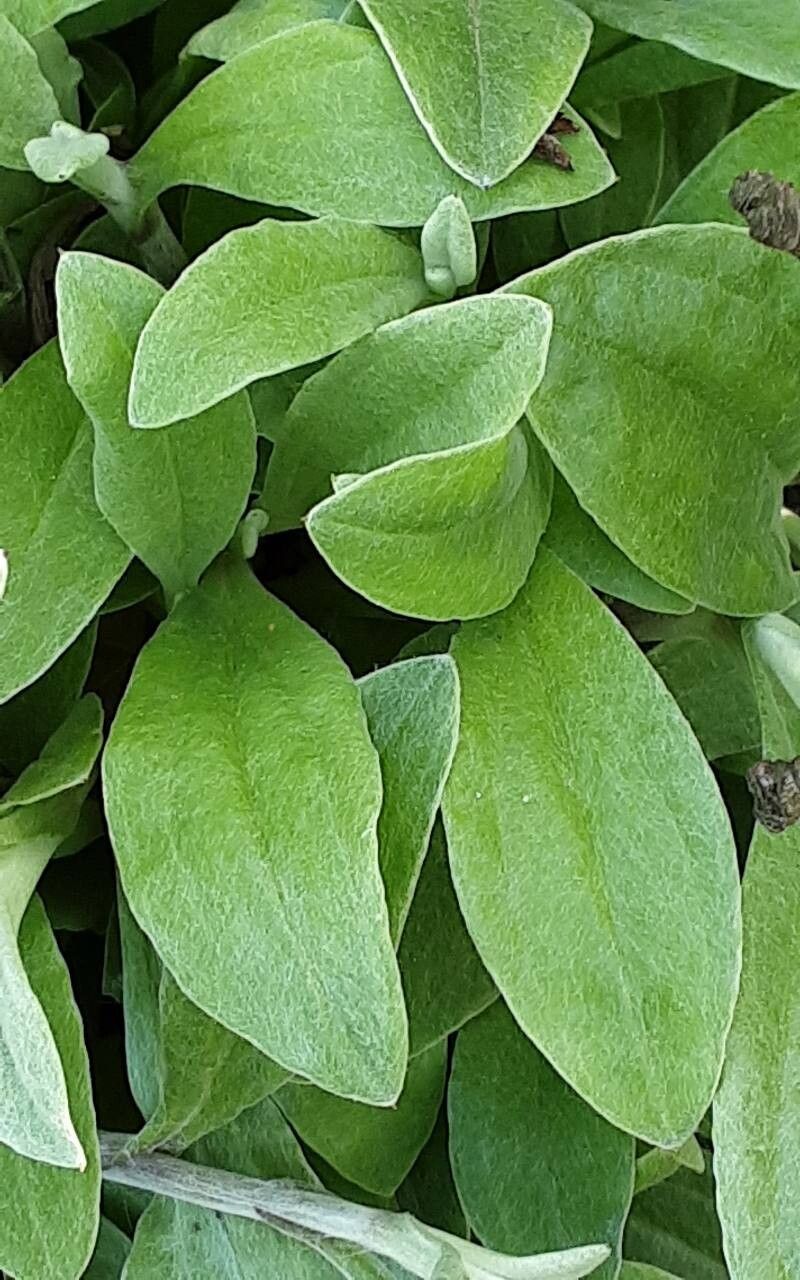
Oh, hello there! Grab a mug, settle in, and let’s chat about a little treasure I’ve come to adore: Antennaria plantaginifolia, or the Plantain Pussytoes. If you’re looking for a charming, low-growing native that brings delicate beauty to your garden, this is it. Its fuzzy, grey-green leaves and tiny, white, woolly flower clusters that resemble little cat’s paws are just delightful. Propagating them, I find, is a truly rewarding endeavor. For beginners? I’d say this one is moderately easy. A little patience and a few key steps, and you’ll be well on your way to more of these lovely plants.
The Best Time to Start
My favorite time to get started with Antennaria plantaginifolia is in the late spring or early summer. Once the plant has finished its flowering and is actively growing, it’s full of energy. This is when the stems are firm but not woody, making them perfect for taking cuttings. You can also divide them after flowering, but for true propagation from bits and pieces, that spring-into-summer window is gold.
Supplies You’ll Need
Here’s what you’ll want to have on hand for your propagation adventure:
- Sharp Pruning Shears or a Clean Knife: For making clean cuts.
- Rooting Hormone (Optional but Recommended): A powder or gel can give your cuttings a nice boost.
- Well-Draining Potting Mix: I like a mix of equal parts seed starting mix and perlite or horticultural grit. This ensures aeration and prevents waterlogging.
- Small Pots or Trays: Clean containers with drainage holes are essential.
- Watering Can with a Fine Rose or a Spray Bottle: For gentle watering.
- Plastic Bags or a Clear Dome: To create a humid environment for your cuttings.
- Labels: To keep track of your projects!
Propagation Methods
While Pussytoes can be divided, for really multiplying your plants, stem cuttings are my go-to method.
Stem Cuttings:
- Select Your Cuttings: Look for healthy, non-flowering stems that are about 3-4 inches long. You want them to be pliable, not stiff and woody.
- Make the Cut: Using your clean shears or knife, make a cut just below a leaf node. This is where the plant will naturally want to form roots.
- Prepare the Cuttings: Gently remove the lower leaves from the stem, leaving only a few at the top. This prevents them from rotting once planted. If the leaves are very large, you can even cut them in half to reduce water loss.
- Apply Rooting Hormone (If Using): Dip the cut end of the stem into your rooting hormone, tapping off any excess.
- Plant Your Cuttings: Fill your clean pots with the well-draining potting mix. Make a small hole with a pencil or your finger, and carefully insert the bottom portion of the cutting. Gently firm the soil around the stem.
- Water Gently: Water the soil thoroughly but gently, ensuring it’s moist but not soggy.
- Create Humidity: To keep those cuttings from drying out, pop them into a plastic bag (loosely closed) or cover them with a clear dome. Place them in a spot with bright, indirect light. Avoid direct sun, which can scorch them.
The “Secret Sauce”
Now, a couple of little tricks I’ve learned over the years that really make a difference for these fuzzy fellows:
- Keep the Leaves Off the Soil: When you’re planting your cuttings, or even when you’re just tidying up an established plant, be mindful that the leaves don’t sit directly on damp soil. This is a fast track to rot and fungal issues.
- Bottom Heat is Your Friend: While not strictly necessary, placing your pots on a gentle heat mat designed for seedlings can significantly speed up root development. It mimics that warm spring soil perfectly.
- Don’t Over-Water Early On: It’s tempting to coddle new cuttings, but they have no roots yet to absorb excess moisture. Err on the side of slightly drier than soggy in those first few weeks. Check the soil moisture regularly; if the top half-inch feels dry, give it a light drink.
Aftercare & Troubleshooting
Once you start to see signs of new growth – tiny leaves unfurling at the top – it’s a good sign that roots are forming! You can gently tug on a cutting; if there’s resistance, you’ve got roots!
When roots have developed and new growth is robust, it’s time to gradually acclimate them to less humid conditions. Open the plastic bag or dome a little more each day for about a week. Then, you can transplant them into their own small pots to grow on. Keep them in bright, indirect light and water them when the top inch of soil feels dry.
The most common mishap you might encounter is rot. If your cuttings turn black and mushy, they’ve likely succumbed to too much moisture and not enough air circulation. If you see this, unfortunately, it’s best to discard them to prevent any spread. It’s a learning curve, and sometimes they just don’t make it, but don’t let that discourage you.
A Little Encouragement
So there you have it! Propagating Antennaria plantaginifolia is a wonderful way to expand your garden and share these charming plants with friends. Be patient, observe your cuttings closely, and don’t be afraid to experiment. The joy of watching a tiny stem unfurl new life is truly something special. Happy gardening!
Resource:
https://identify.plantnet.org/k-world-flora/species/Antennaria%20plantaginifolia%20(L.)%20Hook./data