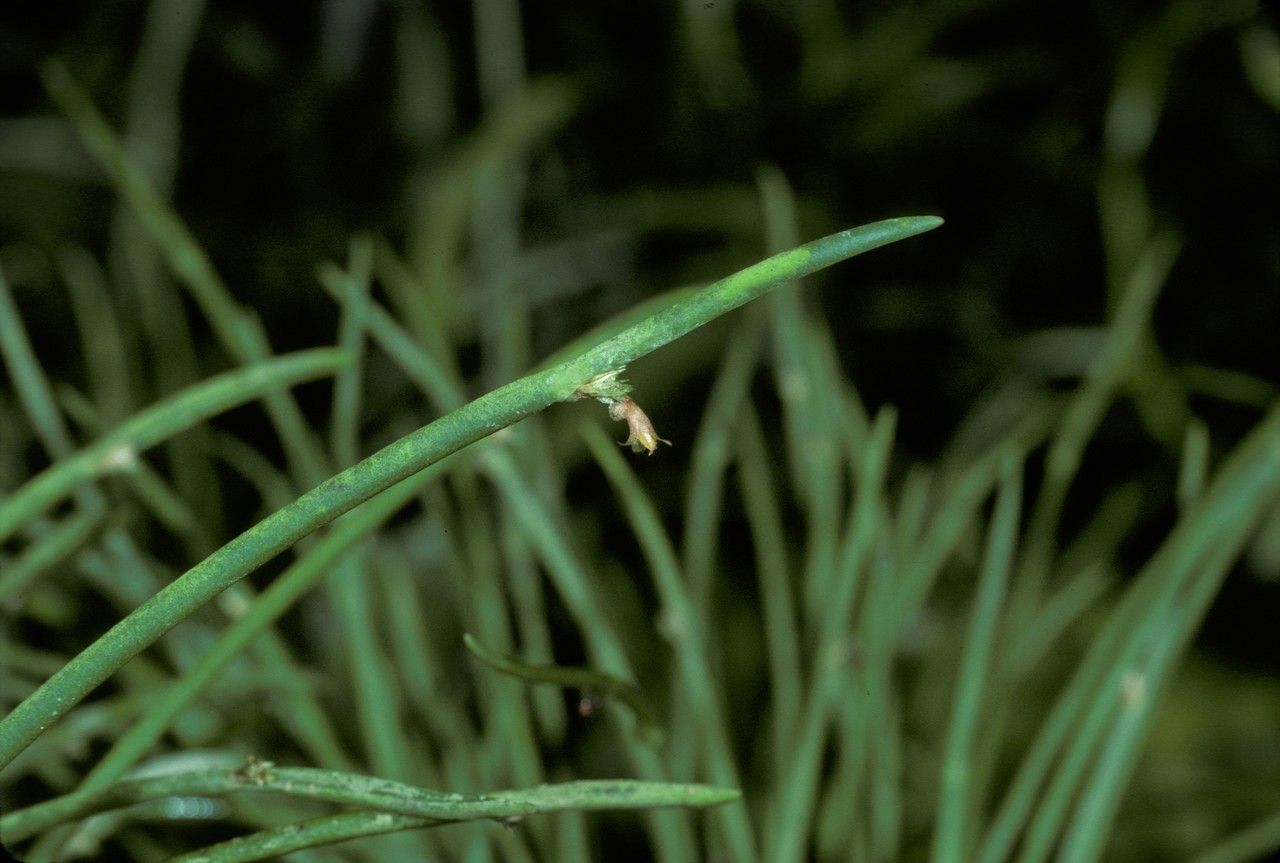
Oh, hello there! It’s so lovely to have you join me for a cup of coffee and a chat about one of my favorite little orchids, Ceratostylis subulata. If you haven’t encountered this beauty before, imagine plump, almost succulent-like leaves clustered together, often resembling little green fingers reaching for the sky. They grow in charming clumps and can produce these darling, often fragrant, little blooms. Propagating them is such a rewarding journey, letting you share this unique plant with friends or simply expand your own collection without breaking the bank. Now, I have to be honest, Ceratostylis subulata isn’t quite as hands-off as some of the more common houseplants, but with a little attention, even a beginner can certainly find success.
The Best Time to Start
When it comes to giving your little green cuttings the best chance, spring is truly your best friend. This is when the plant is emerging from its cooler rest period and is brimming with fresh, active growth. You’re looking for healthy, vigorous stems that are actively pushing out new leaves. Avoid taking cuttings during the peak of a heatwave or when the plant seems stressed.
Supplies You’ll Need
Gathering your tools beforehand will make the whole process much smoother. Here’s what I always have on hand:
- Sterilized pruning shears or a sharp knife: Cleanliness is key to preventing disease.
- Rooting hormone powder (optional, but helpful): I find it gives cuttings a little extra boost.
- Well-draining potting mix: For orchids, I usually mix equal parts orchid bark, perlite, and a bit of sphagnum moss.
- Small pots or propagators: Terra cotta pots breathe well, but any small container will do.
- Water: Clean, room-temperature water is best.
- A spray bottle: For gentle misting.
Propagation Methods
Ceratostylis subulata is quite amenable to stem cuttings. It’s my go-to method for this particular plant.
Stem Cuttings:
- Identify a healthy stem: Look for a stem that has at least two or three sets of leaves and is at least a few inches long.
- Make a clean cut: Using your sterilized shears, cut just below a leaf node. This is the point where a leaf emerges from the stem, and it’s where roots are most likely to form. You can take multiple cuttings from a healthy parent plant.
- Prepare the cutting: Gently remove the lower leaves, leaving just one or two sets at the top. If you’re using rooting hormone, dip the cut end into the powder, tapping off any excess.
- Plant your cutting: Fill your chosen pot with your well-draining orchid mix. Make a small hole in the center with your finger or a pencil. Insert the cut end of the stem into the hole, ensuring the leaf node is buried. Gently firm the mix around the stem.
- Water lightly: Give the newly potted cutting a gentle watering. You want the soil to be moist, but not waterlogged.
The “Secret Sauce” (Pro Tips)
Now, for those little bits of wisdom that come with time in the greenhouse!
- Think about air circulation. Once your cuttings are potted, place them in an area with good, but not drafty, airflow. This helps prevent fungal issues, which is especially important for orchids. I often use a small fan on a low setting nearby, but make sure it’s not blowing directly on the cuttings.
- Don’t rush the rooting hormone. If you use it, make sure the cut end is slightly moist before dipping. This helps the powder adhere better. A light dusting is all you need.
- Consider bottom heat. A gentle warmth from below can significantly speed up root development. A seedling heat mat on a low setting is perfect for this. Just place your pots on top of it.
Aftercare & Troubleshooting
Once your cuttings are planted, the patience begins!
- Keep them consistently moist, but not soggy. The soil should feel damp to the touch. If you see the leaves starting to look a bit limp or sad, it might need a drink.
- Provide bright, indirect light. Direct sun will scorch those tender new cuttings.
- Look for signs of roots. This can take anywhere from a few weeks to a couple of months. You might see new leaf growth emerge, or gently tugging on the stem might reveal some resistance. Once you feel good about root development, you can move it into a slightly larger pot if needed.
The most common issue you’ll encounter is rot. If you see your cutting turning mushy or black at the base, it’s usually a sign of too much moisture and not enough air. Unfortunately, if rot sets in deeply, it’s hard to recover. Pruning off rotted parts immediately and ensuring better drainage and airflow are the best remedies.
A Encouraging Closing
So there you have it! Propagating your Ceratostylis subulata is a wonderfully fulfilling project. Remember to be patient with your new plants; they have their own rhythm. Enjoy the process of nurturing them, and soon you’ll have even more of these delightful green wonders to admire! Happy gardening!
Resource:
https://identify.plantnet.org/k-world-flora/species/Ceratostylis%20subulata%20Blume/data