Hey there, fellow garden lovers!
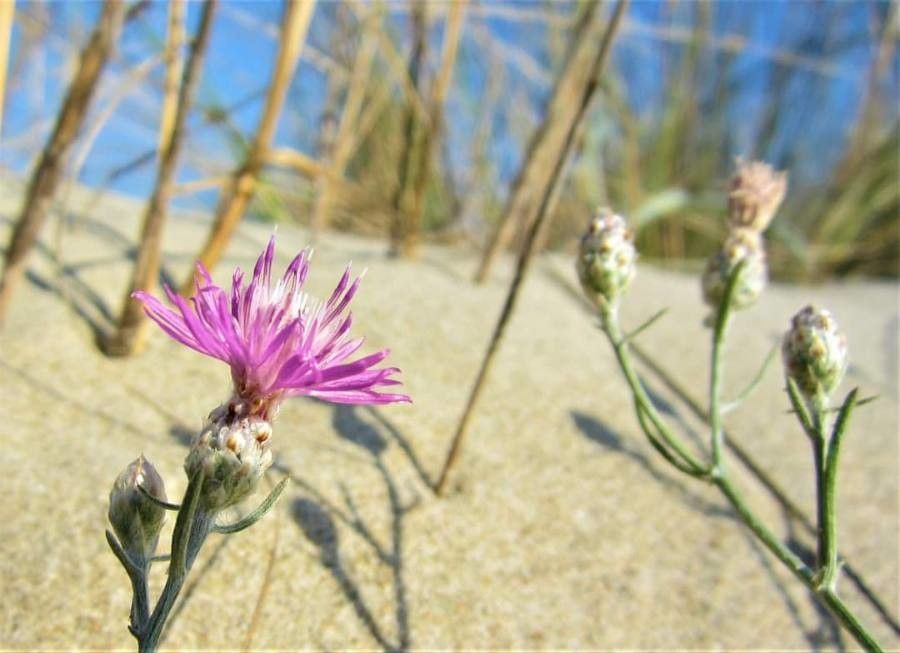
There’s something truly magical about bringing a new plant to life, isn’t there? And one that I’ve found particularly enchanting lately is Centaurea euxina. It’s this lovely, often silver-leaved beauty, with those distinctive cornflower-blue blooms that just sing in the summer garden. Honestly, it’s a plant that commands attention without being overly fussy. Propagating it is a fantastic way to fill your garden with more of its charm, or even to share with friends. And the good news? For the most part, Centaurea euxina is quite forgiving, making it a great project even if you’re just dipping your toes into propagation.
The Best Time to Start
For the best chance of success, I find late spring to early summer is the sweet spot for propagating Centaurea euxina. This is when the plant is actively growing, and those young, tender stems have plenty of energy to push out roots. You’re looking for stems that are firm but not woody – think of them as healthy, vigorous shoots.
Supplies You’ll Need
Here’s what you’ll want to have on hand:
- Clean, sharp pruning shears or a sharp knife.
- A well-draining potting mix. I like to use a blend of peat moss or coir, perlite, and a little bit of compost.
- Small pots or seed trays with drainage holes.
- Rooting hormone (optional, but it can give cuttings a helpful boost).
- A clear plastic bag or propagation dome to create a humid environment.
- Water (preferably filtered or rainwater).
- A dibber or pencil for making holes in the soil.
Propagation Methods
While you can sometimes get away with sowing seeds, my go-to method for Centaurea euxina is stem cuttings. They’re reliable and tend to produce plants that are true to the parent.
- Take Your Cuttings: Find a healthy stem on your Centaurea euxina plant. Make a clean cut just below a leaf node (where a leaf attaches to the stem). You want cuttings that are about 4-6 inches long. Remove the lower leaves, leaving just a couple at the very top. This prevents them from rotting in the soil or water.
- Prepare for Rooting: If you’re using rooting hormone, dip the cut end of the stem into the powder. Give it a gentle tap to shake off any excess.
- Plant Your Cuttings: Fill your pots or trays with your prepared potting mix. Make a hole with your dibber or pencil. Gently insert the cutting into the hole, ensuring the leaf nodes are below the soil surface. Firm the soil gently around the base of the cutting.
- Provide Humidity: Water the soil lightly. Then, cover the pot with a clear plastic bag or a propagation dome. This is crucial for keeping the cuttings moist while they develop roots.
The “Secret Sauce” (Pro Tips)
Alright, a couple of little tricks that have made a real difference for me over the years:
- You know how sometimes the leaves of your cuttings hang down and touch the soil or water? Don’t let that happen! Those leaves are going to rot, and that rot can travel down to your precious cutting. Either trim them back a bit more, or adjust their position so they stay high and dry.
- Centaurea euxina appreciates a little warmth to get its roots going. If you have one, using a heat mat underneath your propagation tray can significantly speed up the rooting process. It’s like giving them a cozy little greenhouse to sprout in.
Aftercare & Troubleshooting
Once your cuttings are planted, keep the soil consistently moist but not waterlogged. You don’t want them drying out, but soggy soil will invite rot. Check for new growth regularly – tiny leaves unfurling are a good sign! It can take anywhere from 3 to 6 weeks for roots to develop.
If you notice your cuttings wilting, turning black at the base, or becoming mushy, that’s usually a sign of rot. This often happens because of too much moisture or poor air circulation. In such cases, sadly, it’s often best to discard the affected cuttings and try again, perhaps with drier soil or better airflow.
A Encouraging Closing
Propagating plants is a journey, and not every attempt will be a roaring success. That’s totally okay! Learn from each experience, be patient with your little cuttings, and most importantly, enjoy the process. Seeing those first roots emerge is incredibly rewarding, and soon you’ll have a whole new batch of these beauties to admire. Happy gardening!
Resource:
https://identify.plantnet.org/k-world-flora/species/Centaurea%20euxina%20Velen./data