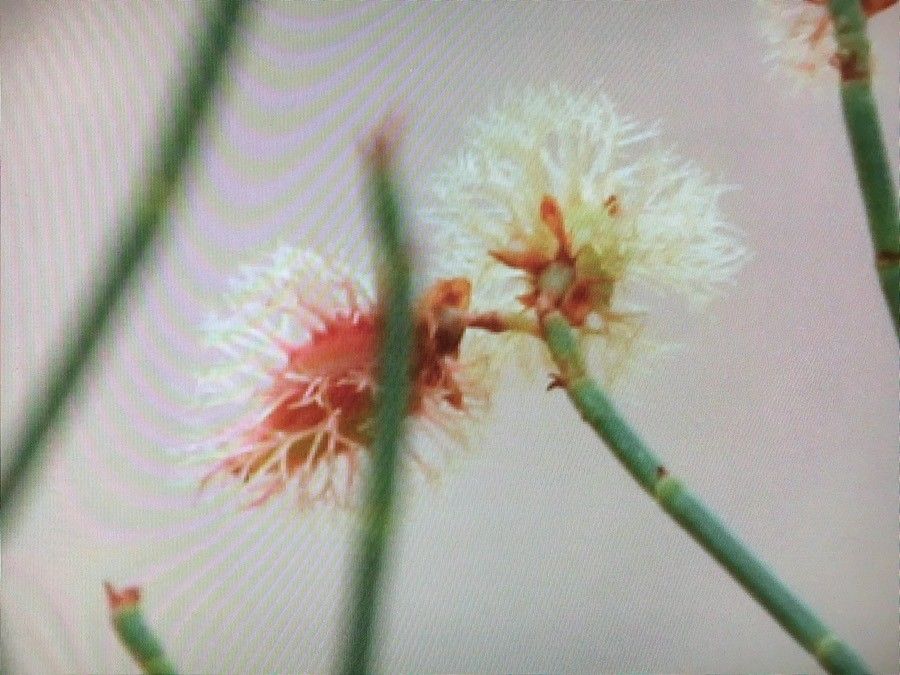
Hello, fellow garden enthusiasts! Today, I want to chat about a truly special plant: Calligonum mongolicum, often known as Mongolian Eremurus or, more simply, its wonderfully evocative name that hints at its desert origins. This resilient beauty, with its architectural form and delicate flowers that seem to dance in the breeze, is a real showstopper. And the joy of seeing a tiny cutting transform into a thriving plant? Pure gardening magic!
If you’re new to the plant propagation scene, you might wonder if Calligonum mongolicum is the right starter project. While it’s not the absolute easiest plant out there, with a little patience and these tried-and-true methods, I’m confident you’ll find success. It’s a fantastic way to get a feel for what helps plants thrive.
The Best Time to Start
For Calligonum mongolicum, timing is key! I find the late spring to early summer, just as the plant is in its active growing phase, is the sweet spot. You want to take cuttings when the plant is energetic, bursting with life, and ready to grow. Avoid taking cuttings when the plant is stressed, perhaps from extreme heat or drought.
Supplies You’ll Need
Here’s what I like to have on hand:
- Sharp pruning shears or a clean knife: For making precise cuts that minimize damage.
- Rooting hormone (powder or gel): This isn’t strictly essential for Calligonum mongolicum, but it gives your cuttings a lovely boost and increases your success rate.
- Well-draining potting mix: A blend of perlite, coarse sand, and a good quality potting soil works wonders. Don’t use anything too heavy that will hold excess moisture.
- Small pots or trays: Clean pots with drainage holes are a must.
- A misting bottle: For keeping your cuttings hydrated without overwatering.
- Clear plastic bags or a propagation dome: To create a humid microclimate.
Propagation Methods
We’ll focus on the most reliable way for home gardeners: stem cuttings.
- Select Healthy Stems: Look for healthy, semi-hardwood stems. These are stems that have started to mature but are still somewhat flexible. You’re aiming for pieces about 4-6 inches long.
- Make the Cut: Using your sharp pruning shears or knife, make a clean cut just below a leaf node. A leaf node is where a leaf attaches to the stem – this is where the magic of root formation often happens!
- Prepare the Cutting: Gently remove the lower leaves from the cutting, leaving just a few at the top. This helps prevent them from rotting in the soil and encourages the plant to focus its energy on root development.
- Apply Rooting Hormone: Dip the cut end of the stem into your rooting hormone, tapping off any excess. This step is quite beneficial!
- Plant Your Cuttings: Fill your small pots with your well-draining potting mix. Make a small hole in the center of the soil and insert the cutting, ensuring the leaf nodes are below the soil surface. Gently firm the soil around the cutting.
- Water Lightly: Water the soil until it’s moist but not waterlogged.
- Create a Humid Environment: This is crucial! Place the potted cuttings into a clear plastic bag, sealing it to create a mini-greenhouse effect, or cover them with a propagation dome.
The “Secret Sauce” (Pro Tips)
Here are a few things I’ve learned over the years that really make a difference:
- Don’t let the leaves touch the water/soil too much: If you’re doing water propagation (which I generally don’t recommend for this plant unless you’re super vigilant), ensure no leaves are submerged. For soil propagation, keeping the lower leaves removed is the best way to achieve this.
- Consider bottom heat: If you have a heat mat designed for seedlings, placing your pots on it can significantly speed up the rooting process. It mimics the warmth of the soil.
- Procrastinate on watering the pot: It might sound odd, but after the initial light watering, resist the urge to water again until the soil surface feels dry to the touch. Overwatering is the quickest way to doom a cutting.
Aftercare & Troubleshooting
Once you’ve potted your cuttings, place them in a bright spot but out of direct, harsh sunlight. Direct sun can scorch those tender cuttings. Mist the leaves occasionally if the humidity seems to be dropping inside the bag or dome.
Patience is your best friend here. Roots can take anywhere from 4 to 8 weeks to develop. You’ll know they’re starting to grow when you see new leafy growth appearing at the top. Gently tugging on the cutting – if there’s resistance, you’ve got roots!
The most common sign of failure is rot. If your cutting turns mushy and black, it’s likely succumbed to too much moisture or a fungal issue. If you see this, it’s best to discard it and try again, ensuring your soil is airy and you’re not overwatering.
A Little Patience Goes a Long Way
Watching a new plant emerge from a simple cutting is such a deeply satisfying experience. Don’t get discouraged if your first attempt isn’t perfect. Every gardener learns by doing, and the journey of propagation is a rewarding one. Be patient, enjoy the process, and soon you’ll be admiring your very own Calligonum mongolicum clones! Happy gardening!
Resource:
https://identify.plantnet.org/k-world-flora/species/Calligonum%20mongolicum%20Turcz./data