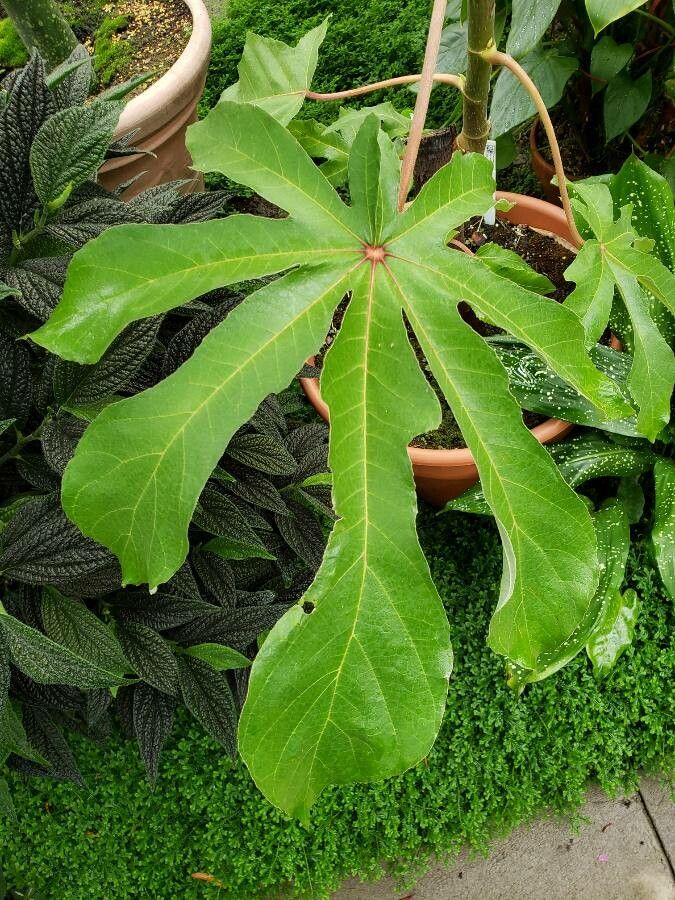
Oh, hello there, garden enthusiast! Grab a mug of your favorite beverage, and let’s talk about a truly magnificent plant: the Cecropia palmata, often called the Cecropia tree or “crescents.” There’s something so wonderfully tropical and airy about those large, lobed leaves on those distinctive, segmented trunks. They bring a real wow factor to any space, especially in warmer climates, and if you’re looking to expand your collection or share the joy, propagating them is incredibly rewarding. Now, I won’t sugarcoat it – Cecropias can be a little fussy, so they might not be your absolute first venture into propagation if you’re brand new to the whole thing. But with a bit of patience and these insider tips, you’ll be well on your way!
When to Whisper Sweet Nothings to Your Cecropia
The sweet spot for propagating Cecropia palmata is when the plant is actively growing. Think late spring through early summer. This is when the plant has plenty of energy to put into developing new roots. You’re looking for well-established, healthy branches – nothing that looks stressed, yellowed, or diseased. A good, strong stem will give you the best chance of success.
Your Propagation Toolkit
Here’s what you’ll want to have on hand as we get started:
- Sharp Pruning Shears or a Knife: Cleanliness is key here to prevent disease.
- Rooting Hormone (Optional but Recommended): A powder or gel can really give your cuttings a boost.
- A Well-Draining Potting Mix: I like a blend of about 50% peat moss or coco coir and 50% perlite or coarse sand. This keeps things airy.
- Small Pots or Seedling Trays: For your new little propagations.
- Clear Plastic Bag or Dome: To create a mini-greenhouse effect.
- Gloves: Some plants can irritate skin.
- A Spray Bottle: For misting.
Bringing New Cecropias to Life
We’ll focus on stem cuttings, as this is generally the most successful method for Cecropias.
Step 1: Taking the Cutting
Find a healthy, semi-hardwood stem that is at least 6-8 inches long. Angle your cut just below a leaf node (where a leaf attaches to the stem). This node is where roots are most likely to form. You want to take cuttings from branches that are not too soft and new, nor too old and woody.
Step 2: Preparing the Cutting
Gently remove the lower leaves from the cutting, leaving just a few at the top. This prevents them from rotting in the soil. If your cutting is very long, you can cut the remaining leaves in half to reduce water loss.
Step 3: Applying Rooting Hormone (If Using)
Dip the cut end of the stem into your rooting hormone, tapping off any excess.
Step 4: Planting the Cutting
Fill your pots with the well-draining potting mix. Make a small hole in the center with your finger or a pencil. Firmly insert the cut end of the Cecropia stem into the hole, making sure at least one or two leaf nodes are buried beneath the surface. Gently firm the soil around the cutting.
Step 5: Creating a Humid Environment
Water the soil lightly, just enough to moisten it. Then, place the pot inside a clear plastic bag or cover it with a clear dome. This traps humidity, which is crucial for cuttings that can’t yet absorb water through their own roots.
The “Secret Sauce” for Cecropia Success
Here are a few tricks I’ve learned over the years that can make all the difference:
- Don’t Drown It! While humidity is key, don’t let the leaves of your cutting sit directly in standing water inside the plastic bag or dome. This is a fast track to rot. If you see condensation pooling excessively, open the bag for a few hours to let it air out.
- Bottom Heat is Your Friend: Cecropias love warmth, and bottom heat can significantly speed up root development. If you have a seedling heat mat, place your potted cuttings on it. It mimics that wonderful, warm soil they crave.
- Patience, Young Grasshopper! Cecropias can be a bit slow to root. Don’t give up if you don’t see new growth within a few weeks. I’ve had cuttings take a couple of months to show signs of life. Resist the urge to pull them up and check for roots too early!
Aftercare and What to Watch For
Once you start seeing signs of new growth – perhaps tiny new leaves at the top or a slight resistance when you gently tug on the cutting – it means roots are forming!
- Gradually Acclimate: As your cutting shows real progress, start gradually opening the plastic bag or dome over a week or two. This helps the new plant adjust to drier air.
- Watering: Water when the top inch of soil feels dry. You want to keep the soil consistently moist but never soggy.
- Troubleshooting: The most common issue is rot. If your cutting turns mushy, black, or smells funky, it’s likely rotted. This is usually due to too much moisture and not enough airflow. If you catch it early, you might be able to salvage a healthy bit higher up the stem, but often it’s best to try again. Another sign of no success is the cutting simply shriveling and drying out, which means it’s not taking up water – often a humidity or root development problem.
Happy Propagating!
There you have it! Propagating Cecropia palmata might take a little finesse, but the satisfaction of nurturing a new plant from a simple cutting is simply unparalleled. Be patient, observe your little green charges, and enjoy the journey. Happy gardening!
Resource:
https://identify.plantnet.org/k-world-flora/species/Cecropia%20palmata%20Willd./data