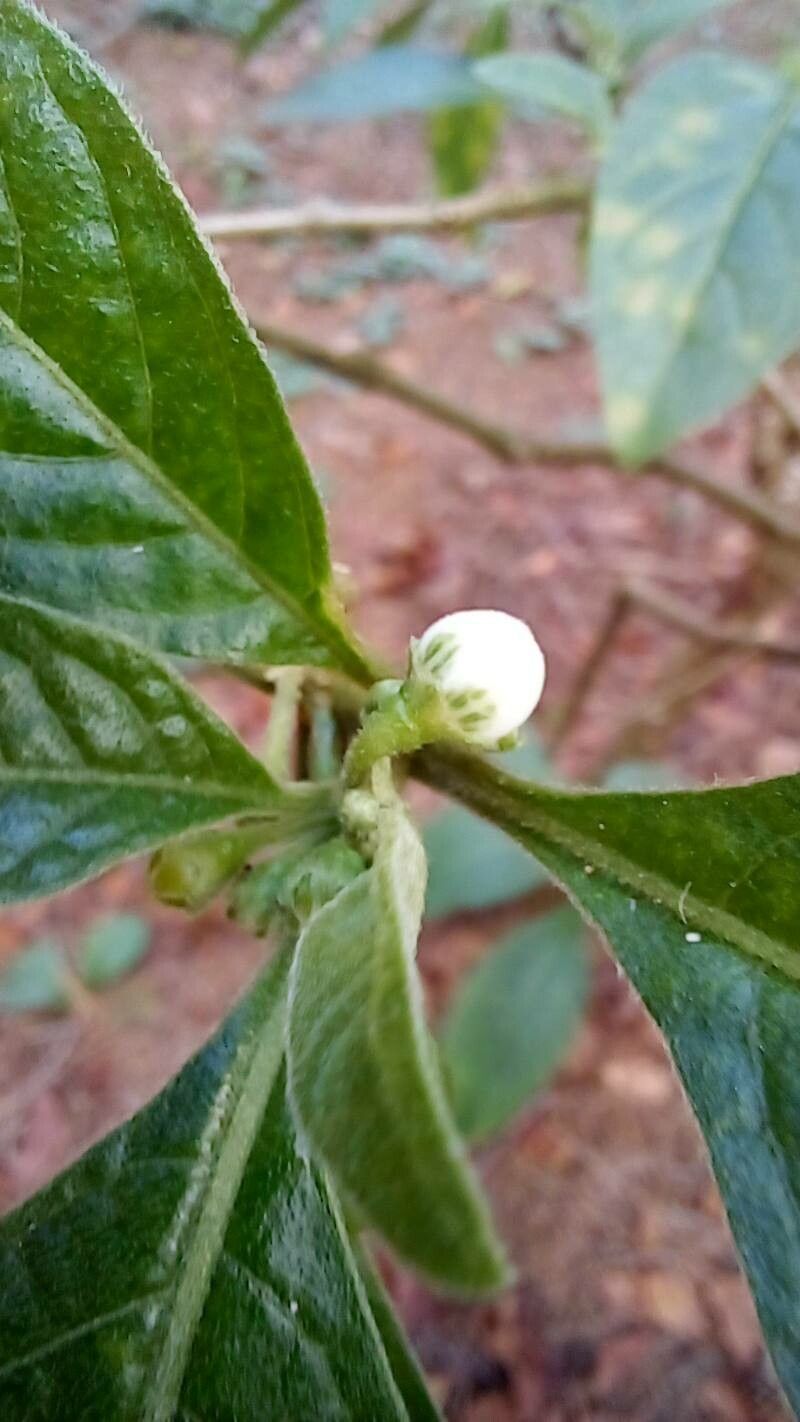
Hello there, fellow garden enthusiasts! I’m absolutely delighted to share my passion for a plant that has brought so much joy to my own green corners: Athenaea velutina, also known as the Velvet Nightshade. Its velvety, ovate leaves and a history tied to the Solanum genus make it a fascinating and truly beautiful specimen. Propagating it yourself is incredibly rewarding, especially when you see those first tiny roots emerge. If you’re new to the propagation game, don’t fret! While it has a few quirks, it’s not overly challenging and can be a wonderful learning experience.
The Best Time to Start
For the highest chance of success with Athenaea velutina, I always recommend taking cuttings in late spring or early summer. This is when the plant is actively growing and has plenty of energy to put into developing new roots. You want to select stems that are semi-hardwood – meaning they aren’t brand new, floppy growth, but also not old, woody stems. They should be firm but still slightly flexible.
Supplies You’ll Need
Gathering your tools before you start makes the entire process so much smoother. Here’s what I always have on hand:
- Sharp, clean pruning shears or a sharp knife: Hygiene is key, so sterilize them with rubbing alcohol before you begin.
- Rooting hormone (optional but recommended): This is a helpful booster for encouraging root development, though not always strictly necessary.
- A well-draining potting mix: I love a mix of equal parts peat moss, perlite, and a bit of compost. You can often find special “seed starting” or “cutting” mixes too.
- Small pots or trays with drainage holes: These are perfect for giving your cuttings a cozy start.
- A clear plastic bag or a propagation dome: This creates a humid environment, which is crucial for cuttings.
- Water: For use in rinsing, misting, or for optional water propagation.
Propagation Methods
There are a couple of ways to go about propagating Athenaea velutina, and I’ve had good luck with both stem cuttings and, for variety, a bit of water propagation.
1. Stem Cuttings (My Go-To!)
This is my favorite method. It’s reliable and you get more bang for your buck, often yielding multiple new plants from one parent.
- Select your stems: As I mentioned, look for those semi-hardwood stems. You want to take cuttings that are about 4-6 inches long.
- Make the cut: Use your clean shears to make a clean cut just below a leaf node. A leaf node is where a leaf attaches to the stem. This is usually where roots will emerge.
- Prepare the cutting: Gently remove the bottom leaves, leaving only the top two or three leaves. You can even cut these larger leaves in half horizontally to reduce water loss.
- Apply rooting hormone (if using): Dip the cut end of the stem into your rooting hormone powder. Tap off any excess.
- Pot them up: Fill your small pots with your prepared potting mix. Make a hole in the center of the soil with your finger or a pencil.
- Insert the cutting: Gently insert the cut end of the stem into the hole, ensuring the nodes where you removed leaves are buried. Firm the soil gently around the base of the cutting.
- Water and cover: Water thoroughly until water drains from the bottom. Then, place the pot inside a plastic bag, sealing it to create a mini-greenhouse, or cover it with a propagation dome.
2. Water Propagation (A Visual Treat!)
This is fun because you can actually see the roots develop! It’s a great option when you want to observe the process closely.
- Take your cuttings: Follow the same steps as above for selecting and preparing your 4-6 inch semi-hardwood cuttings, removing the lower leaves.
- Place in water: Find a clean jar or glass and fill it with fresh water. Place the cuttings in the water, making sure no leaves are submerged. This is super important! Any leaves below the water will rot.
- Find a good spot: Place your jar in a bright location out of direct sunlight. You want warmth, but no scorching sun.
- Change the water: Change the water every few days to keep it fresh and oxygenated. You’ll start to see tiny white nubs appear at the leaf nodes, which will develop into roots.
- Potting up: Once the roots are about 1-2 inches long, you can carefully transplant them into your potting mix, following the steps for stem cuttings. Be gentle with those new roots!
The “Secret Sauce” (Pro Tips)
After all these years, I’ve picked up a few tricks that really make a difference.
First, don’t overcrowd your cuttings. Give them a little breathing room in their pots. This improves air circulation and reduces the risk of fungal diseases, which can be a real headache for tender new plants.
Second, if you’re using the plastic bag method, I like to prop open the bag slightly with a chopstick or twig. This allows for a little bit of air exchange while still maintaining high humidity. Too much stagnant air can invite mold.
And finally, consider a little bit of bottom heat. If your home tends to be cooler in the propagation area, a heat mat designed for seedlings can significantly speed up root development. It mimics the warmth of the soil in the growing season.
Aftercare & Troubleshooting
Once your cuttings have taken root – you’ll know this when you see new leaf growth and feel a slight resistance when you gently tug on the cutting – it’s time for a little more involved care.
Gradually acclimate your new plants to less humid conditions. Slowly open the plastic bag or propagation dome over a few days. Water them when the top inch of soil feels dry. They’re still young and need consistent moisture, but avoid waterlogging.
Now, what if things don’t go as planned? The most common issue I see is rot. This usually happens when cuttings sit in waterlogged soil or the leaves are touching the water in water propagation. You might see mushy stems or blackened ends. If you spot this, discard the affected cuttings and try again, making sure your soil drains well and leaves are kept above water. Sometimes, a cutting might just seem to do nothing; this is often a sign it hasn’t rooted, and you might need to give it more time or try a fresh cutting. Patience is truly a virtue in gardening!
A Encouraging Closing
Propagating Athenaea velutina is a fantastic way to multiply your plant collection and to deepen your understanding of how plants grow. Don’t be discouraged if your first few attempts aren’t perfect – every gardener has experienced a few failures! Keep experimenting, keep learning, and most importantly, enjoy the journey of coaxing new life from your existing plants. Happy propagating!
Resource:
https://identify.plantnet.org/k-world-flora/species/Athenaea%20velutina%20(Sendtn.)%20D’Arcy/data