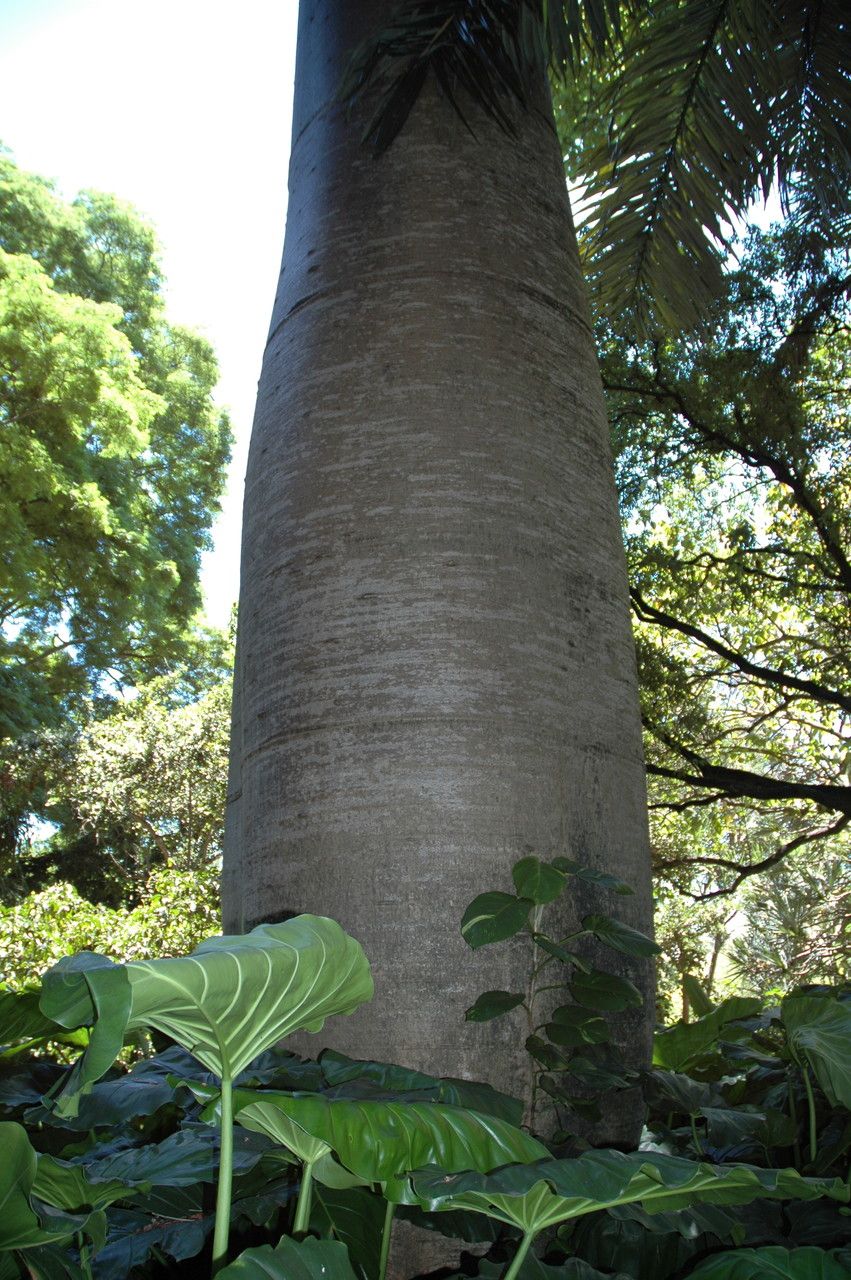
Ah, the Cavanillesia platanifolia! If you’ve ever seen one of these beauties, you know exactly what I mean by “appeal.” With its striking, often bottle-shaped trunk and those wonderfully tropical-looking leaves, it’s a plant that really makes a statement. It’s a bit like having a living sculpture in your garden or on your patio. And the thought of replicating that magic for yourself? Pure joy!
Now, is this a beginner plant to propagate? Honestly, I’d say it’s for the gardener who has a little experience under their belt. It’s not impossible, mind you, but it does require a bit more finesse than, say, a simple geranium cutting. But don’t let that deter you! The rewards are absolutely worth the effort.
The Best Time to Start
For the highest success rate with Cavanillesia platanifolia, your best bet is to start in the warmer months, generally late spring through early fall. This is when the plant is actively growing, and cuttings have the most energy to put into developing roots. You want to work with healthy, vigorous plant material.
Supplies You’ll Need
Here’s what I always have on hand for a propagation session like this:
- Sharp Pruning Shears or a Knife: Cleanliness is key to preventing disease. Sterilize them with rubbing alcohol before you begin.
- Rooting Hormone: This is particularly helpful for Cavanillesia to give those cuttings a good start. Look for a powder or gel specifically for semi-hardwood cuttings.
- Well-Draining Potting Mix: A good mix is crucial. I prefer a blend of 50% perlite and 50% a good quality potting soil. You could also use a cactus or succulent mix.
- Pots or Trays: Small pots (around 4-6 inches) work well for individual cuttings.
- Clear Plastic Bag or Humidity Dome: This creates a mini-greenhouse effect.
- Small Watering Can or Mister: For gentle watering.
- Gloves: Some plants can have a milky sap that can be irritating.
Propagation Methods
The most reliable way I’ve found to propagate Cavanillesia platanifolia is through stem cuttings.
- Select Your Cutting: Look for a healthy branch that’s about 6-10 inches long and has at least a few sets of leaves. Avoid anything that looks old or woody. You want something firm but not rigid.
- Make the Cut: Using your sterilized shears or knife, make a clean cut just below a leaf node. A node is where a leaf attaches to the stem. This is where the magic of root development most often happens.
- Prepare the Cutting: Gently remove the lower leaves, leaving perhaps two or three at the top. This reduces water loss and prevents leaves from rotting in the soil. If the remaining leaves are very large, you can snip them in half to further reduce transpiration.
- Apply Rooting Hormone: Dip the cut end of the stem into your rooting hormone, ensuring it’s coated well. Tap off any excess.
- Plant the Cutting: Fill your small pots with your well-draining potting mix. Make a small pre-drilled hole with a pencil or your finger to avoid wiping off the rooting hormone and gently insert the cutting. Firm the soil around it.
- Provide Humidity: Water the soil lightly until it’s moist but not soggy. Then, cover the pot with a clear plastic bag (propping it up with stakes so it doesn’t touch the leaves) or place it under a humidity dome.
The “Secret Sauce” (Pro Tips)
Here are a couple of things I’ve learned over the years that can really make a difference:
- Bottom Heat is Your Friend: If you have it, using a heating mat under your pots can significantly speed up root formation. Cavanillesia loves warmth, and consistent bottom heat mimics what it would experience in its ideal environment.
- Don’t Over-Water: This is probably the biggest mistake people make. It’s much easier to revive a slightly dry plant than a rotten one. Let the soil surface dry out slightly between waterings. The humidity within the dome or bag will keep the leaves hydrated.
Aftercare & Troubleshooting
Once your cuttings have been planted and are happily ensconced in their humid environment, it’s time to be patient.
- Placement: Keep them in a bright spot, but out of direct, harsh sunlight. Too much sun can scorch the leaves while they are still struggling to establish.
- Checking for Roots: After about 4-8 weeks, you can gently tug on a cutting. If you feel resistance, that’s a good sign of root development. You can also look for new leaf growth.
- Troubleshooting: The most common issue you’ll face is rot. If you notice the stem turning black and mushy, or the leaves wilting dramatically, it’s usually a sign of too much moisture. Unfortunately, a rotten cutting usually can’t be saved. Prevention through good drainage and careful watering is key. If cuttings simply fail to root, it could be they weren’t mature enough, the conditions weren’t right, or they simply weren’t viable. Don’t be discouraged – just try again!
A Encouraging Closing
Propagating plants is a journey, and each plant has its own personality and pace. So be patient with your Cavanillesia platanifolia cuttings. Observe them, learn from them, and celebrate every sign of progress. It’s incredibly satisfying to nurture a new life from a piece of your favorite plant. Happy gardening!
Resource: