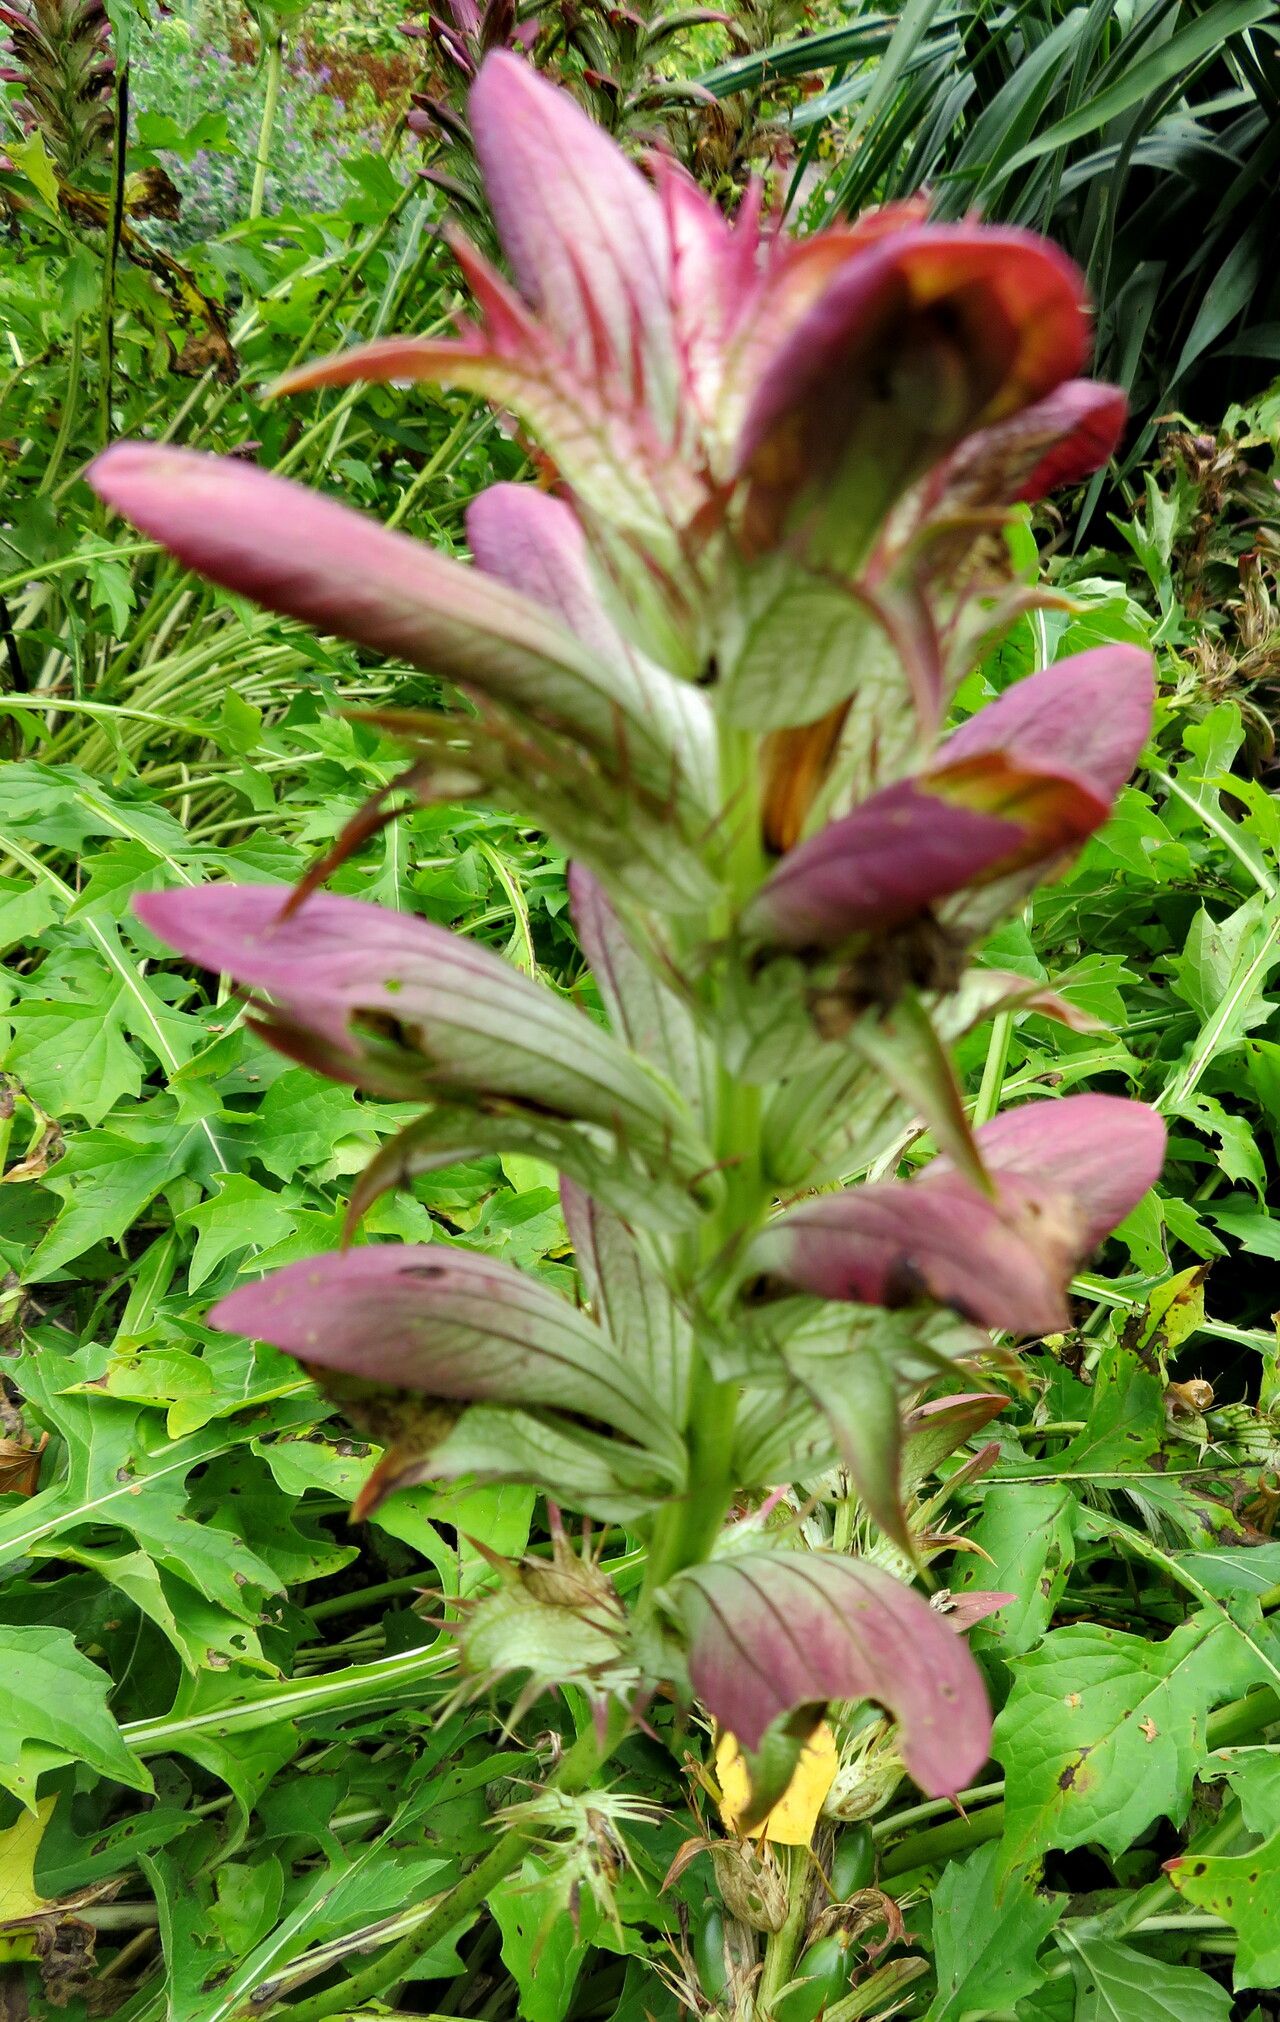
Oh, Acanthus hungaricus! What a magnificent plant. Those dramatic, architectural leaves and stunning spires of purple flowers are a garden showstopper. If you’ve ever marveled at its presence, or perhaps admired a friend’s expansive planting, you might be wondering how to get more for your own patch.
Propagating these beauties is a truly rewarding endeavor. It’s like unlocking a little piece of gardening magic, seeing a tiny effort grow into a full-fledged plant. For most home gardeners, I’d say division is your best bet, and it’s quite manageable, even if you’re just starting out. Stem cuttings can be a bit trickier, but with a few tricks up your sleeve, it’s definitely achievable!
The Best Time to Start
My favorite time to get busy with Acanthus hungaricus propagation is in early spring. Think of it as ushering in the new growth season. The plant is waking up from its winter slumber, and the roots are ready to get going. You can also have success with late summer or early fall, before the real chill sets in. Either way, aim for when the plant is actively growing, not dormant.
Supplies You’ll Need
- Sharp pruning shears or a clean knife: We want to make clean cuts, not tear the plant tissue.
- Well-draining potting mix: A 50/50 blend of peat moss or coir and perlite or coarse sand is ideal. Acanthus hates soggy feet.
- Rooting hormone (optional, but recommended for cuttings): This gives those little root cells a nudge.
- Small pots or seed trays: Whatever you have that can hold your new propagules.
- Labels: So you don’t forget what you’ve planted where!
- A watering can with a fine rose: To avoid disturbing your delicate cuttings.
- For division: A garden fork or trowel.
Propagation Methods
Let’s dive into the nitty-gritty of how to get these plants to show up in more places in your garden.
Division (My Favorite!)
This is the most straightforward method. It involves splitting up the main root ball of an established plant.
- Dig carefully: In early spring, gently excavate around your mature Acanthus. The goal is to lift the entire plant with as much of its root system intact as possible.
- Clean the roots: Gently shake off excess soil. You’ll see where the plant has naturally branched out from the crown.
- Divide with intent: Using your pruners, knife, or even your hands for smaller divisions, separate the root ball into sections. Each section should have at least one or two healthy shoots or buds and a decent portion of root. If you’re struggling to separate, a clean spade can sometimes work, but be gentle!
- Plant your new babies: Pot up each division in your well-draining mix. Make sure the crown (where the leaves emerge from the roots) is just at or slightly above soil level.
- Water well: Give them a good soak to settle the soil.
Stem Cuttings (A Bit More Adventurous)
This method is for when you have a healthy plant and want to try something a little more experimental.
- Select your stem: Look for firm, healthy stems from a plant that’s actively growing. Avoid anything woody or overly soft. Aim for pieces that are about 4-6 inches long.
- Make the cut: Using your sharp shears, take cuttings just below a leaf node. A node is where a leaf joins the stem.
- Prepare the cutting: Remove the lower leaves, leaving just a couple of leaves at the top. If the remaining leaves are very large, you can even snip them in half to reduce water loss.
- Apply hormone (optional): Dip the cut end of the stem into your rooting hormone, tapping off any excess.
- Planting: Make a hole in your potting mix with a pencil or your finger. Insert the cutting deep enough so that at least one leaf node is buried in the soil. Firm the soil gently around the cutting.
- Water lightly: Mist the surface or water very gently.
The “Secret Sauce” (Pro Tips)
- Don’t overcrowd: When dividing, resist the urge to cram too many propagules into one pot. Give them space to breathe and grow. For cuttings, just one cutting per small pot is usually best.
- Bottom heat is your friend for cuttings: If you’re serious about stem cuttings, a heated propagator or placing pots on a gentle heat mat can work wonders. It encourages root development from below. Just ensure the temperature isn’t too high – cozy, not scorching.
- Patience with division: Even after division, it might take a few weeks for your new Acanthus to show fresh top growth. Don’t panic if they look a little sad for a bit. They’re just settling in.
Aftercare & Troubleshooting
Once your Acanthus have settled in, whether they’re divisions or cuttings with new roots, treat them with gentle care.
- Watering: Keep the soil consistently moist, but never waterlogged. This is crucial. A good way to check is to stick your finger an inch or so into the soil. If it feels dry, it’s time to water.
- Light: Place them in a bright spot, but out of direct, harsh sunlight, especially when they are small and sensitive.
- Potting up: As they grow, you may need to pot them into slightly larger containers. Look for roots emerging from the drainage holes as a sign.
Now, what if things go wrong? The most common culprit is rot, usually due to overwatering. If you see your cutting or division turning mushy, black, or just generally looking dejected, it’s often a sign of too much moisture. In this case, remove the affected part immediately, let the roots air out a bit, and replant in fresh, drier, well-draining soil. If you see no root development after a good while, don’t give up just yet. Some plants are just slow pokes! You might try refreshing the rooting hormone or ensuring consistent moisture and warmth.
A Encouraging Closing
Propagating your Acanthus hungaricus is a journey, and like all good gardening adventures, it requires a little patience and a lot of love. Don’t be discouraged if your first attempt isn’t a roaring success. Every plant, every season, teaches us something new. So, gather your tools, get your hands in the soil, and enjoy the wonderful process of bringing more of these magnificent plants into your life. Happy gardening!
Resource:
https://identify.plantnet.org/k-world-flora/species/Acanthus%20hungaricus%20(Borbás)%20Baen./data