Oh, Camellia yunnanensis! If you’re looking for an evergreen with a bit of wild elegance, this is your gal. Her delicate, often fragrant flowers, usually pink or white, can just make your heart sing. And the deep green, glossy leaves? Simply stunning. While some camellias can be a little finicky, propagating yunnanensis is a genuinely rewarding endeavor, and I’m excited to share how you can do it. For those of you just dipping your toes into the world of plant propagation, I’d say yunnanensis falls into the “moderately achievable” category. A little patience and the right approach, and you’ll be rewarded.
The Best Time to Start
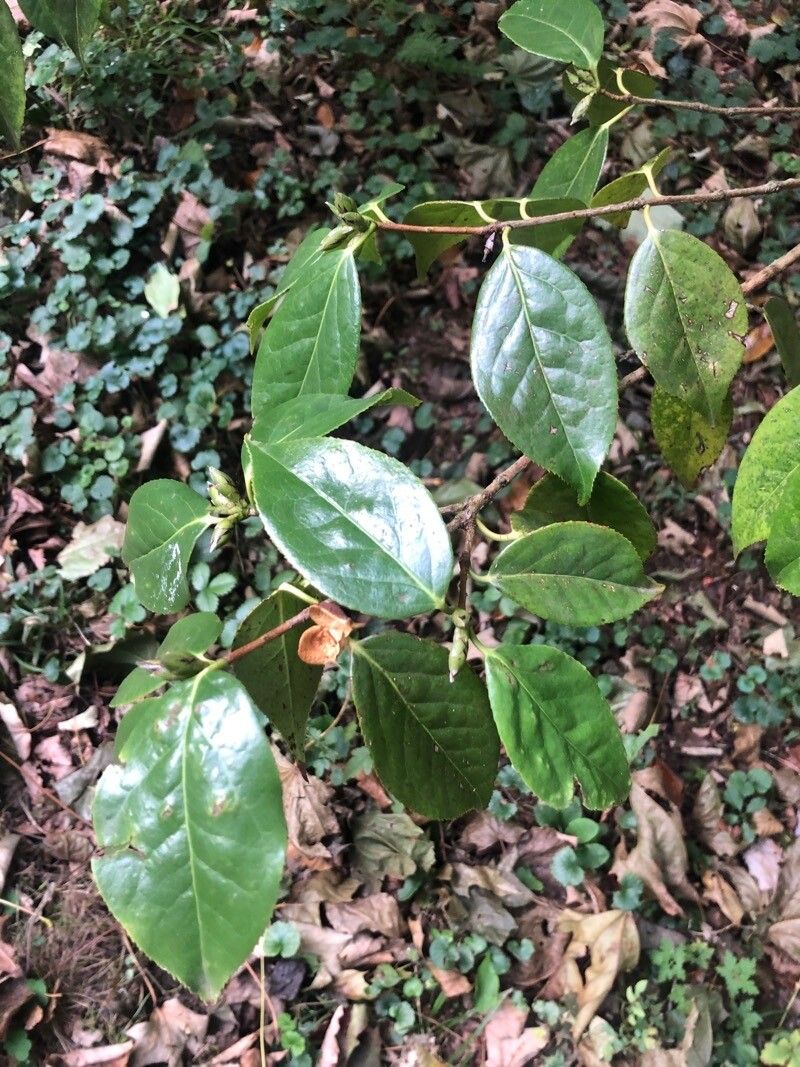
My favorite time to take cuttings from Camellia yunnanensis is late spring to early summer. This is when the plant has finished its main flush of growth and is producing what we call “semi-ripe” wood. It’s not too soft and floppy, nor is it hard and woody. Think of it like a sturdy pencil – it bends but doesn’t snap. This stage offers the best chance for those precious roots to form.
Supplies You’ll Need
Gathering your tools beforehand makes the whole process much smoother. Here’s what I always have on hand:
- Sharp, clean pruning shears or a sharp knife: Essential for taking clean cuts.
- Rooting hormone: I prefer a powder form for stem cuttings.
- A well-draining potting mix: A 50/50 blend of peat moss and perlite or horticultural grit works wonderfully. Some gardeners swear by specific camellia potting mixes, which are also a great option.
- Small pots or seed trays: Clean pots are key to preventing disease.
- A plastic bag or propagator: To create a humid environment.
- Watering can with a fine rose: For gentle watering.
- Label and marker: Don’t forget to label your cuttings!
Propagation Methods
For Camellia yunnanensis, stem cuttings are by far my most successful and straightforward method. Let’s dive in.
- Taking the Cuttings: On a healthy branch, look for that semi-ripe wood I mentioned. Using your clean shears, take cuttings that are about 6-8 inches long. Make a clean cut just below a leaf node (where a leaf attaches to the stem). Remove the lower leaves, leaving just two or three at the top.
- Preparing the Cuttings: Dip the cut end into rooting hormone, tapping off any excess. This really gives your cuttings a boost.
- Planting the Cuttings: Fill your clean pots with the prepared potting mix. Make a hole with a pencil or your finger, and gently insert the cutting, firming the soil around it. Aim to have at least one leaf node buried in the soil.
- Creating Humidity: Water the soil gently until it’s moist but not waterlogged. Then, cover the pot with a plastic bag or place it in a propagator. This traps moisture, preventing the cuttings from drying out before they can root. You can use skewers to prop up the plastic if it touches the leaves.
The “Secret Sauce” (Pro Tips)
Okay, now for a couple of things I’ve learned over the years that can really make a difference.
One thing I’ve noticed is that avoiding direct sunlight is crucial for newly potted cuttings. They need bright, indirect light only. Too much sun will scorch those delicate leaves and dry out the entire cutting. Think dappled shade, maybe under a larger shrub or on an east-facing windowsill.
Another biggie? Bottom heat. If you can, placing your pots on a heat mat designed for seedlings can dramatically speed up the rooting process. It encourages root development from below, which is just what we want. Don’t go too hot, though; lukewarm is perfect.
Aftercare & Troubleshooting
Once your cuttings are potted up, the wait begins! Keep them in that humid environment and check the moisture levels regularly. The soil should always feel slightly damp. You’ll know your cuttings are rooting when you see new growth appearing, or when you gently tug on a cutting and feel resistance. This usually takes anywhere from 6 weeks to a few months.
The most common issue you’ll encounter is rot. If you see mushy, blackened stems or mold on the soil surface, it’s usually a sign of overwatering or poor air circulation. Don’t be discouraged! Remove the affected cutting and try again, ensuring your soil drains well and you’re not keeping them too soggy. Sometimes, over-handling can also cause problems, so try to resist the urge to keep pulling them up to check for roots.
A Little Encouragement
Propagating plants is a lesson in patience and observation. Some take root quickly, others linger, and some… well, they just don’t make it. That’s all part of the journey! Enjoy the process, learn from every cutting, and before you know it, you’ll have a beautiful new Camellia yunnanensis to call your own. Happy gardening!
Resource: