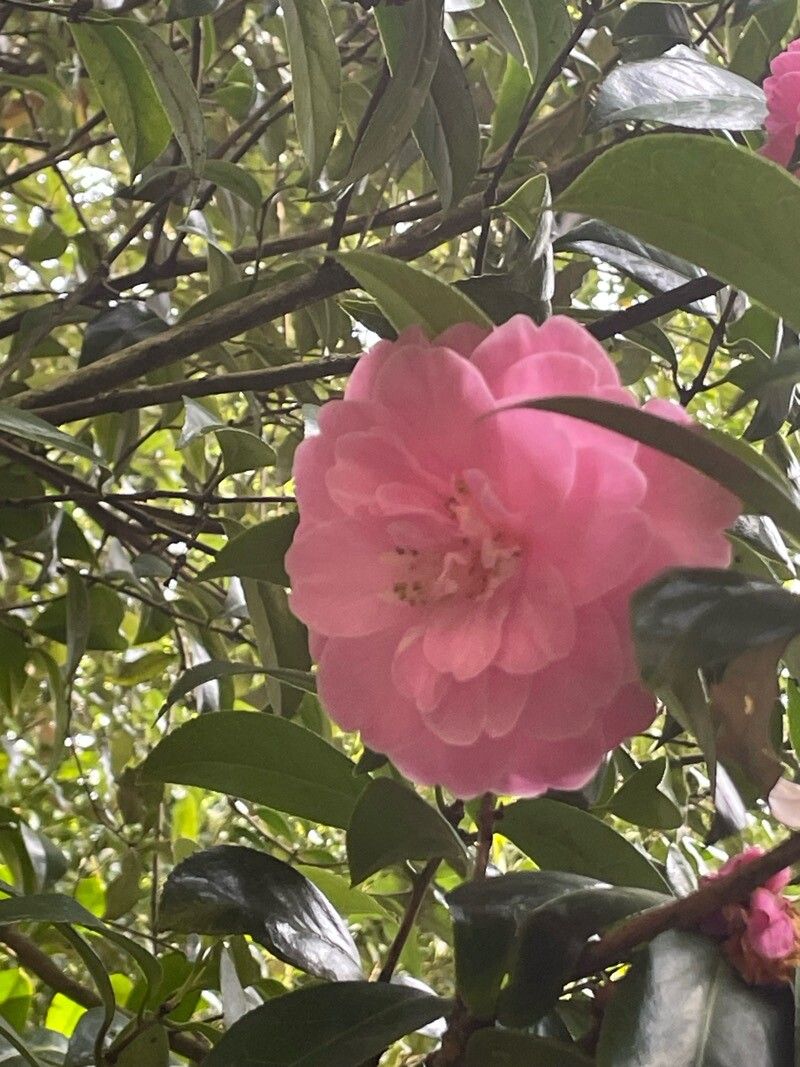
Hello fellow garden enthusiasts! Today, we’re diving into the wonderful world of Camellia propagation. If you’ve ever admired the delicate, graceful beauty of Camellia saluenensis, with its ethereal pink or white blooms, you know why it’s such a treasured plant. Bringing these beauties into your own garden from a cutting or a division is incredibly satisfying. Now, I’ll be honest, Camellia saluenensis can be a bit of a diva sometimes. It’s not always the easiest plant for absolute beginners to propagate, but with a little patience and the right approach, you can absolutely succeed! Don’t let that deter you; the rewards are so worth the effort.
The Best Time to Start
For the highest success rate, I always recommend taking cuttings in late spring or early summer. This is when the plant is actively growing and has plenty of energy. You’ll be looking for “semi-ripe” wood. This means the current season’s growth has started to firm up a bit but hasn’t turned woody and hard yet. It should snap cleanly when bent, not just bend limply.
Supplies You’ll Need
Gathering your supplies beforehand makes the whole process much smoother. Here’s what I usually have on hand:
- Sharp Pruning Shears or a Knife: A clean cut is crucial to prevent disease.
- Rooting Hormone: Not strictly essential for all camellias, but it gives your cuttings a significant boost, especially for trickier species. I prefer a powder form.
- A Well-Draining Potting Mix: A good blend for me is 50% peat moss or coco coir and 50% perlite or coarse sand. You want good aeration.
- Small Pots or Trays: Clean pots are key! I use 4-inch pots or propagation trays.
- Plastic Bags or a Propagation Dome: To create a humid environment.
- A Dibber or Pencil: For making holes to insert your cuttings.
- A Watering Can with a Fine Rose: To water gently.
- Labels and a Marker: So you don’t forget what you’ve planted!
Propagation Methods
Let’s get our hands dirty! Here are the most successful methods I’ve found for Camellia saluenensis.
Stem Cuttings (My Go-To Method):
- Select and Cut: Choose healthy, non-flowering shoots from your Camellia saluenensis. Aim for cuttings about 4-6 inches long. Make a clean cut just below a leaf node (where a leaf attaches to the stem).
- Prepare the Cutting: Remove any leaves from the bottom half of the cutting. If the remaining leaves are very large, you can cut them in half horizontally to reduce water loss.
- Apply Rooting Hormone: Dip the cut end of the stem into your rooting hormone, tapping off any excess.
- Plant Your Cuttings: Fill your clean pots with your prepared potting mix. Use your dibber or pencil to make a hole deep enough for the unleafed portion of the cutting. Gently insert the cutting and firm the mix around it. Don’t plant too many in one pot; give them some space.
- Water and Cover: Water gently until the mix is moist but not waterlogged. Cover the pot with a clear plastic bag, securing it with a rubber band, or place it under a propagation dome. This keeps the humidity high, which is essential.
Water Propagation (A Cheerful Alternative):
While I don’t find water propagation quite as reliable for saluenensis as cuttings in soil, it’s an easy way to get started and see root development.
- Select and Cut: Follow the same steps as for stem cuttings regarding shoot selection and cutting.
- Prepare the Cutting: Remove the lower leaves as described above.
- Place in Water: Gently place the cuttings in a clean jar or glass of clean water. Ensure that no leaves are submerged in the water. This is crucial to prevent rot.
- Change Water Regularly: Change the water every few days to keep it fresh and oxygenated.
- When to Pot Up: Once you see little white roots forming, it’s time to transplant them into your well-draining potting mix, just as you would with your soil-propagated cuttings. Be extra gentle as these roots are very delicate.
The “Secret Sauce” (Pro Tips)
Over the years, I’ve picked up a few tricks that seem to make all the difference:
- Bottom Heat is Your Friend: If you have it, place your pots on a heat mat set to around 70-75°F (21-24°C). This gentle warmth encourages root development much faster than ambient room temperature alone.
- Don’t Over-Water, but Keep it Humid: It’s a fine line! You want the potting mix to stay consistently moist, but never soggy. Too much water will lead to rot. That humidity dome or plastic bag is your best friend here. Check the condensation; if it’s constantly dripping heavily, you might need to vent it for a short while.
- Be Patient with Air Circulation: While you want humidity, you also need some air flow. Occasionally lifting the plastic bag or opening the dome for a few minutes each day helps prevent fungal issues.
Aftercare & Troubleshooting
Once you start seeing signs of new growth (tiny leaves emerging from the tip), it’s a great indicator that roots are forming!
- Acclimatize Gradually: Slowly remove the plastic bag or open the dome over a week or two. This helps the new cutting adjust to the lower humidity of your home or greenhouse.
- Continue Watering: Keep the potting mix consistently moist.
- Look Out for Rot: The most common problem is stem rot, where the cutting turns black and mushy. This is usually a sign of too much moisture and poor air circulation. If you see this, sadly, that cutting is probably lost. Remove it immediately to prevent it from spreading. If the leaves start to yellow and drop, it could be a sign of too much direct sun or the plant drying out.
A Little Encouragement
Propagating plants is a journey. There will be successes, and there might be a few failures along the way – that’s all part of learning! Don’t get discouraged if your first attempt isn’t perfect. Each time you try, you’ll learn a little more. So, grab your tools, find a nice healthy camellia, and enjoy the process of coaxing new life from its branches. Happy propagating!
Resource:
https://identify.plantnet.org/k-world-flora/species/Camellia%20saluenensis%20Stapf%20ex%20Bean/data