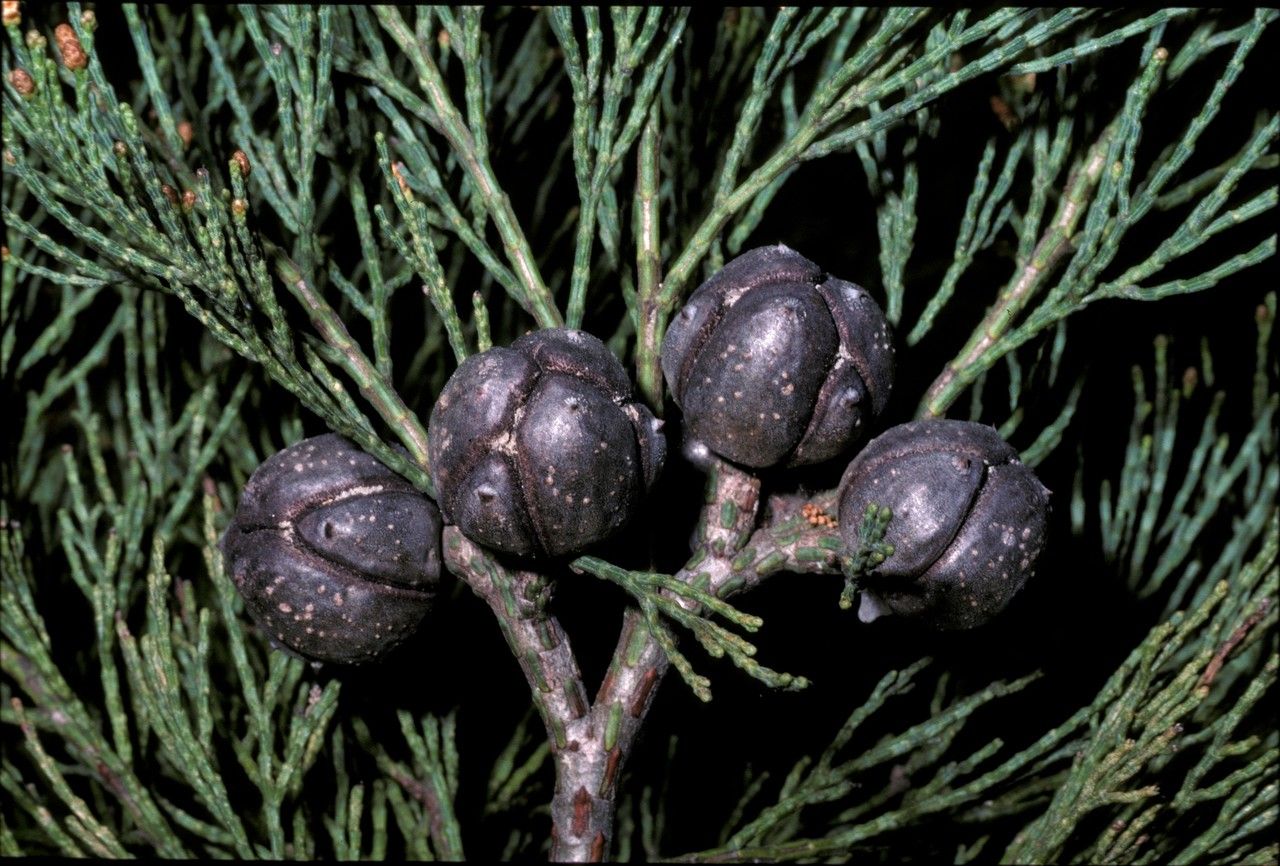
Oh, hello there! Come on in, grab a mug. I’ve been meaning to chat with you about Callitris canescens, or as some of us affectionately call it, the Coastal Cypress. Isn’t it a beauty? With its delicate, airy foliage and that lovely hint of silver… it’s just one of those plants that brings a certain tranquility to any garden. And the best part? There’s something undeniably satisfying about coaxing a brand new life from a piece of an existing one.
Now, if you’re new to the gardening game, you might be wondering if this is a project for you. I’d say that while Callitris canescens isn’t as foolproof as, say, a succulent, propagating it is absolutely achievable with a bit of care and attention. It’s a wonderful way to learn, and when you see those first tiny roots emerge, well, it’s just pure magic.
The Best Time to Start
For the highest success rate with Callitris canescens, I always recommend starting in the late spring or early summer. This is when the plant is in a period of active growth. You’ll want to look for semi-hardwood cuttings, which are shoots that have started to mature but are still somewhat flexible. You know the ones – they snap cleanly, but aren’t still floppy and green. This gives them a good balance of stored energy and responsiveness to rooting.
Supplies You’ll Need
Before we dive in, let’s gather our tools. Having everything ready makes the whole process so much smoother.
- Sharp Pruning Shears or a Craft Knife: For clean cuts, which are crucial for healthy propagation.
- Rooting Hormone: A good quality rooting hormone powder or gel will significantly boost your success.
- Well-draining Potting Mix: I prefer a mix of perlite, fine bark, and peat moss (about 1:1:1 ratio) for excellent aeration.
- Small Pots or a Propagation Tray: Clean, small pots (around 4-inch) or a tray with individual cells work best. Make sure they have drainage holes!
- Watering Can with a Fine Rose: For gentle watering without disturbing the cuttings.
- Plastic Bag or Cling Film: To create a mini-greenhouse effect.
- Optional: Heat Mat: Especially useful if your propagation area is a bit on the cooler side.
Propagation Methods
We’ll focus on stem cuttings as it’s the most effective method for Callitris canescens.
- Take Your Cuttings: On a mild, overcast day if possible, select healthy, vigorous stems from your parent plant. Carefully take cuttings that are about 4-6 inches long. Using your sharp pruning shears or craft knife, make a clean cut just below a leaf node (where a leaf attaches to the stem).
- Prepare the Cuttings: Gently remove the lower leaves from the cutting, leaving about an inch or so of bare stem. This prevents leaves from rotting when they’re in the soil. If you have larger, feathery foliage at the top, you can gently trim it back by about a third to reduce water loss.
- Apply Rooting Hormone: Dip the cut end of each cutting into your rooting hormone powder or gel. Tap off any excess. This step is really important.
- Plant Your Cuttings: Fill your small pots or tray with your prepared potting mix. Make a pre-made hole with a pencil or your finger. Carefully insert the treated end of the cutting into the hole, ensuring the leaf nodes are covered by the soil. Gently firm the soil around the base of the cutting.
- Water Gently: Water the pots thoroughly but gently. You want the soil to be moist, not soggy.
- Create a Humid Environment: Cover the pots with a clear plastic bag or cling film. You can use stakes to keep the plastic from touching the foliage. This will create a humid environment, which your cuttings need to thrive. Place the pots in a bright spot, but out of direct sunlight.
The “Secret Sauce” (Pro Tips)
Here are a couple of things I’ve learned over the years that really make a difference:
- Don’t Let Leaves Touch Water (If Water Propagating): While stem cuttings are best for Callitris, if you ever try water propagation with other plants, remember this golden rule. Any leaves submerged in water will rot and can introduce disease to your cutting. For our Callitris cuttings in soil, this translates to ensuring all foliage is above the soil line.
- The Magic of Bottom Heat: If you can, placing your propagation tray or pots on a gentle heat mat can be a real game-changer. Callitris roots seem to respond exceptionally well to a bit of warmth from below. It encourages faster and more robust root development. Just aim for a mild warmth, not scorching heat.
Aftercare & Troubleshooting
Once your cuttings are planted and covered, the waiting game begins! Keep the soil consistently moist but not waterlogged. Check the moisture level by gently pressing the soil with your finger. If it feels dry, give it a light watering.
You’ll know your cuttings are developing roots when you see new growth emerging or feel a slight resistance when gently tugging on the cutting. This usually takes anywhere from 4 to 8 weeks, sometimes longer. Once they’ve rooted, you can gradually acclimatize them to normal conditions by removing the plastic bag for increasing periods each day over a week.
The most common issue you’ll encounter is rot. If you see your cuttings turning yellow, wilting dramatically, or developing black, mushy stems, it’s usually a sign of too much moisture and not enough air circulation. If caught early, you might be able to salvage them by removing the affected parts and ensuring better drainage and airflow. Sometimes, though, it’s just not meant to be, and that’s okay! We learn from every attempt.
A Little Encouragement
So there you have it – a guide to propagating your own Callitris canescens! It’s a journey that requires patience, a keen eye, and a little bit of faith in the process. Don’t be discouraged if your first try isn’t perfect. Every garden, and every gardener, learns and grows together. Enjoy the mindful ritual of tending to your little green sprouts. Happy propagating!
Resource:
https://identify.plantnet.org/k-world-flora/species/Callitris%20canescens%20(Parl.)%20S.T.Blake/data