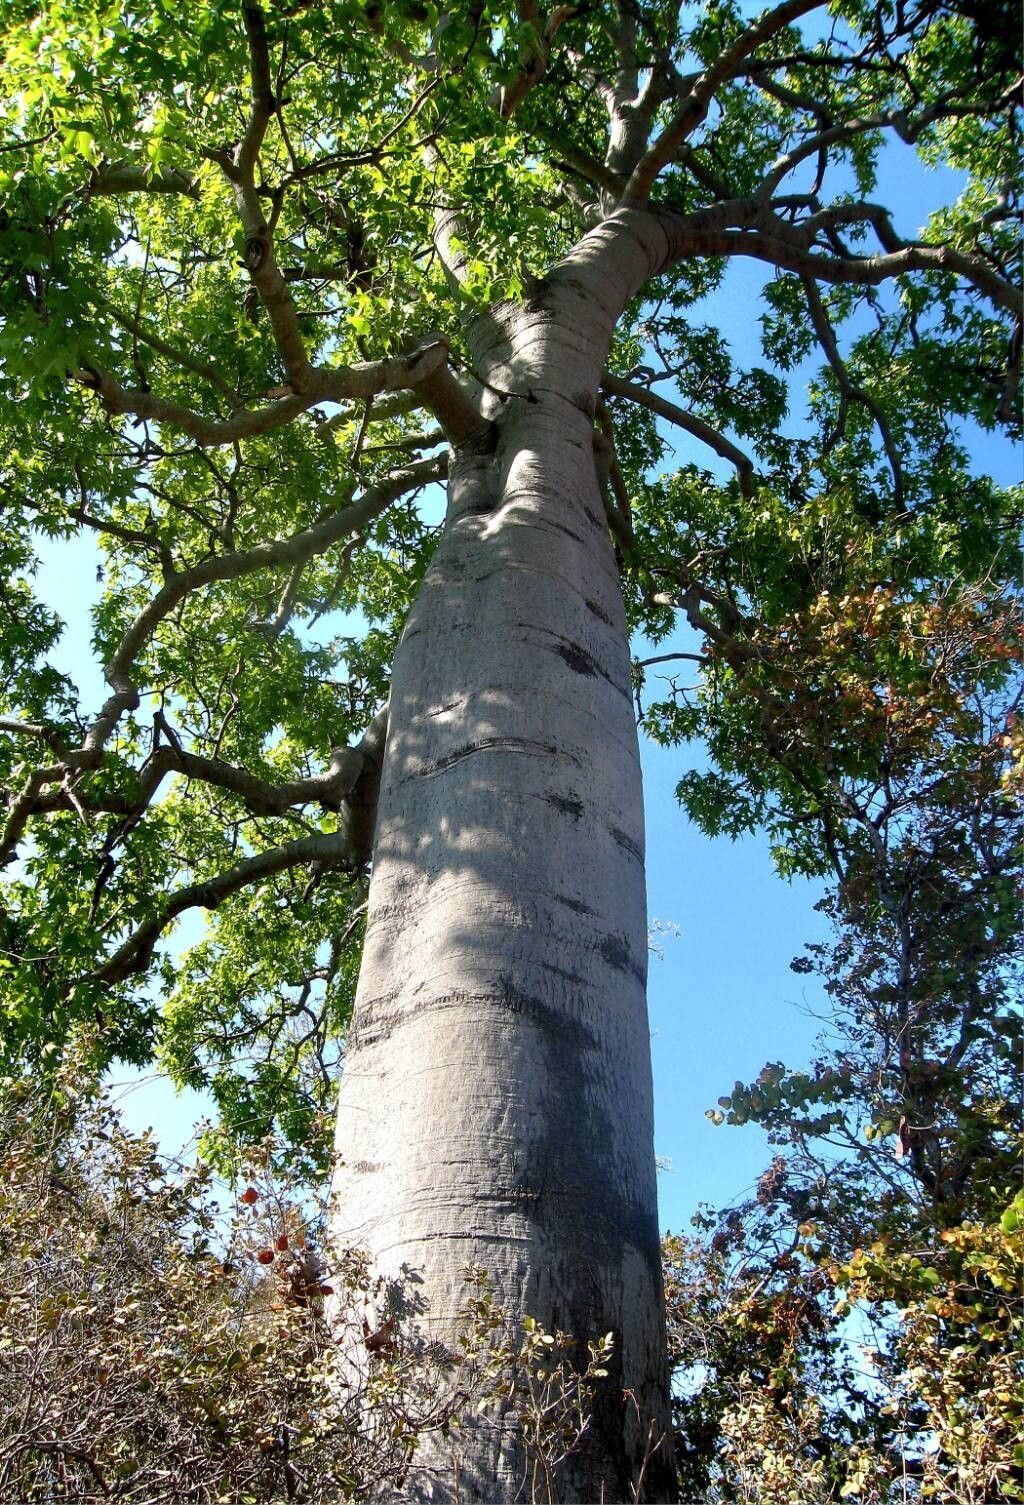
Hello fellow garden enthusiasts! Today, we’re diving into the wonderful world of Brachychiton australis, often called the Queensland Bottle Tree or Narrow-leaved Bottle Tree. These beauties, with their striking bottle-shaped trunks and delicate, often fragrant flowers, are quite the statement piece. And the best part? Propagating them is a deeply rewarding experience. You get to witness a tiny piece of this magnificent tree grow into something substantial. Honestly, while not my absolute easiest plant to start from scratch, I wouldn’t call Brachychiton australis a challenge for the determined beginner. With a little patience and the right approach, you’ll be well on your way.
The Best Time to Start
For the highest success rate, I find spring and early summer are your best friends. This is when the plant is in its active growth phase, brimming with energy. You’ll want to take cuttings or sow seeds when the plant is really pushing out new growth. Think of it as tapping into its peak vitality for propagation.
Supplies You’ll Need
Gathering your tools beforehand makes the whole process much smoother. Here’s what I always have on hand:
- Sharp, sterile pruning shears or a clean knife: Essential for clean cuts to prevent disease.
- A good quality propagation mix: I often use a blend of equal parts perlite and coarse river sand. This ensures excellent drainage, which is crucial.
- Rooting hormone (optional but recommended): Especially for stem cuttings, this can give your new propagations a significant boost.
- Small pots or seedling trays: With drainage holes, of course!
- A spray bottle: For gently misting your cuttings.
- A clear plastic bag or propagator lid: To create a humid environment.
- Labels and a marker: To keep track of what you’ve planted.
- For seed propagation: A warm place and a shallow tray.
Propagation Methods
There are a couple of reliable ways to get new Brachychiton australis plants going.
From Stem Cuttings:
- Select your cutting: Look for healthy, semi-hardwood stems that are about pencil thickness and 4-6 inches long. Avoid very soft, new growth or old, woody stems.
- Make the cut: Using your sterile shears or knife, make a clean cut just below a leaf node (where a leaf attaches to the stem).
- Prepare the cutting: Gently remove the lower leaves, leaving just a couple at the top. If the leaves are large, you can even cut them in half to reduce water loss.
- Apply rooting hormone (if using): Dip the cut end into the rooting hormone, tapping off any excess.
- Pot it up: Insert the cutting into your prepared propagation mix, about an inch or two deep. Make sure the soil is firm around the stem.
- Provide humidity: Water gently, then cover the pot with a clear plastic bag or place it in a propagator. This traps moisture and creates the humid environment cuttings crave.
From Seed:
- Collect or purchase seeds: If collecting from your own tree, wait until the pods have dried and split open.
- Prepare the seeds: Some growers recommend soaking seeds in warm water overnight to help with germination.
- Sow the seeds: Sow them about 1/4 inch deep in a shallow tray filled with your propagation mix.
- Water gently: Mist the surface until it’s damp but not waterlogged.
- Keep them warm: Place the tray in a warm spot, ideally with bottom heat (around 70-80°F or 21-27°C). This is one of the keys to success!
The “Secret Sauce” (Pro Tips)
Here are a few little tricks I’ve learned over the years that can really make a difference:
- Don’t let the leaves touch the water: If you’re using water propagation for very young, fresh cuttings (though I personally prefer soil for bottle trees), make sure the leaves aren’t submerged. They’ll just rot.
- Bottom heat is your friend: For both cuttings and seeds, a gentle bottom heat source (like a seed propagation mat) can dramatically speed up root development. It mimics the warmth of the soil surface after a rain, encouraging those roots to stretch out.
- Patience with the trunk: Remember that the iconic bottle shape develops over time. Don’t be tempted to overwater or over-fertilize a young plant trying to force it. Let it grow at its own pace.
Aftercare & Troubleshooting
Once your cuttings have formed roots (you can usually tell by gently tugging or seeing new leaf growth) or your seeds have germinated, it’s time for a little more attention.
- Gradual acclimatization: Slowly start to remove the plastic bag or propagator lid over a few days. This allows the young plant to adjust to lower humidity.
- Careful watering: Water when the top inch of soil feels dry. Avoid letting the pot sit in water.
- Bright, indirect light: For younglings, harsh direct sun can be too much. Find a bright spot that’s out of the scorching afternoon glare.
- Troubleshooting: The most common sign of trouble is rot. This usually happens from overwatering and poor drainage. If a cutting looks mushy or black at the base, it’s likely not going to recover. In the case of seeds, if they don’t germinate after a few weeks, they might have been too deep, too wet, or not warm enough. Don’t be discouraged; simply try again!
A Little Encouragement to Finish
Propagating plants is a journey, not a race. There will be times when things don’t quite work out, and that’s perfectly okay. Every gardener, myself included, has had their share of propagation failures. The key is to learn from them and keep trying. Enjoy the process of nurturing these new lives, and soon you’ll have your very own Brachychiton australis to admire. Happy gardening!
Resource: