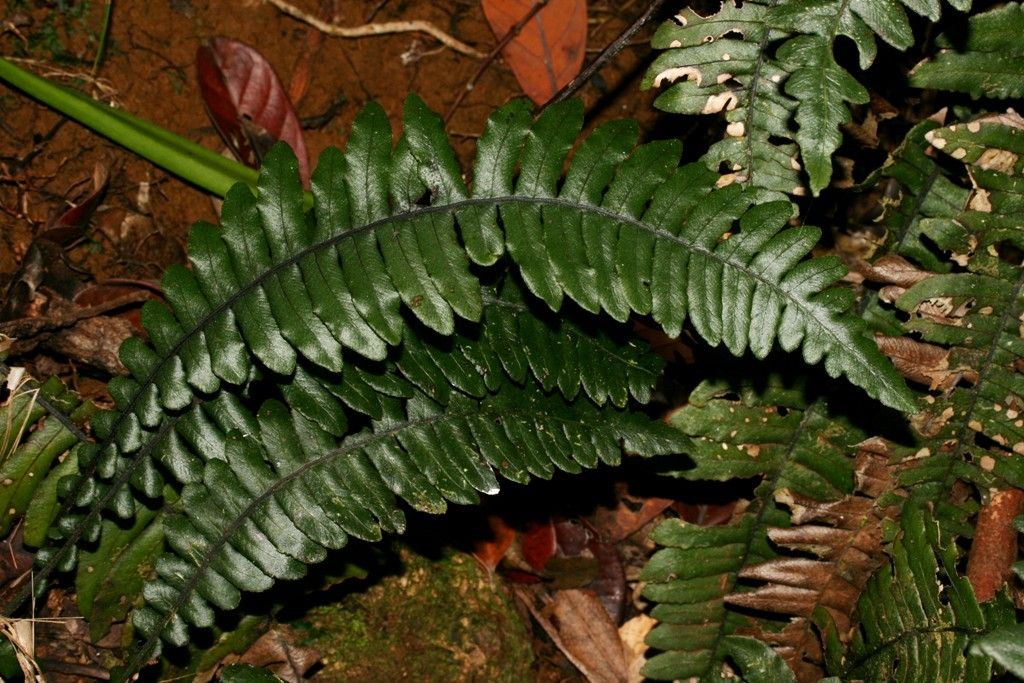
Oh, hello there, fellow plant enthusiast! Grab a mug of your favorite brew, and let’s chat about one of my absolute favorite ferns: Blechnum opacum, or as some affectionately call it, the Trailing Tree Fern. Isn’t it a beauty? With its graceful, arching fronds and that wonderfully feathery texture, it brings a touch of lushness to any shady corner. And the best part? Propagating it is a deeply rewarding way to fill your garden with more of its magic. Now, if you’re new to the plant parenting game, don’t shy away from this one. While it’s not quite as foolproof as a pothos, I’d say Blechnum opacum falls into the “moderately easy” category. With a little attention and a dash of patience, you’ll be well on your way to success.
The Best Time to Start
For Blechnum opacum, spring is absolutely your golden ticket. Think of it as the plant waking up from its winter slumber, full of energy and ready to unfurl new growth. This is when it’s most vigorous and receptive to propagation. Aim for the late spring to early summer, when daytime temperatures are consistently warm and the days are getting longer. This gives your new cuttings plenty of growing season to establish themselves before cooler weather sets in.
Supplies You’ll Need
Gathering your tools beforehand makes the whole process so much smoother. Here’s what I always have on hand:
- Sharp Pruning Shears or a Clean Knife: For making clean cuts.
- Well-Draining Potting Mix: A good blend of coco coir, perlite, and a bit of orchid bark works wonders for ferns. You want something that holds moisture but doesn’t stay soggy.
- Small Pots or Trays: Clean containers for your cuttings. Yogurt cups with drainage holes poked in the bottom work in a pinch!
- Clear Plastic Bags or a Propagation Dome: To create a humid environment.
- Rooting Hormone (Optional but Recommended): A powder or gel can give your cuttings a little boost.
- Spray Bottle: For misting.
Propagation Methods
Blechnum opacum is primarily propagated through division, which is my preferred method due to its high success rate.
Division: My Go-To Method
This is essentially separating a mature plant into smaller, independent sections.
- Gently Remove from Pot: Carefully take your Blechnum opacum out of its current container. Try to disturb the root ball as little as possible.
- Inspect the Rhizomes: Look for where the plant naturally divides. You’ll see thick, fleshy underground stems called rhizomes. These are the highways for energy and roots.
- Separate the Sections: Using your hands, or a clean knife if the rhizomes are tough, gently pull or cut the rhizomes apart. Make sure each section you’re creating has at least one healthy frond and a good portion of the root system attached. It’s okay if a few tiny roots break; just try to keep the majority intact.
- Pot Up Your Divisions: Plant each new division into its own pot filled with your well-draining fern mix. Ensure the rhizome is just slightly buried or at soil level – you don’t want to plant it too deep.
- Water Thoroughly: Give each pot a good, gentle watering to settle the soil around the roots.
The “Secret Sauce” (Pro Tips)
Now, for a few little tricks I’ve picked up over the years that can really make a difference:
- Don’t Let the Fronds Touch the Soil: This is crucial. When you pot up your divisions, make sure the crown of the plant (where new fronds emerge) is kept above the soil line. If it sits in soggy soil, it’s a recipe for rot.
- Mimic the Rainforest: Ferns absolutely love humidity. After potting, I like to give the fronds a light misting with my spray bottle and then cover the pot loosely with a clear plastic bag or place it under a propagation dome. This creates that humid microclimate they thrive in. Just make sure there’s a bit of airflow to prevent mold.
- Think “Indirect” Light: Forget direct sun. Your new divisions need bright, indirect light. A north-facing window or a spot further back from a brighter window is perfect. Too much sun will scorch those tender new fronds.
Aftercare & Troubleshooting
Once your Blechnum opacum divisions are potted up and cozy under their humidity dome, resist the urge to fuss too much.
- Keep the Soil Consistently Moist: Not soaking wet, mind you, but consistently damp. Check the soil moisture by gently poking a finger into the surface. If it feels dry, give it a light watering.
- Ventilation is Key: Every day or two, lift the plastic bag or dome for a few minutes to let fresh air circulate. This helps prevent fungal issues.
- Watch for New Growth: The most exciting part! You’ll start to see new fronds unfurling from the crown. This is a clear sign your plant is happy and establishing roots.
- Signs of Trouble: The most common culprit is rot. If you see fronds turning yellow and mushy, or the rhizome developing a dark, slimy appearance, it’s often a sign of overwatering or poor drainage. In this case, you might need to repot into drier mix and reduce watering. If a division looks completely lifeless with no signs of roots or new growth after several weeks, it might not have made it. Don’t be discouraged; it happens! Just try again.
A Encouraging Closing
Propagating plants is such a beautiful dance with nature. There’s a special kind of joy in nurturing a tiny division into a flourishing plant. Be patient with your Blechnum opacum, give it the right conditions, and trust the process. Enjoy the journey, and soon you’ll have even more of these enchanting ferns to grace your home and garden. Happy growing!
Resource:
https://identify.plantnet.org/k-world-flora/species/Blechnum%20opacum%20Mett./data