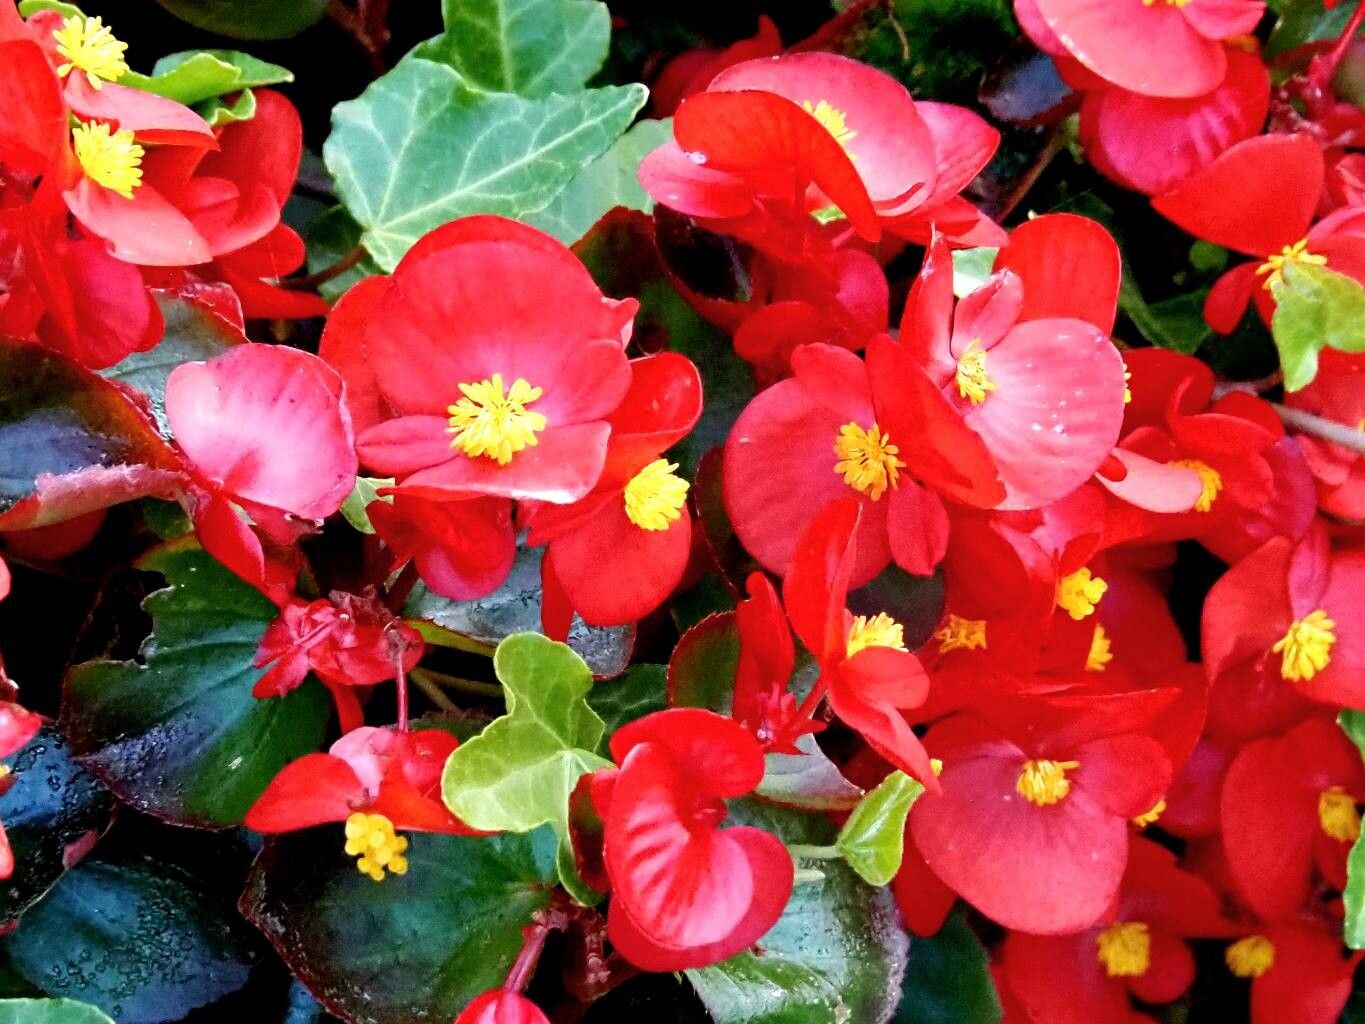
Hello, fellow plant lovers! Oh, say hello to Begonia cucullata, or as some of us affectionately call it, the Angel Wing Begonia. Isn’t she a beauty? I’ve been growing these for two decades now, and their delicate, often spotted or shimmering leaves are just captivating. They add such a lovely touch, whether they’re gracing a shady corner of your garden or brightening up your indoor space.
The really wonderful thing about Begonia cucullata is how easy it is to share its charm. Propagating these beauties is incredibly rewarding. You get to stretch out that lovely display, share with friends, or simply expand your own collection without breaking the bank. And for beginners? You’ll be happy to know Begonia cucullata is a fantastic plant to start your propagation journey with. It’s remarkably forgiving!
The Best Time to Start
My favorite time to get my hands dirty with Begonia cucullata propagation is during its active growing season. Think spring through early summer. When the plant is bursting with new growth, it’s full of energy, which translates to faster rooting and a higher success rate. You want to take cuttings from healthy, vigorous stems that aren’t flowering.
Supplies You’ll Need
Gathering your tools beforehand makes the whole process feel so much smoother. Here’s what I usually have on hand:
- Sharp pruning shears or a clean knife: For making nice, clean cuts.
- Rooting hormone (optional but recommended for speed): A powder or gel to encourage root development.
- Well-draining potting mix: I love a blend of peat moss, perlite, and a bit of compost. Begonias hate soggy feet!
- Small pots or trays: With drainage holes, of course.
- Plastic bags or a propagation dome: To keep humidity high around your cuttings.
- Water: Clean, room-temperature water.
Propagation Methods
Let’s get to the good stuff! Begonia cucullata is a champion at stem cuttings. It’s my go-to method because it’s so effective.
Stem Cuttings
- Select your stem: Look for a healthy, non-flowering stem that’s at least 4-6 inches long. You want a stem with several leaves.
- Make the cut: Using your sharp shears or knife, make a clean cut just below a leaf node (that little bump where a leaf grows from the stem). This is where new roots love to form.
- Prepare the cutting: Gently remove the lower leaves, leaving just the top two or three. If the remaining leaves are very large, you can even cut them in half to reduce water loss.
- Apply rooting hormone: Dip the cut end of the stem into your rooting hormone powder or gel. Tap off any excess.
- Plant the cutting: Fill your small pots with your prepared potting mix. Make a small hole with your finger or a pencil. Gently insert the cut end of the begonia cutting into the hole, ensuring the node where you removed leaves is below the soil surface. Firm the soil gently around the stem.
- Water lightly: Water just enough to moisten the soil. Don’t soak it!
- Create a humid environment: Place the pot inside a plastic bag or cover it with a propagation dome. Just make sure the leaves don’t touch the plastic. Seal it loosely to allow for some air circulation.
- Find the right spot: Place your pot in a bright spot, but out of direct sunlight. Too much sun will scorch those tender leaves.
Water Propagation (A Simpler Approach!)
If you want to skip the soil for a bit, water propagation is incredibly satisfying.
- Prepare the cutting: Follow steps 1-3 from the stem cutting method above.
- Place in water: Put your prepared cuttings into a clean jar or vase filled with room-temperature water.
- Crucial detail: Make sure no leaves are submerged in the water. Submerged leaves will rot and can take your cutting down with them. You might need to snip off lower leaf parts if they’re getting too close.
- Find a bright spot: Place the jar in bright, indirect light, just like you would for soil cuttings.
- Change the water: Change the water every few days to keep it fresh and prevent bacterial growth.
- Watch for roots: You’ll start to see tiny white roots forming within a few weeks. Once the roots are about an inch long, it’s time to transplant them into soil!
The “Secret Sauce” (Pro Tips)
Here are a few little tricks I’ve picked up over the years that make a big difference:
- Bottom Heat is Your Friend: For stem cuttings, especially if your house is a bit on the cooler side, placing them on a horticultural heat mat can dramatically speed up root development. It mimics that lovely warm spring soil.
- Don’t Be Afraid to Prune the Parent Plant: If your Begonia cucullata is looking a bit leggy, don’t hesitate to prune it back. Not only does this encourage bushier growth on the main plant, but those pruned stems are your perfect propagation material!
- Sterilize EVERYTHING: I can’t stress this enough. Before you make any cuts, sterilize your shears or knife with rubbing alcohol. This prevents the spread of any diseases and gives your cuttings the best chance to thrive.
Aftercare & Troubleshooting
Once you start seeing those lovely roots appear (you might even see new leaf growth!), it’s time for a little shift in care.
- For soil cuttings: Gradually acclimate your cutting to normal room humidity by opening the plastic bag for a few hours each day for a week before fully removing it. Continue to keep the soil evenly moist but not soggy. You’ll know it’s established when it resists a gentle tug.
- For water cuttings: Gently plant those rooted cuttings into your well-draining potting mix. Water them in well, and then proceed with the humid environment steps for soil cuttings.
- Signs of trouble: The most common foe is rot. If you see mushy, black stems, or leaves that turn yellow and fall off quickly, it’s usually a sign of too much moisture and not enough air circulation. If this happens, discard the affected cutting and check your watering habits. For soil cuttings, ensure your mix is truly draining well.
A Encouraging Closing
Remember, propagation is a journey, not a race! Be patient with your little begonia babies. Some will take off immediately, while others might need a little more time to get settled. The joy of watching a new plant emerge from a simple stem cutting is truly special. So, grab your shears, get your hands a little dirty, and enjoy the process of growing more of these wonderful Begonia cucullata plants! Happy gardening!
Resource:
https://identify.plantnet.org/k-world-flora/species/Begonia%20cucullata%20Willd./data