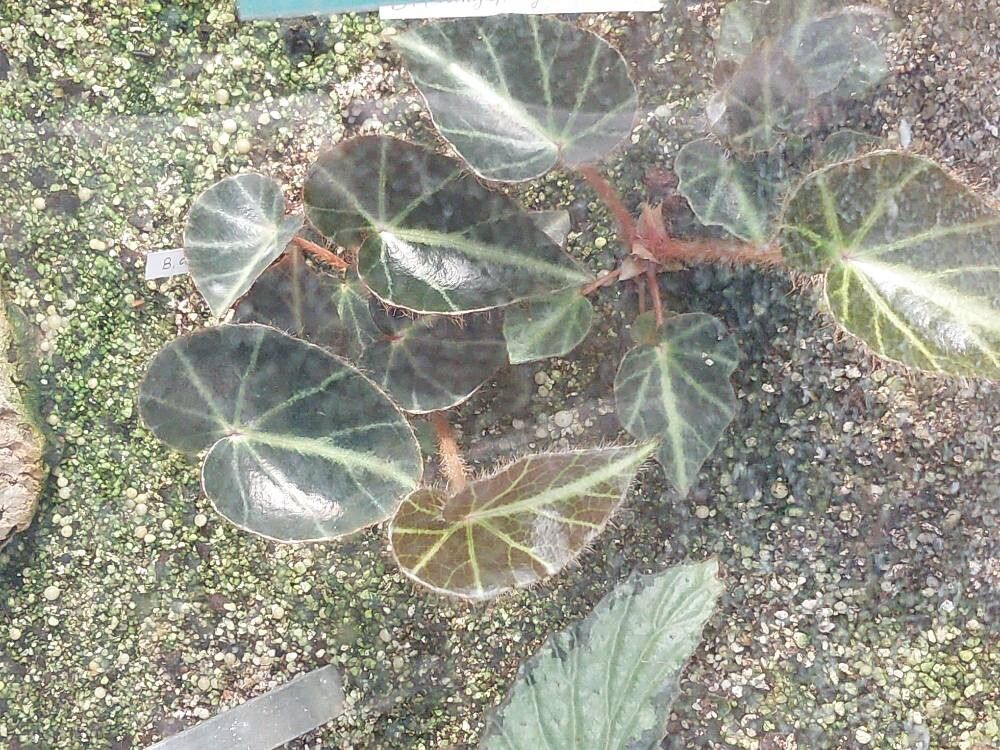
Hey there, fellow plant lovers! I’m so excited to dive into a topic close to my heart today: propagating Begonia chingipengii. This little gem, with its delicate yet striking foliage, is a real showstopper in any indoor jungle. Seeing a new baby plant emerge from a tiny cutting is one of the most satisfying feelings for a gardener, and with Begonia chingipengii, it’s totally achievable. While it might seem a tad finicky to some, with a little know-how, even beginners can absolutely succeed. Let’s get our hands a little dirty, shall we?
The Best Time to Start
When it comes to coaxing new life from your Begonia, active growth periods are your best friend. Think spring and early summer. During these months, your plant is naturally pushing out new stems and leaves, meaning it has plenty of energy to invest in rooting. Starting then gives your little propagations a good long growing season to establish themselves before any cooler, darker months arrive.
Supplies You’ll Need
Before we get started, let’s gather our toolkit. It’s always better to be prepared!
- Sharp, clean pruning shears or a very sharp knife: For clean cuts, preventing damage.
- A well-draining potting mix: I love a mix of peat moss, perlite, and a touch of orchid bark. It needs to breathe!
- Small pots or seed trays: Something to house your new babies. Ensure they have drainage holes.
- Rooting hormone (optional but helpful): A little boost can speed things up.
- Plastic bag or a clear lid: To create a humid environment for cuttings.
- Watering can or spray bottle: For gentle watering.
- A warm location: Somewhere the soil can stay consistently cozy.
Propagation Methods
For Begonia chingipengii, I’ve found two methods work wonderfully. Let’s break them down.
Stem Cuttings
This is my go-to for this particular begonia. It’s straightforward and usually yields great results.
- Find a healthy stem: Look for a stem that has at least two to three nodes (the little bumps where leaves emerge).
- Make your cut: Using your clean shears, snip the stem just below a node. This is crucial!
- Prepare the cutting: Gently remove any lower leaves, leaving just the top two or three. This prevents them from rotting in the soil.
- Apply rooting hormone (if using): Dip the cut end into your rooting hormone powder.
- Plant your cutting: Stick the cut end into your prepared potting mix. Make sure the nodes are covered. Gently firm the soil around the stem.
- Water gently: Give it a good, initial watering. You want the soil to be moist but not soggy.
- Create humidity: Place the pot inside a clear plastic bag, or cover it with a clear lid. This traps moisture and creates that essential humid environment.
- Give it warmth: Place the pot in a warm spot, out of direct sunlight.
Water Propagation
This can be incredibly rewarding to watch, as you literally see the roots grow!
- Select a healthy stem: Just like with stem cuttings, choose a stem with at least 2-3 nodes.
- Make your cut: Cut just below a node.
- Remove lower leaves: Again, strip off any leaves that would end up submerged.
- Place in water: Pop the cutting into a clean jar or glass of water. Make sure no leaves are submerged. Only the stem should be in the water.
- Find a good spot: Place the jar in bright, indirect light.
- Change the water: Refresh the water every few days to keep it clean and oxygenated.
The “Secret Sauce” (Pro Tips)
Now, for those little bits of wisdom that make all the difference.
- Don’t crowd your cuttings: Whether in soil or water, give each cutting a little breathing room. This helps prevent the spread of any potential fungal issues.
- Bottom heat is a game-changer: If you can, pop your potted cuttings on a seedling heat mat. The gentle warmth from below encourages root development like nothing else. It’s like giving your cuttings a cozy heated blanket to get them started.
- Be patient with water propagation: Sometimes, you’ll think a cutting is a dud because it’s not rooting immediately. Don’t give up! Keep it in its spot, change the water, and give it time. I’ve had cuttings that took weeks to show those first tiny white roots, and they did wonderfully in the end.
Aftercare & Troubleshooting
Once you see those beautiful white roots emerging (in water, they’ll stretch out; in soil, you might gently tug on the stem and feel resistance), it’s time to transition your new babe.
- For water-propagated cuttings: Once the roots are about an inch long, it’s time to pot them up. Treat them as you would a newly potted plant – gently settle them into that well-draining mix and water well.
- For soil-propagated cuttings: When you see new leaf growth, that’s a great sign that roots have formed! You can begin to gradually acclimate them to less humidity by poking a few holes in the plastic bag or removing the lid for short periods each day. After a week or so, remove the bag completely.
- Common problems: The most common issue you’ll face is rot. If you see stems turning mushy and black, or leaves wilting and turning translucent, it’s usually a sign of too much moisture and not enough air circulation. If this happens, try to take healthy cuttings from the rotted section immediately. Ensure your soil drains well and don’t overwater!
A Little Encouragement to Finish
Propagating plants is always an adventure, and sometimes you’ll have setbacks. But that’s part of the beauty of it! Don’t get discouraged if not every cutting takes. Celebrate the successes, learn from any failures, and most importantly, enjoy the process of nurturing new life. Happy propagating!
Resource:
https://identify.plantnet.org/k-world-flora/species/Begonia%20chingipengii%20Rubite/data