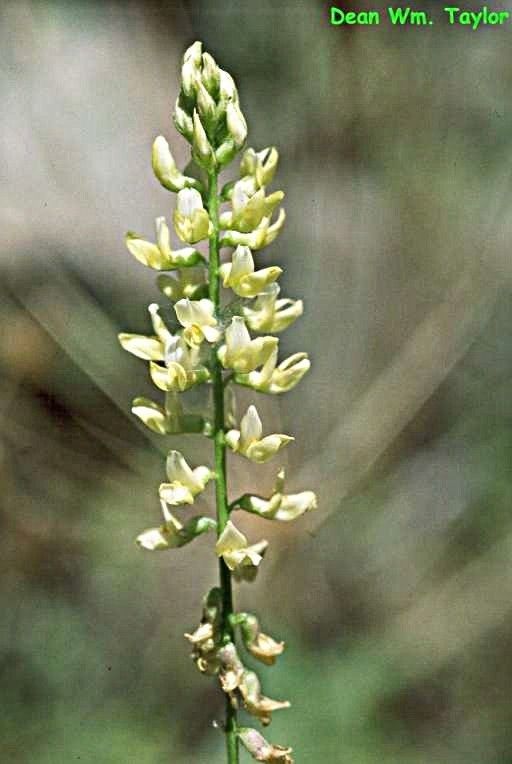
Hello there, fellow garden enthusiasts! Today, we’re diving into the wonderful world of Astragalus clevelandii, also known as Cleveland’s milkvetch. This Californian native is a real charmer, with its delicate, pea-like flowers that attract all sorts of beneficial pollinators. It’s a fantastic addition to any drought-tolerant garden, and there’s something incredibly satisfying about growing your own new plants from cuttings. If you’re new to propagation, don’t shy away from this one! While it requires a little bit of attention, it’s definitely achievable and incredibly rewarding.
The Best Time to Start
Generally, the late spring to early summer is your golden window for propagating Astragalus clevelandii from cuttings. This is when the plant is actively growing, and the new shoots are firm but not yet woody. You’re looking for stems that are flexible, not floppy, and have a good amount of healthy green leaves. Starting too early in spring, when growth is just beginning, might mean your cuttings aren’t as robust. Waiting until the heat of late summer can sometimes stress the cuttings, making them harder to root.
Supplies You’ll Need
To give your Astragalus clevelandii cuttings the best start, here’s a handy list of what you’ll want to have on hand:
- Sharp, clean pruning shears or a sharp knife: Essential for making clean cuts.
- Rooting hormone (optional but recommended): This can give your cuttings an extra boost. Look for one that contains IBA (indole-butyric acid).
- A well-draining potting mix: A good blend of perlite, coarse sand, and peat moss works beautifully. You want something airy that won’t hold too much moisture.
- Small pots or seed trays: Clean pots are a must to prevent disease.
- Plastic bags or propagation domes: To create a humid environment for your cuttings.
- Watering can or mister: For gentle watering.
- Labels and a marker: To keep track of what you’ve planted!
Propagation Methods
Now, let’s get our hands dirty! The most reliable way to propagate Astragalus clevelandii is through stem cuttings.
- Take Your Cuttings: Using your clean pruning shears, select a healthy stem that is about 4-6 inches long. Make a clean cut just below a leaf node (where a leaf grows from the stem). This is where the plant is most likely to develop roots.
- Prepare the Cuttings: Gently remove the lower leaves from the cutting, leaving about 2-3 sets of leaves at the top. If the remaining leaves are very large, you can cut them in half to reduce water loss through transpiration.
- Apply Rooting Hormone (Optional): Dip the cut end of the stem into your rooting hormone powder, tapping off any excess.
- Plant the Cuttings: Fill your small pots with your prepared potting mix. Make a small hole in the center of the mix with your finger or a pencil. Insert the cutting into the hole, ensuring the bottom leaf nodes are buried in the soil. Gently firm the soil around the stem.
- Create a Humid Environment: Water the soil gently. Then, cover the pots with a plastic bag or propagation dome. This traps humidity, which is crucial for cuttings to root. Make sure the plastic doesn’t touch the leaves.
- Provide Light and Warmth: Place the pots in a bright location, but out of direct sunlight. A windowsill that gets indirect light is perfect. If you have a heat mat, placing the pots on it can significantly speed up the rooting process.
The “Secret Sauce” (Pro Tips)
You know, sometimes it’s the little things that make all the difference. Here are a couple of my favorite tricks for successful propagation:
- Don’t let the leaves touch the water: I know I mentioned this with the plastic bag, but it’s worth repeating! If leaves are submerged, they’ll rot, and that can spread to the whole cutting. Keep that damp environment, not a soggy swamp.
- Bottom heat is your friend: If you can manage it, a gentle heat mat beneath your pots is a game-changer. It encourages root growth from the bottom up, giving your cuttings a real advantage. You don’t want it scorching hot, just comfortably warm.
Aftercare & Troubleshooting
Once your cuttings have shown signs of rooting – you might see new leaf growth or feel a slight resistance when gently tugging on the stem – it’s time to start easing them out of their high-humidity environment. Gradually remove the plastic bag for short periods, increasing the duration each day over a week or so. This helps them acclimatize to normal room humidity.
Keep the soil consistently moist but not waterlogged. When you see good root development and the plant looks happy, you can transplant it into a slightly larger pot with a good quality, well-draining potting mix.
Now, what if things don’t go as planned? The most common culprit is rot. If your cuttings turn mushy, black, or have a foul smell, it’s usually a sign of too much moisture and poor air circulation. In this case, it’s best to discard the affected cuttings and start again, focusing on that well-draining soil and avoiding overwatering. Brown, crispy leaves can mean the environment is too dry, or the cutting is getting too much direct sun.
A Little Patience Goes a Long Way
Propagating plants is a journey, not a race. It requires patience and a bit of observation. Don’t be discouraged if your first attempt isn’t perfect. Each new plant you coax into existence is a testament to your growing skill and dedication. So go ahead, try your hand at propagating Astragalus clevelandii. Enjoy the process, and soon you’ll have a beautiful new plant to admire and share! Happy gardening!
Resource:
https://identify.plantnet.org/k-world-flora/species/Astragalus%20clevelandii%20Greene/data