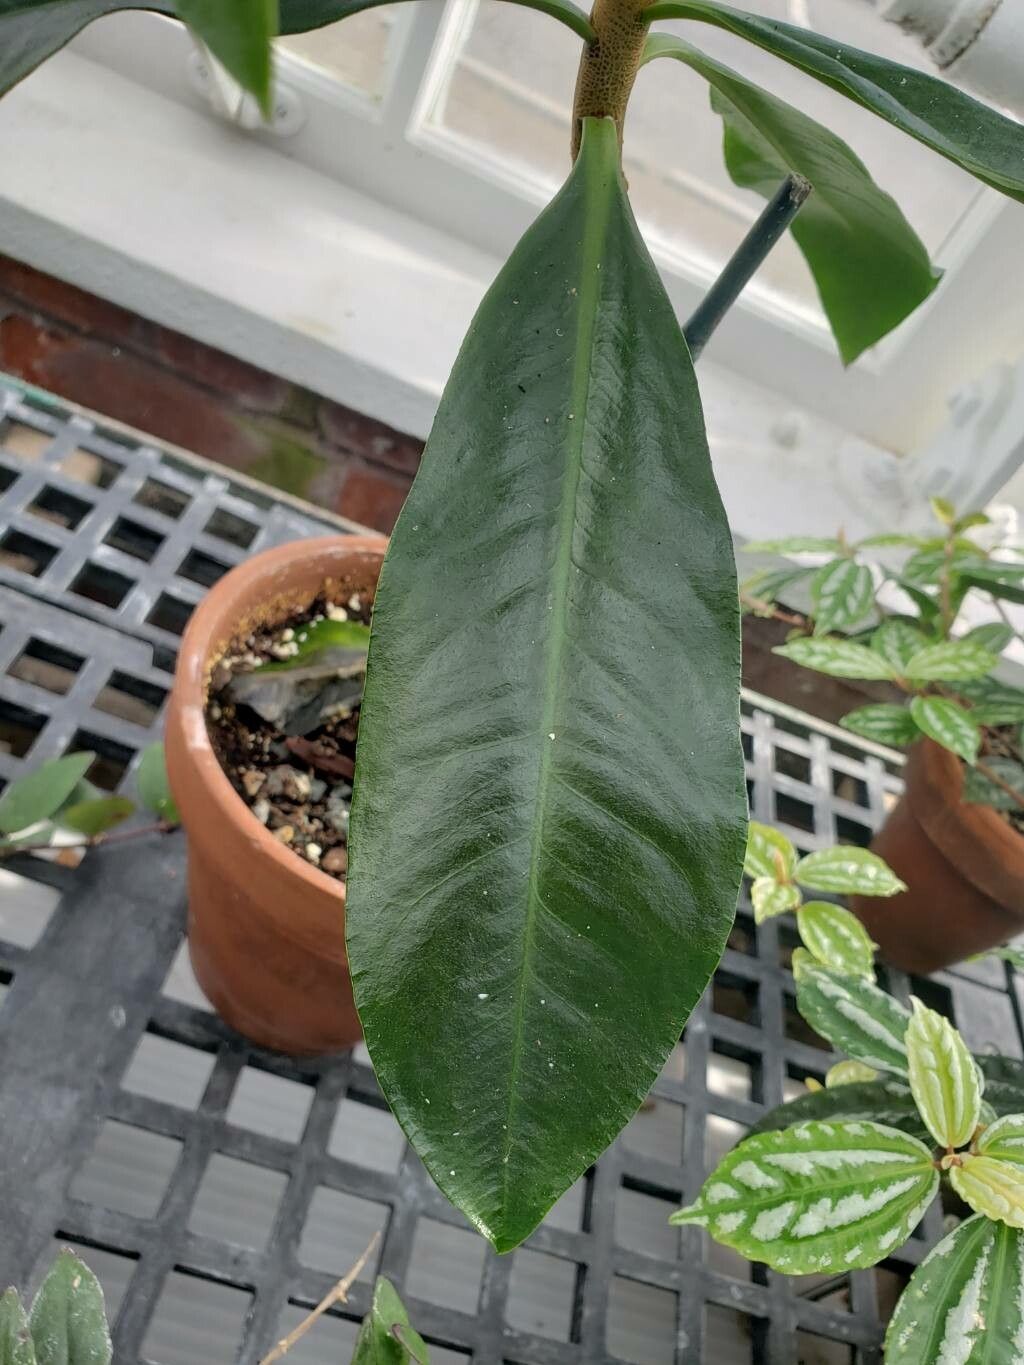
Oh, Ardisia venosa! What a lovely plant to get your hands on. Its glossy, dark green leaves with those striking, delicate veins are just gorgeous. And those berries! If you’re lucky enough to get them, they add such a wonderful pop of color, especially in the winter. Propagating this beauty is incredibly rewarding. You get to share those lovely plants with friends or simply fill your own home with more of that understated elegance. Now, for beginners, I’d say Ardisia venosa falls into the moderately easy category. It’s not as fussy as some, but it does appreciate a little care and attention.
The Best Time to Start
For the highest chance of success, I find the late spring to early summer is the sweet spot. This is when the plant is actively growing, and new shoots are developing. They have a good store of energy, which really helps them get established. Waiting for this growth spurt makes a big difference.
Supplies You’ll Need
Here’s a little kit that will make your propagating journey smoother:
- Sharp Pruning Shears or a Knife: Clean cuts are essential for good rooting.
- Rooting Hormone: A powdered or liquid form really gives cuttings a boost.
- Well-Draining Potting Mix: I like a blend of equal parts peat moss, perlite, and a little bit of coarse sand. You can also buy a commercial “seed starting” or “cutting mix.”
- Small Pots or Seedling Trays: Whatever you have available for your new little plants.
- Plastic Bags or a Propagator Lid: To create a humid environment.
- Watering Can with a Fine Rose: Gentle watering is key.
- Labels and a Marker: To keep track of what you’ve planted and when.
Propagation Methods
I typically have the most success with stem cuttings for Ardisia venosa. It’s straightforward and yields great results.
- Take Your Cuttings: Look for healthy, non-flowering stems about 4-6 inches long. Using your clean shears, make a cut just below a leaf node (where a leaf attaches to the stem). Remove the lower leaves, leaving just a couple at the very top. If the leaves are very large, you can cut them in half horizontally to reduce water loss.
- Apply Rooting Hormone: Dip the cut end of the stem into your rooting hormone, tapping off any excess.
- Plant Your Cuttings: Fill your chosen pots or trays with your moist potting mix. Make a small hole with your finger or a pencil and gently insert the cutting, ensuring the leaf nodes that were below the soil line are covered. Firm the soil around the stem.
- Create Humidity: Water the soil gently. Then, cover the pot with a clear plastic bag, securing it around the rim with a rubber band, or place the pots inside a propagator with the lid on. This traps moisture and creates that humid microclimate cuttings love.
You can also try water propagation, though I find it a bit trickier with Ardisia venosa to get them to transition to soil.
- Prepare the Cuttings: Follow the same steps for taking cuttings as above, but skip the rooting hormone.
- Place in Water: Put the cuttings in a clean jar or glass filled with room-temperature water. Make sure no leaves are submerged.
- Change Water Regularly: Change the water every few days to keep it fresh and prevent bacterial growth.
- Wait for Roots: Once you see small roots developing (usually after a few weeks), you can try potting them up into your well-draining soil mix. Be very gentle with those new roots!
The “Secret Sauce” (Pro Tips)
Here are a couple of things I’ve learned over the years that really help.
- Don’t Let Those Leaves Touch the Water: If you’re water propagating, this is crucial! Submerged leaves will just rot, and that’s the quickest way to lose your cutting.
- Bottom Heat is Your Friend: If you have a heating mat designed for seedlings, placing your pots on it can dramatically speed up rooting. It mimics the warmth of the soil in summer. Just make sure it’s not getting too hot.
Aftercare & Troubleshooting
Once your cuttings have started to root – you’ll know because you’ll see new growth appearing – it’s time to ease them into their new lives.
- Acclimatize: Gradually introduce your new plants to normal humidity. Start by opening the plastic bag or propagator lid for a few hours each day.
- Water Wisely: Water when the top inch of soil feels dry. Avoid soggy soil, as this is a fast track to root rot, which is probably the most common problem. You’ll notice the leaves might turn yellow and soft, or the base of the stem could go mushy. If you see this, act fast! Remove the affected cuttings, and try to salvage any healthy parts if possible.
- Light: Place your rooted cuttings in bright, indirect light. Direct sun can be too harsh.
A Encouraging Closing
Be patient, my friend. Propagating takes time, and not every cutting will make it – that’s perfectly normal! Celebrate the successes, learn from the failures, and most importantly, enjoy the wonderful process of bringing new life into your garden. Happy propagating!
Resource:
https://identify.plantnet.org/k-world-flora/species/Ardisia%20venosa%20Mast.%20ex%20Donn.Sm./data