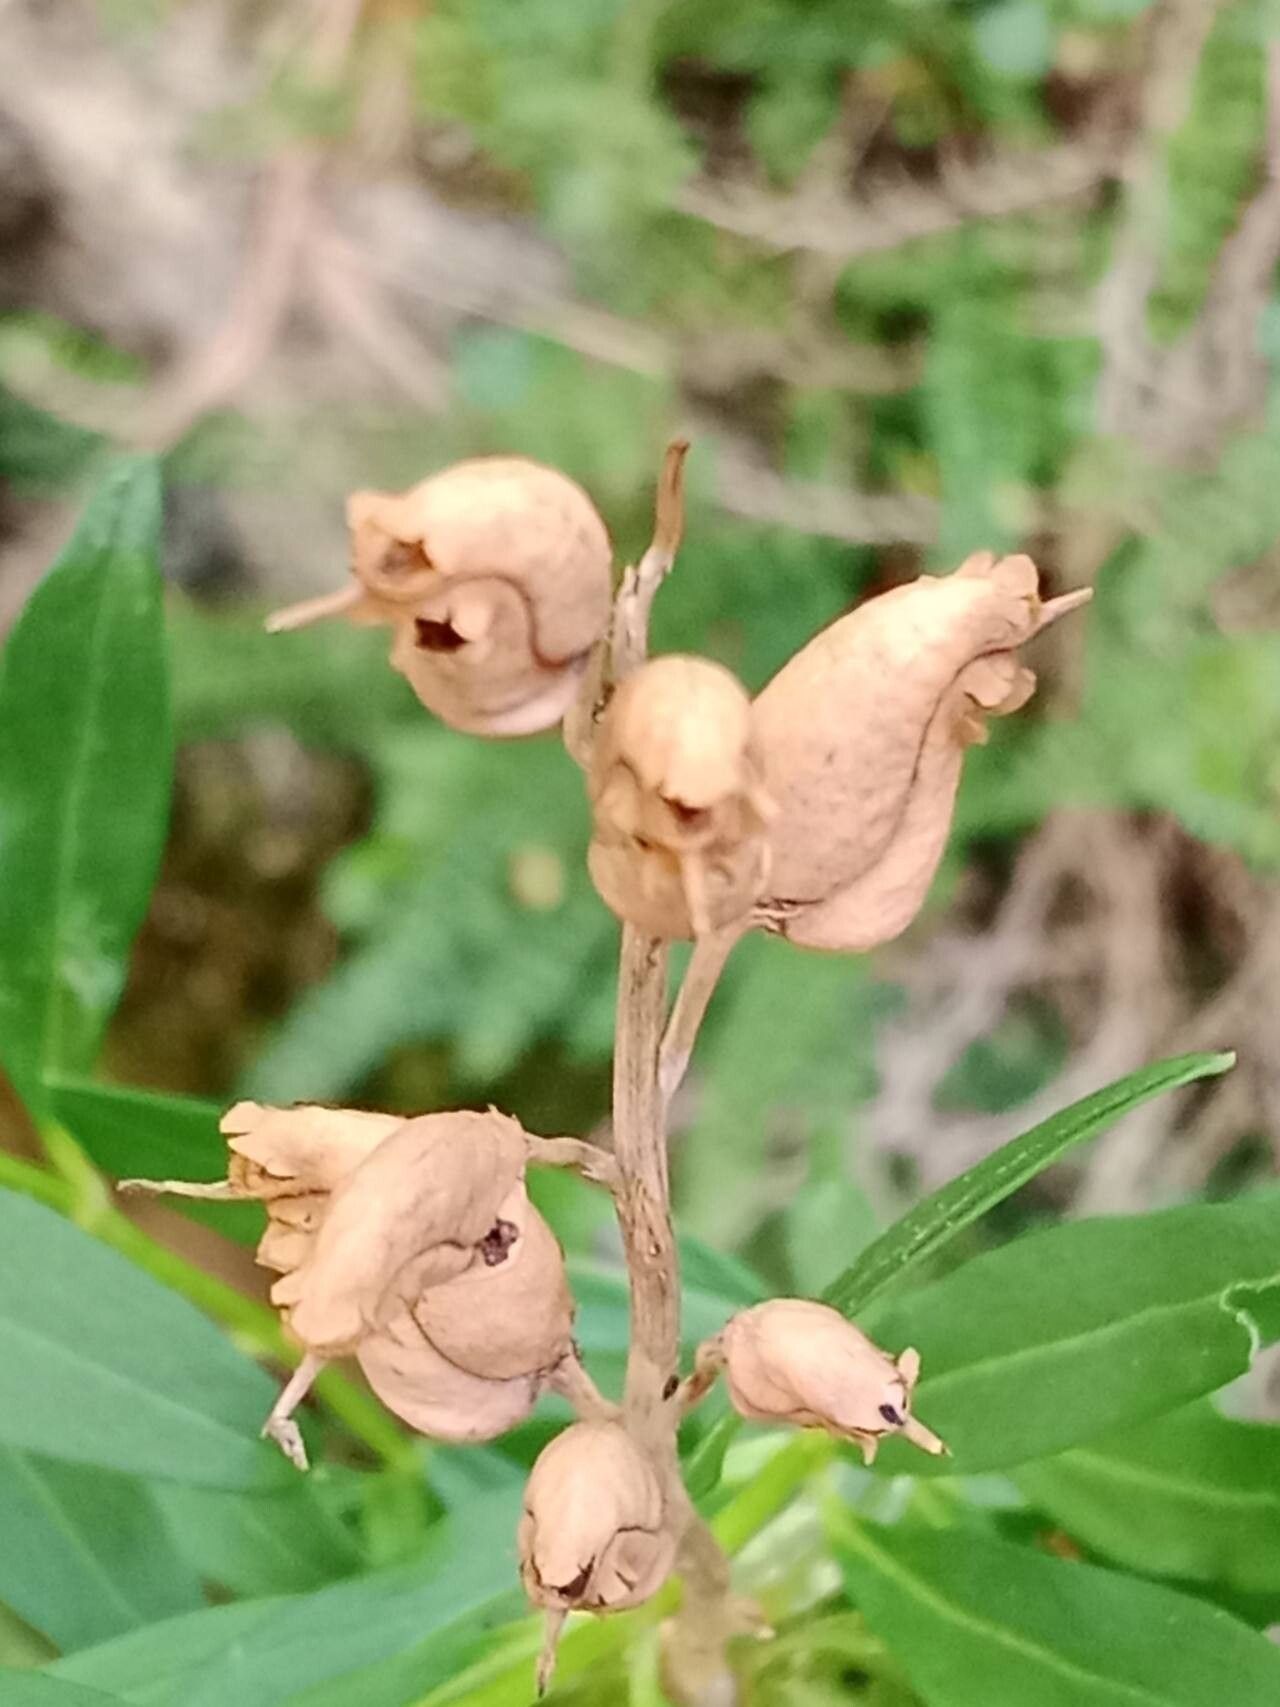
Hello, fellow plant lovers! I’m so excited to talk to you today about a little gem in the garden: Antirrhinum graniticum. You might know it better as a type of snapdragon, but this particular species has a special charm all its own. Its delicate, often pink to purple flowers have a certain wild beauty that just captivates me. Propagating these beauties is a wonderfully rewarding endeavor, allowing you to fill your garden with their unique allure without always having to buy new plants. And guess what? For a bit of a wilder snapdragon like this, propagation is quite manageable, even for those of you just starting your green journey!
The Best Time to Start
For Antirrhinum graniticum, my go-to time for propagation is late spring to early summer. This is when the plant is in its active growth phase. The stems are strong and full of life, meaning they have the best energy reserves to put into developing roots. Starting too late in the season might mean your new plants don’t get established enough before cooler weather arrives.
Supplies You’ll Need
Here’s what I always have on hand when I’m getting ready to propagate:
- Sharp pruning shears or a clean knife: For making clean cuts on stems.
- Rooting hormone (optional but recommended): A gentle dip can give your cuttings a real head start.
- Well-draining potting mix: I prefer a mix of equal parts peat moss or coco coir and perlite. A little compost is nice too.
- Small pots or seed trays: With drainage holes, of course!
- Plastic bags or domes: To create a humid environment for cuttings.
- Watering can with a fine rose: For gentle watering.
- Labels: So you don’t forget what you planted where!
Propagation Methods
The most reliable way I’ve found to multiply Antirrhinum graniticum is through stem cuttings. It’s straightforward and yields great results.
- Take Your Cuttings: On a healthy, established plant, look for non-flowering shoots. These are usually the most vigorous. Using your sharp shears, make a clean cut just below a leaf node (where a leaf emerges from the stem). You want cuttings that are about 3-4 inches long.
- Prepare the Cuttings: Gently remove the lower leaves from the cutting, leaving just the top couple of leaves. If you’re using rooting hormone, dip the cut end into it now, tapping off any excess.
- Planting the Cuttings: Fill your small pots or trays with your well-draining potting mix. Make a hole with your finger or a pencil large enough to comfortably insert the cutting’s base. Gently place the cutting into the hole and firm the soil around it to ensure good contact.
- Create Humidity: Water the soil gently until it’s moist but not soggy. Then, the crucial step: cover the pots with a plastic bag or a clear dome. This creates a mini-greenhouse, keeping the humidity high, which is vital for cuttings as they can’t absorb water through roots that don’t exist yet!
Another fun method, if you’re feeling adventurous, is water propagation.
- Prepare Cuttings: Follow step 1 and 2 from the stem cutting method.
- Place in Water: Get a clean jar or glass and fill it with fresh water. Place the prepared cuttings into the water, ensuring no leaves are submerged. Leaves in the water will rot and can prevent root formation.
- Location and Water Changes: Find a bright spot, but out of direct, scorching sun. Change the water every few days to keep it fresh and oxygenated. You should start seeing tiny roots emerge within a couple of weeks.
- Planting Out: Once the roots are about an inch long, carefully transplant them into your potting mix as you would a regular seedling.
The “Secret Sauce” (Pro Tips)
There are a few little tricks that really make a difference.
- First off, don’t be tempted to let those lower leaves touch the water (if you’re water propagating). It’s a common mistake, and it’s the fast track to rot. Keep them high and dry!
- If you have one, using a heated propagator mat or placing your pots in a warm spot provides bottom heat. This encourages root development much faster and increases your success rate significantly. Think of it as giving your cuttings a cozy warm blanket to help them grow roots.
- When taking cuttings, use stems that are semi-hardwood. These are stems that are not brand new and soft, but also not woody and old. They have just the right balance of flexibility and structure for rooting.
Aftercare & Troubleshooting
Once you see those lovely little roots peeking out of the drainage holes or growing strongly in water, it’s time to give your new Antirrhinum graniticum a bit more freedom.
- Gradually acclimate them to the ambient humidity by opening the plastic bag or dome a little each day for a week. Once they appear robust, you can remove the cover completely.
- Water them regularly, keeping the soil consistently moist but never waterlogged. Think of it like giving a baby plant gentle, consistent sips.
- You’ll know you’re having trouble if your cuttings start to wilt and turn yellow, or if the stem base becomes mushy and black. This is usually a sign of rot, often due to too much moisture and not enough air circulation, or if the cuttings were unhealthy to begin with. Sometimes, a cutting just doesn’t make it, and that’s okay! There’s always another batch.
A Encouraging Closing
Propagating these charming snapdragons is a journey of patience and keen observation. Don’t get discouraged if your first few attempts aren’t perfect. Every gardener learns through trial and error, and you’ll quickly develop a feel for what your plants need. Enjoy the process, the anticipation of new growth, and the satisfaction of creating more beautiful Antirrhinum graniticum for your garden. Happy propagating!
Resource:
https://identify.plantnet.org/k-world-flora/species/Antirrhinum%20graniticum%20Rothm./data