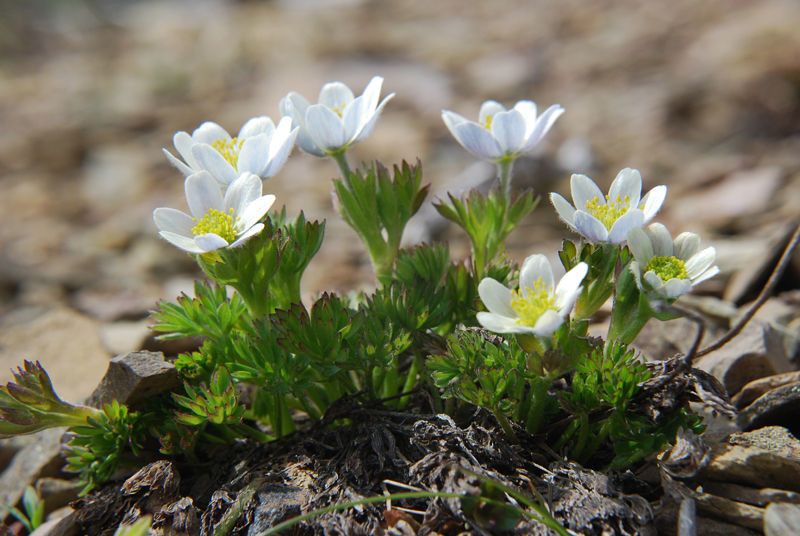
Oh, hello there! Pull up a chair, let’s chat about something truly delightful: Anemone lithophila. If you’ve ever swooned over those delicate, often vibrant flowers gracing a garden, you know their charm. Propagating them is a wonderfully rewarding way to fill your space with these beauties, or to share them with fellow plant lovers. Now, I wouldn’t say they’re the absolute easiest plant for a complete beginner, but with a little focused attention, you’ll find it quite manageable. It’s a journey, not a race, and that’s part of the fun!
The Best Time to Start
For the highest success rate, I always aim to propagate my Anemone lithophila in the spring, just as new growth is really getting going. This is when they have the most energy and are primed for making new roots. You can also try divisions in early autumn, but spring is generally my go-to for cuttings and divisions. Look for healthy, vigorous stems that haven’t yet bloomed.
Supplies You’ll Need
Here’s what I like to have on hand:
- Sharp, clean pruning shears or a sharp knife: Cleanliness is crucial to prevent disease.
- Small pots or propagation trays: Ensure they have drainage holes!
- Rooting hormone (optional, but recommended): A little boost can make a big difference.
- Well-draining potting mix: I like a mix that’s about 50% peat or coco coir and 50% perlite or coarse sand. Something that holds a little moisture but drains freely.
- Plastic bags or a mini greenhouse: To keep humidity high around your cuttings.
- Watering can or spray bottle: For gentle watering.
Propagation Methods
Anemone lithophila can be propagated through several methods, but I find division to be the most straightforward and reliable.
1. Division:
This is best done when you see new shoots emerging in spring, or after flowering has finished in autumn.
- Gently dig up the parent plant. Be careful not to damage the main root ball.
- Inspect the root system. You’ll see clumps or sections with their own shoots and roots.
- Using your hands or a clean trowel, carefully separate a section. Aim for a division that has at least a couple of shoots and a good portion of roots. If the roots are tangled, you might need to use your knife to gently tease them apart or make a clean cut.
- Replant the divisions immediately. Water them in very well, just like you would a freshly planted shrub.
2. Stem Cuttings (a bit more advanced, but rewarding!):
- Select a healthy stem that is about 4-6 inches long and has at least two sets of leaves.
- Make a clean cut just below a leaf node. This is the bump where leaves attach to the stem.
- Remove the lower leaves. You want just a couple of leaves at the top.
- Dip the cut end into your rooting hormone (if using). Tap off any excess.
- Tuck the cutting into your prepared potting mix. Make sure the leaf nodes are buried, as this is where roots will form.
- Water gently.
- Cover the pot with a plastic bag or place it in a mini greenhouse to maintain high humidity.
- Place in bright, indirect light. Avoid direct sun, as it can scorch the delicate cuttings.
The “Secret Sauce” (Pro Tips)
Here are a few things I’ve learned over the years that can really help your Anemone lithophila cuttings thrive:
- Don’t let the leaves touch the water (if doing water propagation, though division is better for this plant). For cuttings, if any leaves dip into standing water, they’ll likely rot. Keep them above the water line.
- Bottom heat is your friend! If you’re doing stem cuttings, placing your propagation tray on a seedling heat mat can significantly speed up root development. It mimics the warmth of spring soil.
- Be patient with divisions. Sometimes, a division might look a little sad for the first week or two. Just keep it consistently moist (not soggy!) and give it time. It’s usually just settling in.
Aftercare & Troubleshooting
Once your divisions are settled or your cuttings show signs of rooting (you’ll see new leaf growth or feel a gentle tug when you lightly pull the cutting), it’s time for a little extra care.
- Gradually acclimate your cuttings to lower humidity by opening the plastic bag for increasingly longer periods over a week or so.
- Keep the soil consistently moist but not waterlogged. This is critical. Overwatering is the quickest way to invite rot, which is the most common sign of failure. You’ll see leaves yellowing, wilting, and the stem may become mushy at the soil line.
- If you see any signs of rot, act fast. Remove the affected portion immediately with a clean knife and allow the remaining part to dry out a bit more. Sometimes, you can even salvage a piece of the stem that looks healthy.
- For divisions, continue to water regularly until you see vigorous new growth.
A Encouraging Closing
Remember, gardening is a practice, and every plant is a new lesson. Be patient with your Anemone lithophila, give them a little tenderness, and don’t be discouraged if a few don’t make it. Each success is a joy, and you’ll soon have a garden bursting with the delicate beauty of these wonderful plants. Happy propagating!
Resource:
https://identify.plantnet.org/k-world-flora/species/Anemone%20lithophila%20Rydb./data