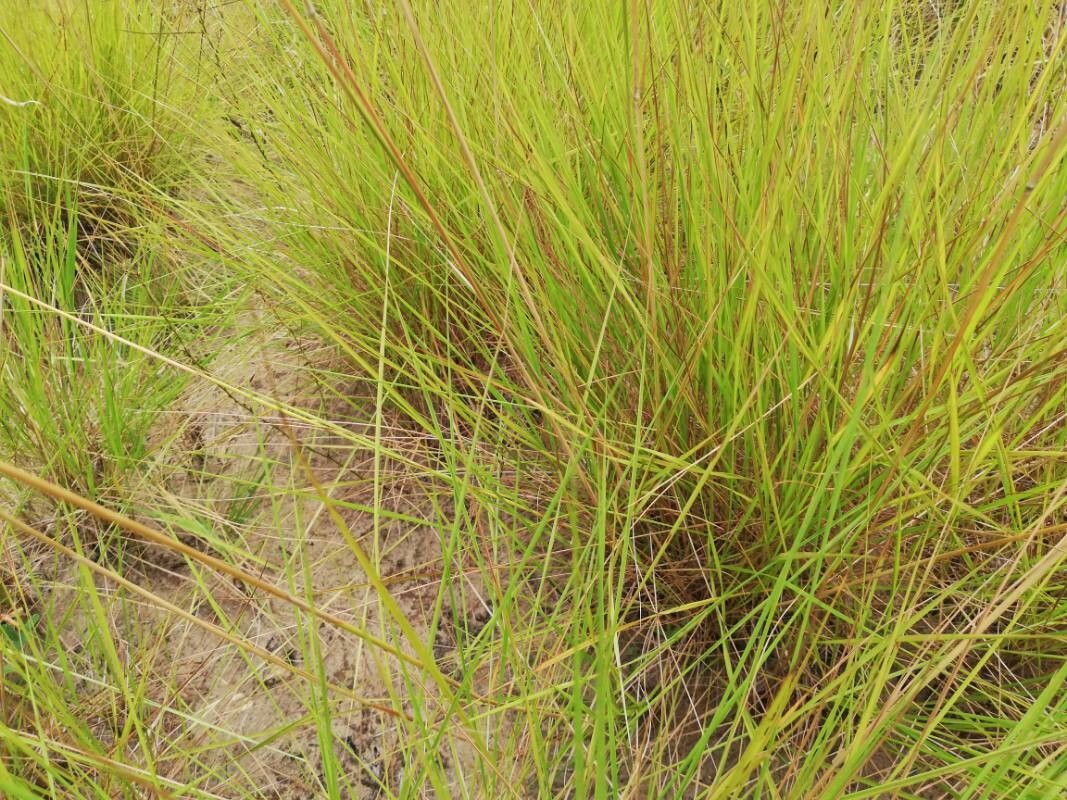
Hello fellow plant enthusiasts! Today, we’re diving into the wonderful world of Andropogon amethystinus, or as I like to fondly call it, “Velvet Grass.” If you’ve ever admired its stunning, shimmering blue foliage, you’re not alone. This ornamental grass brings a unique texture and color pop to any garden, especially in the late afternoon sun. Propagating your own Velvet Grass is not only a fantastic way to expand your collection for free, but it’s also incredibly satisfying to watch those tiny new plants take hold. For beginners, I’d say Andropogon amethystinus falls into the moderately easy category for propagation. A little care and the right approach, and you’ll be rewarded.
The Best Time to Start
The sweet spot for propagating Andropogon amethystinus is undoubtedly in the late spring to early summer. This is when the plant is actively growing and has plenty of energy to put into developing new roots. Waiting until after the last frost is crucial. If you can catch the plant just as it’s putting out fresh, new shoots, that’s ideal!
Supplies You’ll Need
Here’s what you’ll want to have on hand:
- Sharp, clean pruning shears or a sharp knife: For making clean cuts.
- Potting mix: A light, well-draining mix is best. I often use a blend of peat moss, perlite, and a bit of compost. You can also find specific seed-starting or propagation mixes at your local garden center.
- Small pots or trays: Clean pots are essential to prevent disease.
- Rooting hormone (optional, but recommended): This helps encourage root development. Look for one specifically for stem cuttings.
- Watering can or spray bottle: For gentle watering.
- Labels or markers: To keep track of your plantings!
Propagation Methods
While Andropogon amethystinus can be grown from seed, I find the most reliable and rewarding method for home gardeners is division. It’s like giving your mature plant a little haircut and getting extra plants out of the deal!
Division
This is the method I use most often, and it’s a lifesaver when your Andropogon amethystinus starts to look a bit crowded or you simply want more!
- Dig it up carefully: In late spring or early summer, when the plant is actively growing, gently dig up the entire clump of Andropogon amethystinus. Try to disturb the roots as little as possible. If the clump is very large, you might need a garden fork to help loosen it.
- Examine the root ball: Gently shake off some of the excess soil so you can see the structure of the plant. You’re looking for natural separation points.
- Separate the divisions: You can often pull the clump apart with your hands, especially if it’s a younger plant. If it’s a more mature or dense clump, you might need to use your sharp pruning shears or a clean spade to cut through the roots and rhizomes. Aim for divisions that have at least 3-5 healthy shoots and a good amount of root system.
- Replant immediately: Get your new divisions into their new homes as quickly as possible.
You can also try stem cuttings, though I’ve found this to be a bit trickier for me personally with this particular grass. If you do go this route:
- Take cuttings: In late spring or early summer, select healthy, non-flowering stems. Using your clean pruning shears, make a cut just below a node (where a leaf meets the stem), about 4-6 inches long. Remove the lower leaves, leaving only a few at the top.
- Apply rooting hormone: Dip the cut end of the stem into your rooting hormone, tapping off any excess.
- Plant in moist soil: Insert the cutting a couple of inches deep into your prepared, moist well-draining potting mix.
- Create humidity: Cover the pot with a clear plastic bag or place it in a propagation dome. This creates a humid environment that helps prevent the cutting from drying out.
The “Secret Sauce” (Pro Tips)
Here are a couple of tricks up my sleeve that make a big difference:
- Don’t overwater divisions: After replanting your divisions, water them thoroughly once, then allow the soil to dry slightly between waterings. Overly soggy soil can lead to rot, which is the enemy of new plants. Roots need air, too!
- Consider bottom heat for cuttings: If you’re trying the stem cutting method and aren’t seeing much activity, placing your pots on a heating mat designed for propagation can really speed things up. It mimics the warmth of spring and encourages root formation.
Aftercare & Troubleshooting
Once your divisions are planted, keep them consistently moist but not waterlogged. If you’re trying stem cuttings, keep that plastic dome on and maintain humidity. Watch for new leaf growth – that’s your sign that roots are forming!
The most common issue you’ll encounter is rot. If you see your cuttings wilting and turning mushy, or if your divisions look yellow and unhealthy, it’s likely due to too much moisture. If you suspect rot, pull the plant out of the soil and inspect the roots. If they’re soft and black, it’s rot. You can try to salvage any healthy parts, but often it’s best to start over with fresh material. If you’ve done stem cuttings, ensure good airflow once you see signs of roots – you don’t want that humidity to turn into a fungal soup.
A Warm Wrap-Up
Propagating Andropogon amethystinus is such a rewarding part of gardening. It connects you more deeply with your plants and allows you to share their beauty with others. Be patient with the process – nature has its own timeline! Enjoy the little victories, learn from any setbacks, and most importantly, have fun getting your hands dirty. Happy gardening!
Resource:
https://identify.plantnet.org/k-world-flora/species/Andropogon%20amethystinus%20Steud./data