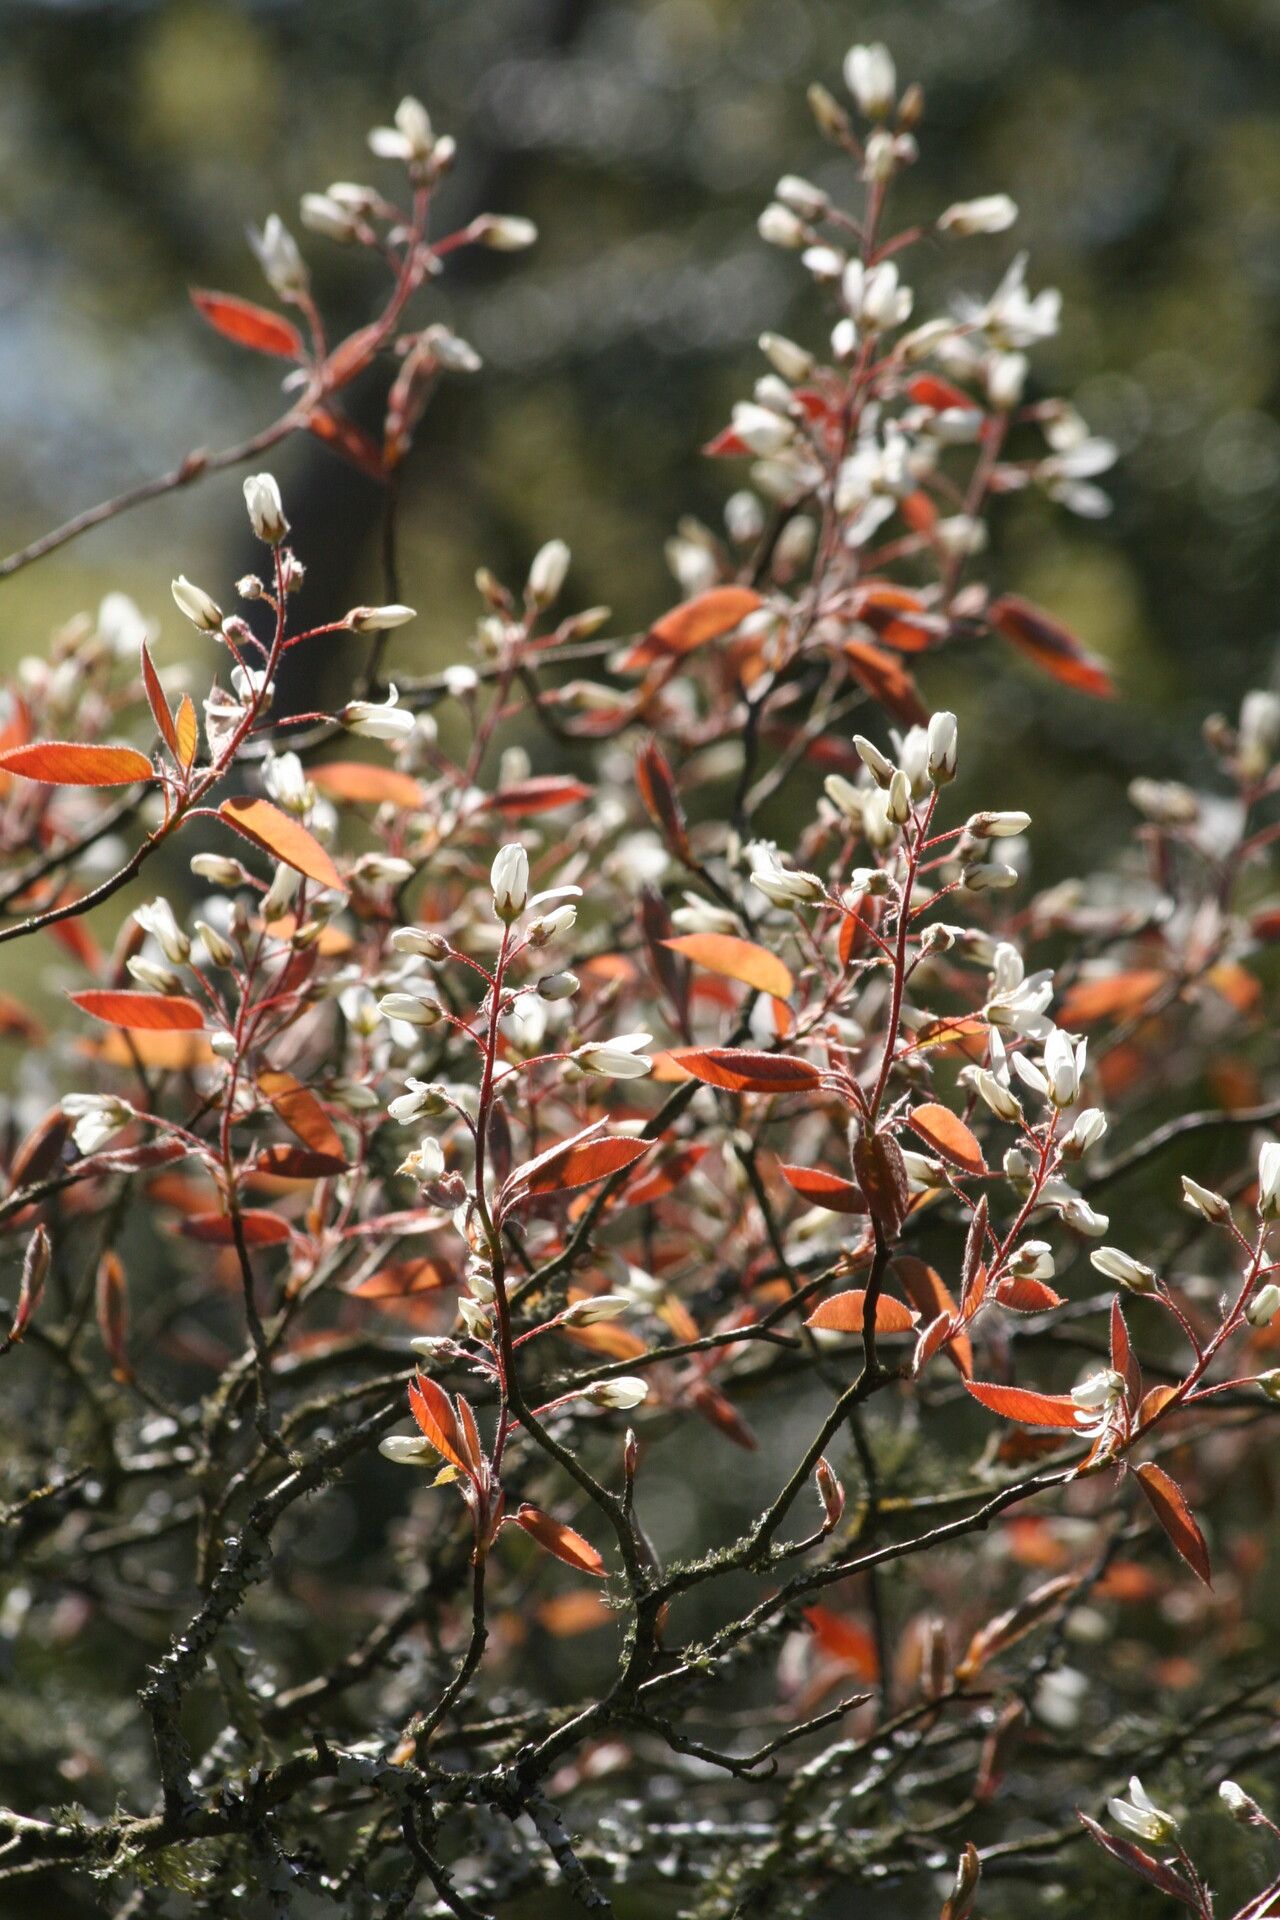
Hey there, fellow garden lovers! It’s so lovely to have you join me today. We’re diving into the wonderful world of Amelanchier asiatica, or as some of us affectionately call it, the Korean Serviceberry. Honestly, I adore this plant. Its delicate white flowers in spring, followed by those delicious, blueberry-like fruits in summer, and finally, a fiery autumnal display – it’s a real treat for the senses year-round. And yes, you absolutely can grow more of these beauties yourself! Trying your hand at propagation is incredibly rewarding, and while Amelanchier asiatica isn’t the absolute easiest plant to start from scratch, it’s certainly not out of reach for a determined beginner. You’ve got this!
The Best Time to Start
When it comes to propagating Amelanchier asiatica, late spring to early summer is absolutely your golden ticket. This is when the plant is actively growing, and young, pliable stems are abundant. They’ll be more receptive to rooting and have the energy to put into developing new roots. Aim for a time after the initial flush of flowering has passed but before the plant starts to really focus on ripening its fruit.
Supplies You’ll Need
To set yourself up for success, gather these essentials:
- Sharp, clean pruning shears or a very sharp knife: For making clean cuts is crucial.
- Rooting hormone (powder or gel): This isn’t strictly mandatory, but it does give your cuttings a significant boost. I usually go for a product with a good balance of auxins.
- Small pots or seed trays: Ensure they have drainage holes.
- A well-draining potting mix: I prefer a blend of peat moss, perlite, and coarse sand (roughly 1:1:1 ratio). You can also find commercially made cactus and succulent mixes that work well.
- A clear plastic bag or a propagator lid: To create a mini-greenhouse effect.
- Watering can with a fine rose attachment: For gentle watering.
- Optional: Bottom heat mat: This can significantly speed up root development.
Propagation Methods
Let’s get our hands dirty! The most reliable method for Amelanchier asiatica is stem cuttings.
Taking Stem Cuttings:
- Select your stem: Find a healthy, current-year stem that’s about the thickness of a pencil. Look for one that isn’t woody and stiff, but still has some flexibility to it.
- Make the cut: Using your clean shears or knife, cut a section about 4-6 inches long. Make the cut just below a leaf node (where a leaf attaches to the stem). A slight angle can sometimes help with rooting area.
- Prepare the cutting: Gently remove the lower leaves, leaving just 2-3 at the very top. This prevents them from rotting in the soil. If you have extremely large leaves, you can even cut those in half to reduce water loss.
- Apply rooting hormone: Dip the cut end of the stem into your rooting hormone, ensuring it’s well coated. Tap off any excess.
- Insert into medium: Moisten your potting mix well. Make a small hole with a pencil or your finger and insert the cutting about 1-2 inches deep. Gently firm the soil around it.
- Create a humid environment: Water gently after planting. Then, cover the pot with a clear plastic bag (secure it around the rim with a rubber band or twist tie) or place it under a propagator lid. This keeps the humidity high, which is vital for cuttings.
Water Propagation (Less Common, but Can Work):
This is a bit more hit-or-miss for shrubs like Serviceberry, but worth a try if you’re feeling adventurous!
- Follow steps 1-3 above, but don’t worry about rooting hormone.
- Place the prepared cuttings in a jar or glass of clean water.
- Ensure no leaves are submerged in the water. This is critical to prevent rot.
- Place the jar in a bright spot out of direct sunlight.
- Change the water every few days to keep it fresh. You’ll hopefully see roots begin to form within a few weeks.
The “Secret Sauce” (Pro Tips)
Here are a few things I’ve learned over the years that can really make a difference:
- Don’t let the leaves touch the water: I’ll say it again because it’s that important for both soil and water propagation. Any foliage dipping below the soil line or into the water will likely rot, bringing your whole cutting down with it.
- Bottom heat is your best friend: If you can manage it, placing your pots on a bottom heat mat set to around 70-75°F (21-24°C) will encourage root formation much faster. Think of it as giving your cuttings a cozy, warm start.
- Label everything! It sounds obvious, but when you’re propagating multiple things, or have several rounds going, it’s easy to forget which cutting is which. A simple plant label with the date and type of plant can save you headaches later.
Aftercare & Troubleshooting
Once your cuttings have developed a good network of roots (you can gently tug on them – if there’s resistance, they’re rooting! Or look for roots emerging from the drainage holes), it’s time for their next chapter.
Transplanting:
Carefully transplant your rooted cuttings into individual pots filled with your regular potting mix or a good quality potting soil. Water them in well.
Ongoing Care:
Keep them in a bright location, but out of harsh direct sunlight for the first few weeks. Water them when the top inch of soil feels dry. You can gradually introduce them to more sun as they establish.
Troubleshooting:
- Wilting: This can be a sign of underwatering, or if the cutting hasn’t rooted yet, it might be struggling to take up moisture. Ensure the soil stays consistently moist but not soggy.
- Rotting: This is often due to overwatering, poor drainage, or those sneaky leaves touching the soil. If you see mushy, black stems, unfortunately, that cutting is likely lost. Remove it to prevent the rot from spreading.
- No root development: Be patient! Some plants root faster than others. If after 6-8 weeks you see no signs of life, it’s possible that particular cutting didn’t take. Don’t get discouraged – just try again!
Keep Digging In!
Propagating Amelanchier asiatica is a journey, and like all the best gardening endeavors, it requires a little patience and a lot of love. Don’t be afraid to experiment, and celebrate every tiny victory – those first few roots are pure magic! Enjoy the process, learn from your efforts, and soon you’ll have a whole new generation of beautiful Serviceberry plants to admire and share. Happy gardening!
Resource: