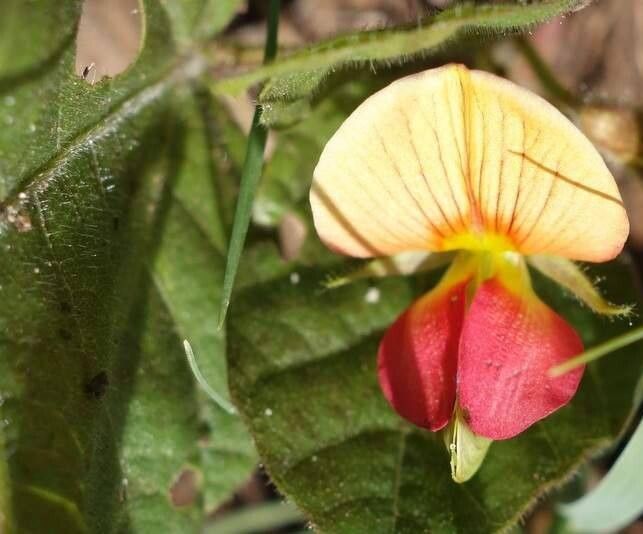
Oh, hello there! Come on in, grab a cup of your favorite brew. I’m so glad you’re interested in propagating Alysicarpus glumaceus. It’s a really lovely plant, isn’t it? The way its delicate flowers grace the garden and the gentle rustle of its foliage… it just brings a certain je ne sais quoi to any space. And the joy of coaxing a new life from an existing one? Well, that’s just pure magic. You’ll find propagating this one is a really rewarding experience, and thankfully, it’s not too daunting for even the newest green thumbs.
The Best Time to Start
My favorite time to get busy with propagating Alysicarpus glumaceus is in late spring to early summer. This is when the plant is really hitting its stride, with plenty of new, healthy growth. It’s also when the days are getting longer and warmer, which gives our little cuttings the best chance to establish themselves. You’ll want to look for stems that are firm but not yet woody. Think of it as the plant is full of youthful vigor and ready to share it!
Supplies You’ll Need
Before we dig in, let’s gather our tools. It’s always best to be prepared!
- Sharp Pruning Shears or a Craft Knife: Clean cuts are key for healthy rooting.
- Rooting Hormone (Optional but Recommended): This really gives your cuttings a boost. I like a powdered one.
- Well-Draining Potting Mix: A good blend of peat moss, perlite, and a little bit of compost works wonders. You can also buy specific seed-starting or cutting mixes.
- Small Pots or Seedling Trays: Make sure they have drainage holes!
- Plastic Bags or a Clear Dome: To create a humid environment for your cuttings.
- Watering Can with a Fine Rose: For gentle watering.
- Labels: So you don’t forget what you’ve planted where!
Propagation Methods
For Alysicarpus glumaceus, my go-to method is stem cuttings. It’s straightforward and yields excellent results.
- Take Your Cuttings: First, select a healthy stem from your mature plant. Look for a piece that’s about 4-6 inches long and has at least two sets of leaves. Using your clean shears or knife, make a clean cut just below a leaf node (that little bump where the leaves attach). This is where the magic happens when it comes to rooting.
- Prepare the Cuttings: Gently remove any leaves from the bottom half of the cutting. You want to expose the node itself, as this is where roots will emerge. If the remaining leaves are very large, you can snip them in half to reduce water loss.
- Dip in Rooting Hormone (Optional): Lightly moisten the cut end of the stem, then dip it into your rooting hormone powder. Tap off any excess.
- Plant Your Cuttings: Fill your small pots or trays with your well-draining potting mix. Make a small hole with your finger or a pencil and gently insert the cut end of the stem. Firm the soil gently around the cutting, making sure it stands upright. Ensure the soil covers at least one node.
- Create a Humid Environment: Now, this is important! Water the soil thoroughly but gently. Then, cover the pots with a plastic bag or a clear dome. This traps moisture and creates that humid microclimate cuttings need to thrive. Make sure the plastic doesn’t touch the leaves.
The “Secret Sauce” (Pro Tips)
Here are a couple of things I’ve learned over the years that really make a difference:
- Bottom Heat is Your Friend: If you have a heat mat designed for seedlings, placing your pots on top of it can dramatically speed up the rooting process. The warmth encourages root development from below.
- Don’t Overwater! While humidity is key, waterlogged soil is the quickest way to a dead cutting. The soil should feel consistently moist, but not soggy. You’ll get a feel for it with time. If you see condensation pooling heavily inside your cover, it’s a good sign to briefly air things out.
- Patience is a Virtue: Sometimes, nature takes its sweet time. I’ve had cuttings that took weeks to show signs of life. Don’t be tempted to dig them up too early!
Aftercare & Troubleshooting
Once you start to see new leaf growth or gentle tugging resistance when you lightly pull on a cutting, that’s a good sign roots have formed! Gradually acclimate your new plants to the open air by lifting the plastic cover for increasing periods over a few days. Continue to keep the soil moist and place them in bright, indirect light.
The most common problem you might encounter is rot. If your cutting turns mushy and black, it’s usually a sign of too much moisture and not enough air circulation. If you see this happening, it’s best to discard the affected cutting and check your watering habits for the others. Sometimes a bit of damping off can happen on the stem, and if it’s minor, the cutting can still recover.
A Encouraging Closing
So there you have it! Propagating Alysicarpus glumaceus is a wonderfully accessible way to expand your collection and share the joy of gardening with others. Be patient with yourself and your little green charges. Enjoy the process, celebrate every tiny new leaf, and before you know it, you’ll have a whole troupe of these beautiful plants to adore. Happy propagating!
Resource:
https://identify.plantnet.org/k-world-flora/species/Alysicarpus%20glumaceus%20(Vahl)%20DC./data