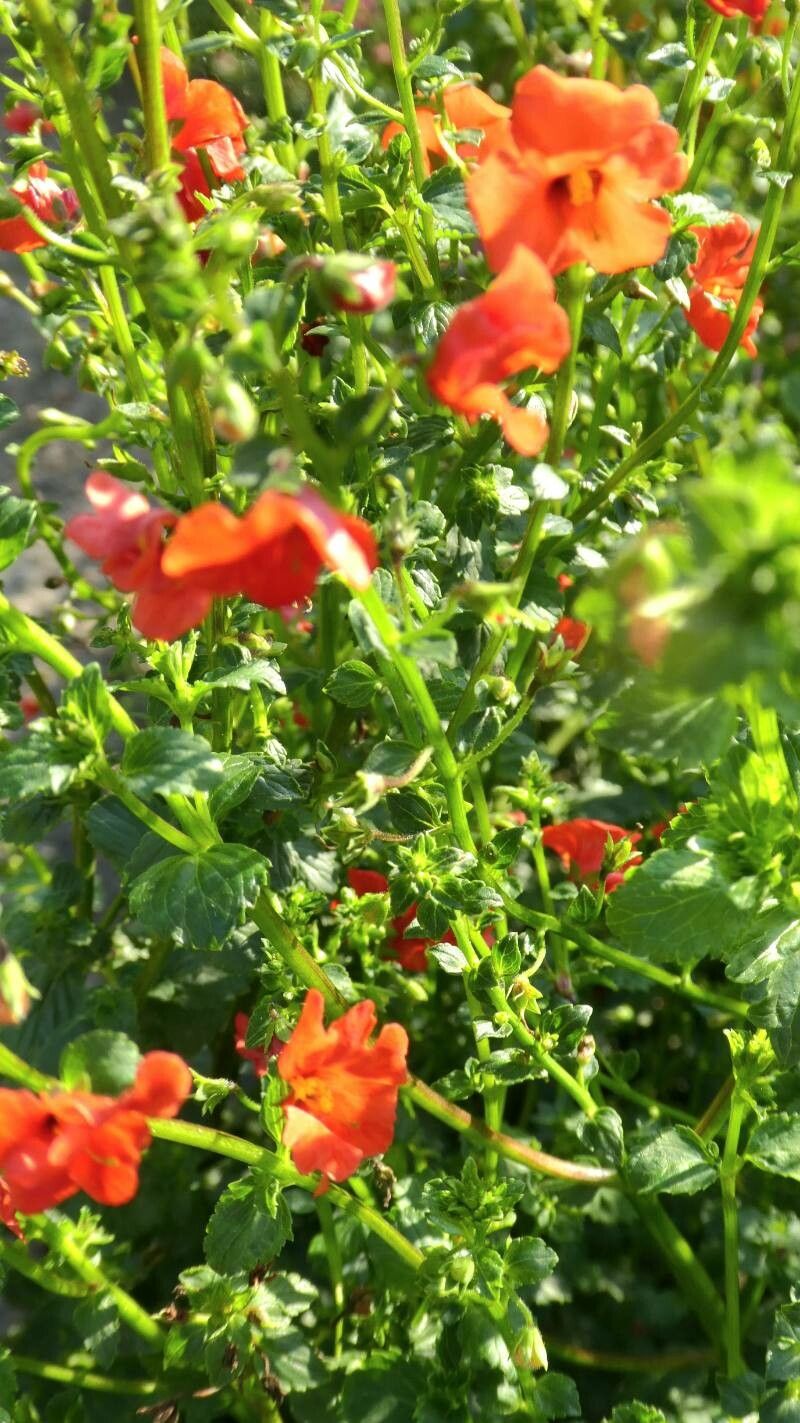
Ah, Alonsoa meridionalis! Isn’t it just a cheerful sight? Those vibrant, delicate blooms in shades of orange, red, and pink are like little rays of sunshine in the garden. I’ve been growing this gem for years, and honestly, it’s one of those plants that really rewards your efforts. Seeing a tiny cutting transform into a blooming specimen is just so satisfying. And the best part? Propagating Alonsoa is surprisingly straightforward, even for those of you just dipping your toes into the gardening waters.
The Best Time to Start
For the highest success rate with Alonsoa, I’ve found that spring is absolutely prime time. As the days get longer and warmer, your parent plants will be full of vigorous new growth, which is exactly what we want for cuttings. Aim for the soft, new shoots that are just beginning to harden off, usually after the main flush of flowering.
Supplies You’ll Need
Here’s a little kit to get you going:
- Sharp pruning shears or a clean, sharp knife: For taking clean cuts.
- Small pots or trays: Clean ones are essential to prevent disease.
- A good quality potting mix: I prefer a light, well-draining mix, often a blend of peat moss or coir, perlite, and a bit of compost.
- Rooting hormone (optional but helpful): A powder or gel can give your cuttings a good boost.
- A plastic bag or propagation dome: To create a humid environment.
- Watering can or spray bottle: For gentle watering.
Propagation Methods
Let’s get our hands dirty! The most effective way to propagate Alonsoa is through stem cuttings.
-
Select Your Cuttings: Look for healthy, non-flowering shoots on your mature plant. You want pieces that are about 3-4 inches long. Make a clean cut just below a leaf node (where a leaf attaches to the stem).
-
Prepare the Cuttings: Gently remove the lower leaves from the cutting. You just want the top couple of leaves remaining. This reduces moisture loss and prevents the leaves from rotting in the soil.
-
Apply Rooting Hormone (If Using): Dip the cut end of the stem into your rooting hormone. Tap off any excess.
-
Plant Your Cuttings: Fill your clean pots or trays with your prepared potting mix. Make a small hole with your finger or a pencil and insert the cutting. Gently firm the soil around it.
-
Create a Humid Environment: Water the soil gently. Then, cover the pot or tray with a plastic bag or propagation dome. This traps humidity, which is crucial for the cuttings to root before they dry out. You can use a rubber band to secure the bag around the pot.
The “Secret Sauce” (Pro Tips)
Here are a couple of things I’ve learned over the years that really make a difference:
- Avoid Overwatering from the Start: While humidity is key, you don’t want waterlogged soil. The goal is for the cuttings to absorb moisture, not sit in a swamp. Let the surface of the soil dry slightly between waterings.
- Bottom Heat is Your Friend: If you have a bit of extra equipment, popping your tray onto a heated propagator mat can significantly speed up the rooting process. Alonsoa loves a bit of warmth to encourage those roots to form. Give it a try!
Aftercare & Troubleshooting
Once your cuttings have rooted, you’ll start to see new growth, which is a wonderful sign! You’ll know they’ve rooted when you gently tug on the cutting and feel resistance. At this point, you can begin to introduce them to more regular conditions. Gradually remove the plastic bag over a few days, increasing ventilation each time. Water them as you would a small plant, keeping the soil consistently moist but not soggy.
The most common issue you might encounter is rot. If you see your cuttings turning black and mushy, it’s usually a sign of too much moisture and not enough air circulation. Make sure your soil drains well and that you’re not overwatering. If you catch it early, you might be able to save some cuttings by cutting away the rotted parts and repotting in fresh, dry soil.
A Gentle Reminder
Growing plants is a journey, and propagating is part of that beautiful adventure. Be patient with your new Alonsoa cuttings. Not every single one may make it, and that’s perfectly okay. Celebrate the successes, learn from any setbacks, and most importantly, enjoy the process of nurturing new life. Happy gardening!
Resource:
https://identify.plantnet.org/k-world-flora/species/Alonsoa%20meridionalis%20(L.f.)%20Kuntze/data