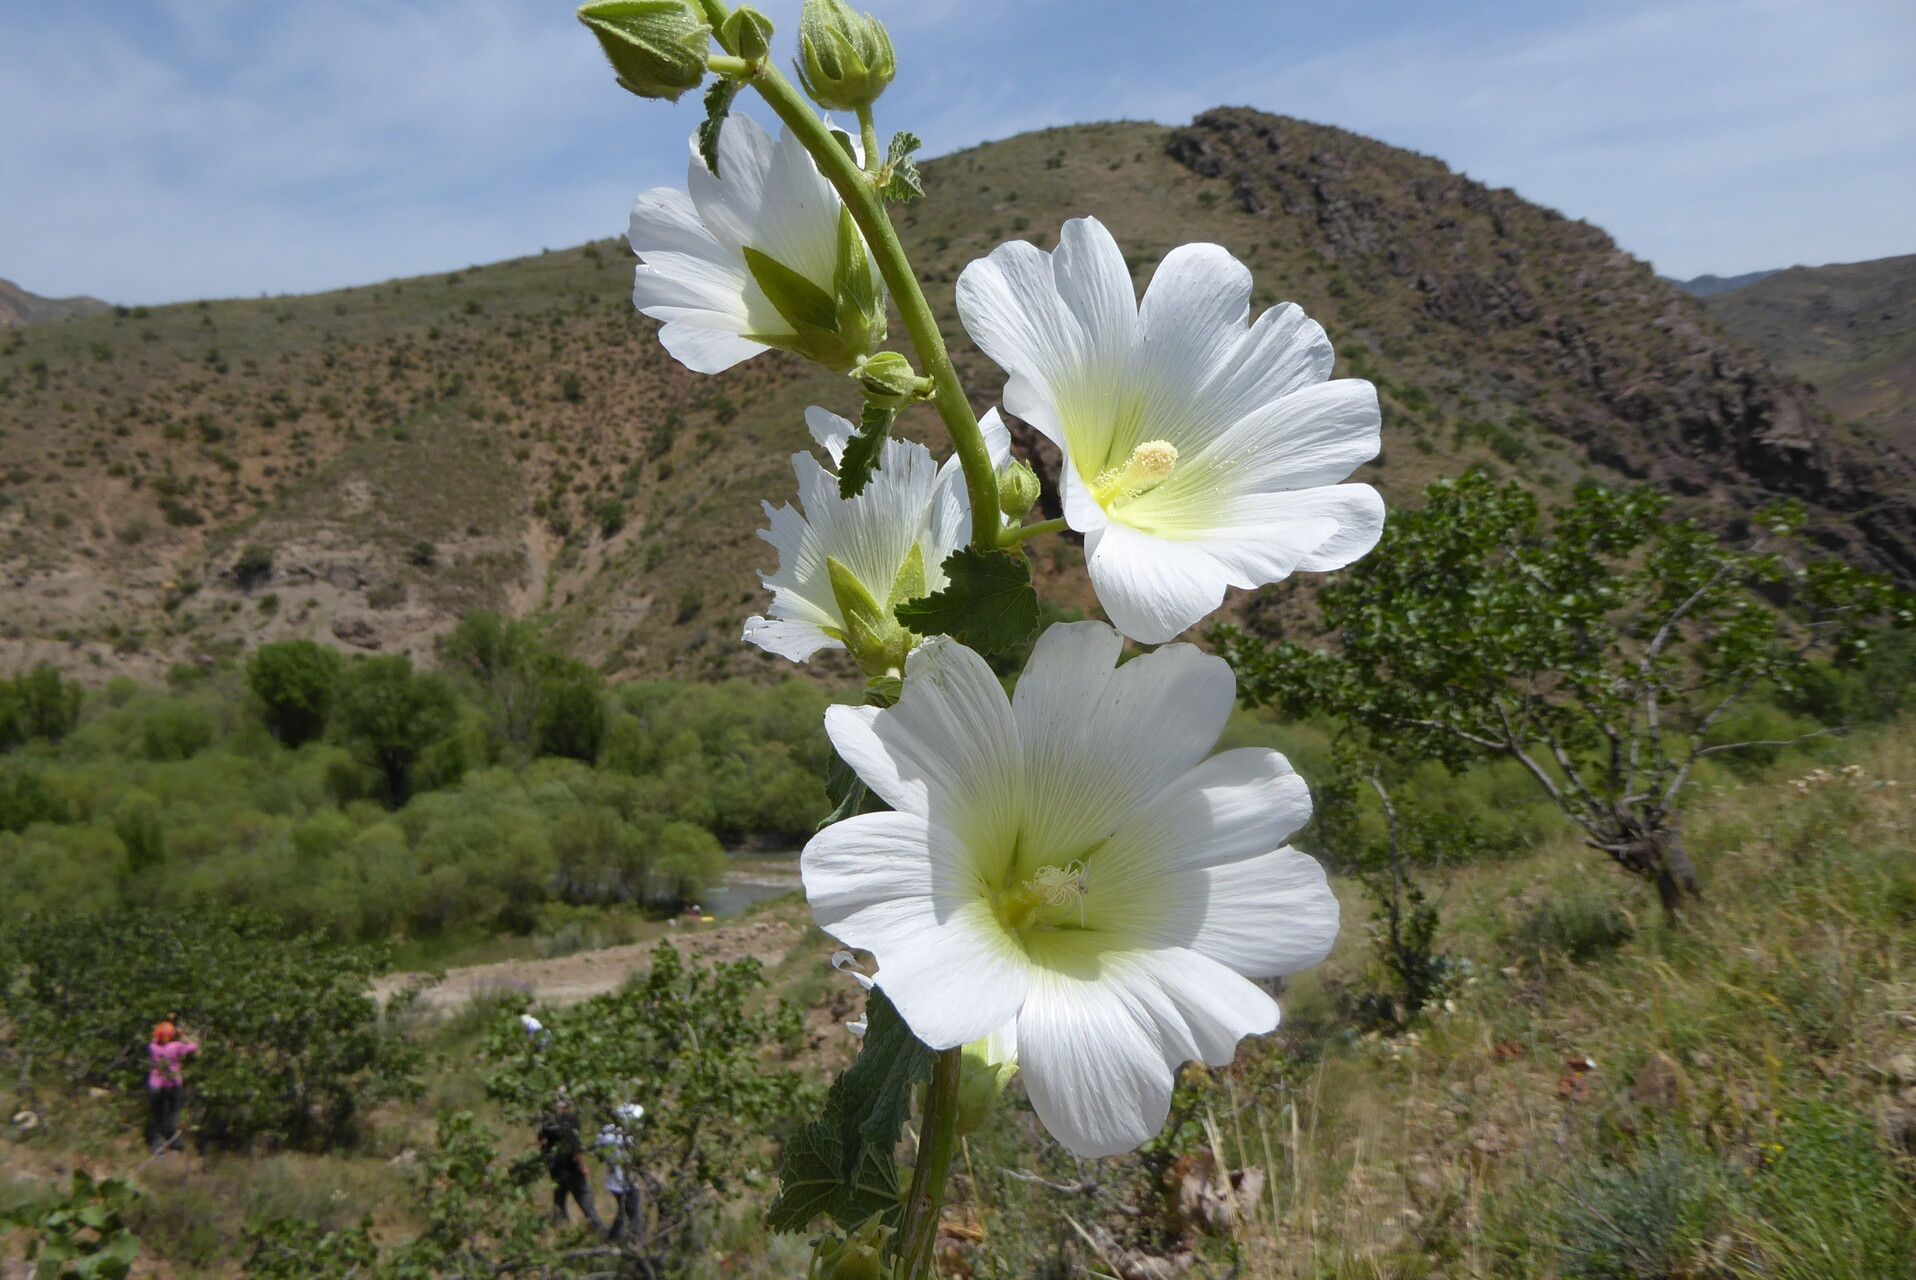
Hello there, fellow plant lovers! I’m so excited to chat with you today about a truly spectacular garden gem: Alcea nudiflora, or as it’s often called, a wonderful variety of hollyhock. If you haven’t grown these beauties yet, get ready for a treat. Their tall, showy spires of flowers in vibrant colors are a summer staple, and there’s something deeply satisfying about bringing new life into the world from your existing plants. For us keen gardeners, propagating them is a wonderfully rewarding endeavor. And the good news? Even if you’re relatively new to the plant-world, you’ll find this process quite manageable.
The Best Time to Start
Timing really is everything when it comes to giving your new plant babies the best start in life. For Alcea nudiflora, the sweet spot for propagation is usually late spring to early summer. This is when the plant is actively growing and has plenty of energy to direct towards rooting. You’ll want to look for strong, healthy new growth. Avoid trying to propagate from flowering stems; focus on those lush, green shoots that are clearly eager to unfurl.
Supplies You’ll Need
Before we get our hands dirty, let’s gather our tools. Having everything ready makes the process so much smoother and more enjoyable.
- Sharp Pruning Shears or a Clean Knife: For making clean cuts.
- Rooting Hormone: A simple powder or gel can significantly boost your success rate.
- Well-Draining Potting Mix: A blend of peat moss, perlite, and a bit of compost works beautifully. You can also find specific seed-starting mixes.
- Small Pots or Trays: Clean containers that allow for good drainage.
- Watering Can with a Fine Rose: For gentle watering.
- Plastic Bag or Clear Dome: To create a humid environment for cuttings.
- Optional: Small Gravel or Perlite: For the bottom of pots to improve drainage.
Propagation Methods
Alcea nudiflora is most commonly and successfully propagated through stem cuttings and division. Let’s dive into how to do each.
Stem Cuttings
This is a fantastic way to create plenty of new plants from one healthy specimen.
- Select Your Cuttings: In late spring or early summer, choose healthy, non-flowering stems that are about 4-6 inches long. Look for stems that are firm but still a bit pliable, not woody.
- Make the Cut: Using your sharp pruners or knife, make a clean cut just below a leaf node (where a leaf attaches to the stem).
- Prepare the Cuttings: Gently remove the lower leaves, leaving just a couple at the very top. This prevents them from rotting when they’re in the soil. If you’re using longer stems, you can cut them in half, ensuring each piece has at least one node and some leaves.
- Apply Rooting Hormone: Dip the cut end of each stem into your rooting hormone, tapping off any excess. This really helps in encouraging root development.
- Plant the Cuttings: Fill your small pots with your prepared potting mix. Make a small hole in the center with your finger or a pencil. Insert the cut end of the stem into the hole, ensuring the node is buried, and gently firm the soil around it.
- Water Gently: Water thoroughly but gently until you see water draining from the bottom of the pot.
- Create Humidity: Cover the pots with a clear plastic bag, securing it around the rim with a rubber band, or place them under a clear dome. This creates a miniature greenhouse effect that keeps the cuttings moist and happy. Place them in a bright spot but out of direct, scorching sunlight.
Division
If you have a mature plant that’s looking a bit crowded or you simply want to expand your hollyhock family, division is a great method.
- Prepare Your Tool: Have your trowel or small spade ready.
- Carefully Dig Up the Plant: In late spring or early fall (when the plant is not actively flowering), carefully dig around the base of the Alcea nudiflora plant. The goal is to lift the entire root ball with as little disturbance as possible.
- Separate the Roots: Gently shake off excess soil. You should be able to see distinct sections or crowns on the plant. Using your hands or a clean spade, carefully separate these sections. Each division should have a healthy root system and at least one or two stems with leaves.
- Replant Immediately: Plant each division into its new location or a pot filled with good potting soil. Ensure the base of the plant is at the same depth it was before.
- Water and Mulch: Water the newly planted divisions well, and add a layer of mulch to help retain moisture and keep the soil cool.
The “Secret Sauce” (Pro Tips)
Here are a couple of little tricks I’ve learned over the years that can make a big difference:
- Firstly, when preparing stem cuttings, a little bottom heat can be a game-changer. If you have an old heating mat you use for seedlings, placing your pots on it can really encourage those roots to form faster. Just ensure the soil doesn’t dry out.
- Secondly, don’t be too quick to pot them up! I often leave my cuttings in their initial pots for a good 4-6 weeks. You’ll know they’re ready when you see new leaf growth and feel a gentle resistance when you give a tiny tug on the stem. Resist the urge to constantly check for roots; patience is your best friend here.
Aftercare & Troubleshooting
Once you spot those first signs of root development – a little bit of new growth is usually a good indicator – it’s time to adjust their care. Gradually acclimate your new plants to normal humidity by slowly opening the plastic bag or dome over a few days. When they are sturdy enough to handle, you can transplant them into slightly larger pots or out into your garden beds. Keep them consistently watered, but never waterlogged.
Occasionally, you might encounter a cutting that just doesn’t take. The most common culprit is rot. If your cutting turns mushy, becomes slimy, or develops dark spots, it’s likely succumbed to rot. This usually happens due to too much moisture and not enough air circulation. If you see this, unfortunately, discard the affected cutting and start again, perhaps with slightly drier soil or better ventilation next time. Wilting can also be a sign of stress or insufficient roots, but with consistent moisture and humidity, many wilting cuttings perk up once they establish roots.
A Encouraging Closing
Growing new plants from cuttings or divisions is such a fulfilling process. It connects us more deeply to our gardens and rewards us with more of the beauty we love. Be patient with your Alcea nudiflora babies. Nature has its own pace, and celebrating each small success – the first tiny root, the unfurling of a new leaf – is all part of the joy. Happy propagating!
Resource:
https://identify.plantnet.org/k-world-flora/species/Alcea%20nudiflora%20(Lindl.)%20Boiss./data