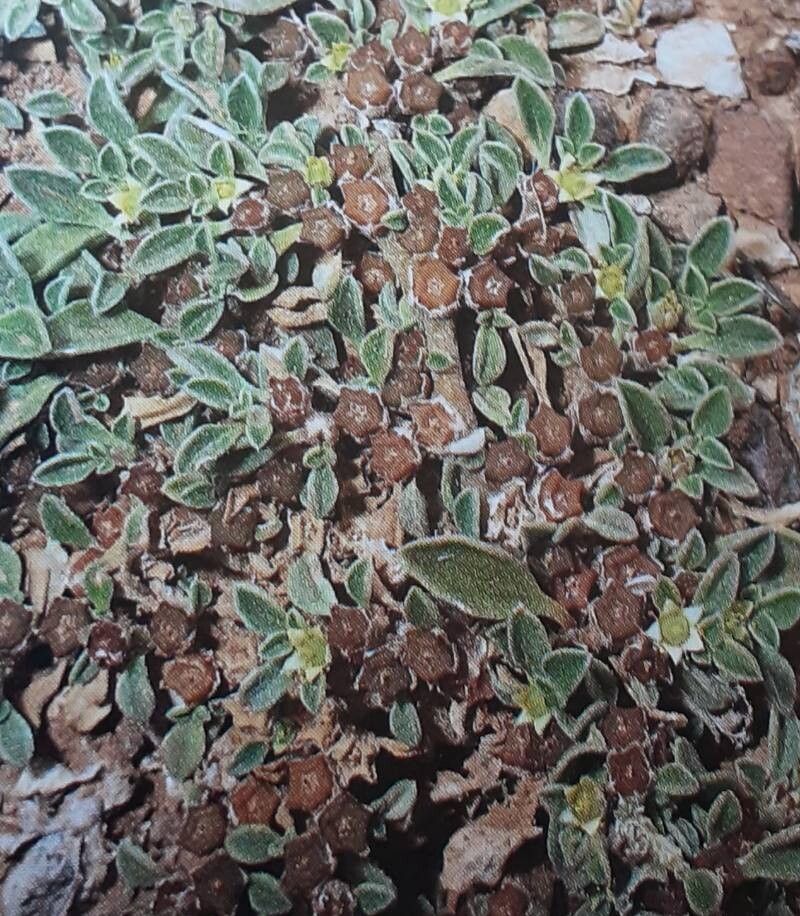
Hello, fellow plant lovers! Today, I want to chat about a truly fascinating succulent we’re going to coax into new life: Aizoon canariense. You might know it by its common name, Canary Island Ice Plant, or simply as a charming groundcover with its distinctive, almost watery-looking leaves. Its ability to thrive in sunny, dry spots makes it a champion in many gardens, and honestly, there’s a special kind of joy in watching a tiny cutting transform into a vibrant new plant.
Propagating Aizoon canariense is a wonderfully rewarding experience, and I’m happy to report that it’s quite beginner-friendly. You don’t need to be a seasoned pro to have success with this one. With a little patience and the right approach, you’ll be able to fill your garden or share these beauties with your friends in no time.
The Best Time to Start
For the absolute best chance of success, aim to take cuttings during the late spring or early summer. This is when the plant is actively growing and has plenty of energy reserves. You want to be working with healthy, somewhat firm stems, not the very soft, new growth or the woody, mature parts. Think of it as hitting that sweet spot of vigorous growth.
Supplies You’ll Need
Gathering your tools before you begin makes the whole process much smoother. Here’s what you’ll want to have on hand:
- Sharp, clean pruning shears or a sharp knife: For making clean cuts.
- Rooting hormone (optional but recommended): This can give your cuttings a helpful boost.
- A well-draining potting mix: I like a mix of coarse sand, perlite, and a good quality potting soil, or a cactus/succulent mix is perfect.
- Small pots or seed trays: With drainage holes, of course!
- A watering can with a fine rose or a spray bottle: For gentle watering.
- Labels: To keep track of what you’ve planted and when.
Propagation Methods
Aizoon canariense is a pro at reproducing, and you’ll find that stem cuttings are your easiest route to success.
Stem Cuttings:
- Select your parent plant: Choose a healthy, mature Aizoon canariense that is showing good growth.
- Make the cut: Using your clean shears or knife, take a cutting from a stem that is about 3-6 inches long. Make the cut just above a leaf node (where a leaf attaches to the stem).
- Prepare the cutting: Gently remove the lower leaves from the bottom inch or so of the cutting. This exposes the nodes where roots will emerge.
- Let it callus: This is a crucial step for succulents. Place your cuttings on a dry surface in a shaded spot for 2-3 days. You want the cut end to dry out and form a protective callus. This prevents rot.
- Apply rooting hormone (optional): If you’re using rooting hormone, dip the callused end into the powder, tapping off any excess.
- Plant your cuttings: Fill your small pots with your well-draining mix. Make a small hole in the soil with your finger or a pencil. Insert the callused end of the cutting into the hole, ensuring at least one leaf node is below the soil surface. Gently firm the soil around the cutting.
- Water lightly: Water the soil gently, just enough to settle it around the cutting. Avoid waterlogging.
- Place them in a bright spot: Position your pots in a location that receives bright, indirect light.
The “Secret Sauce” (Pro Tips)
Here are a couple of tricks I’ve learned over the years that can really make a difference:
- Think “dry” rather than “wet”: While some plants love sitting in water to root, succulents are different. If you choose to water propagate (though I find it trickier with this one), ensure no leaves are submerged and that the water is changed frequently to prevent bacterial growth. For soil propagation, be very sparing with your initial watering.
- Bottom heat is a game-changer: If you have a heated propagator or a gentle seedling heat mat, placing your pots on it can significantly speed up root development. About 70-75°F (21-24°C) is ideal. It mimics the warmth that encourages strong root growth in its natural environment.
Aftercare & Troubleshooting
Once your cuttings have been in the soil for a few weeks, you can gently tug on them. If you feel resistance, congratulations, roots have formed! Continue to water sparingly, allowing the soil to dry out between waterings. Gradually introduce your new plants to more direct sunlight as they establish.
The most common sign of trouble is rot. If your cutting turns mushy, black, or wilts dramatically, it’s likely succumbing to rot, usually due to too much moisture. If you see this, remove the affected cutting immediately to prevent it from spreading. Sometimes, your cutting might just refuse to root. Don’t be discouraged! Sometimes it takes a few tries or a different stem.
A Encouraging Closing
Propagating plants is a journey, and each cutting is a little experiment. Be patient with your Aizoon canariense cuttings. The appearance of new growth or signs of resistance when gently tugged are your signals of success. Enjoy the process and celebrate each tiny win. Happy propagating!
Resource:
https://identify.plantnet.org/k-world-flora/species/Aizoon%20canariense%20L./data