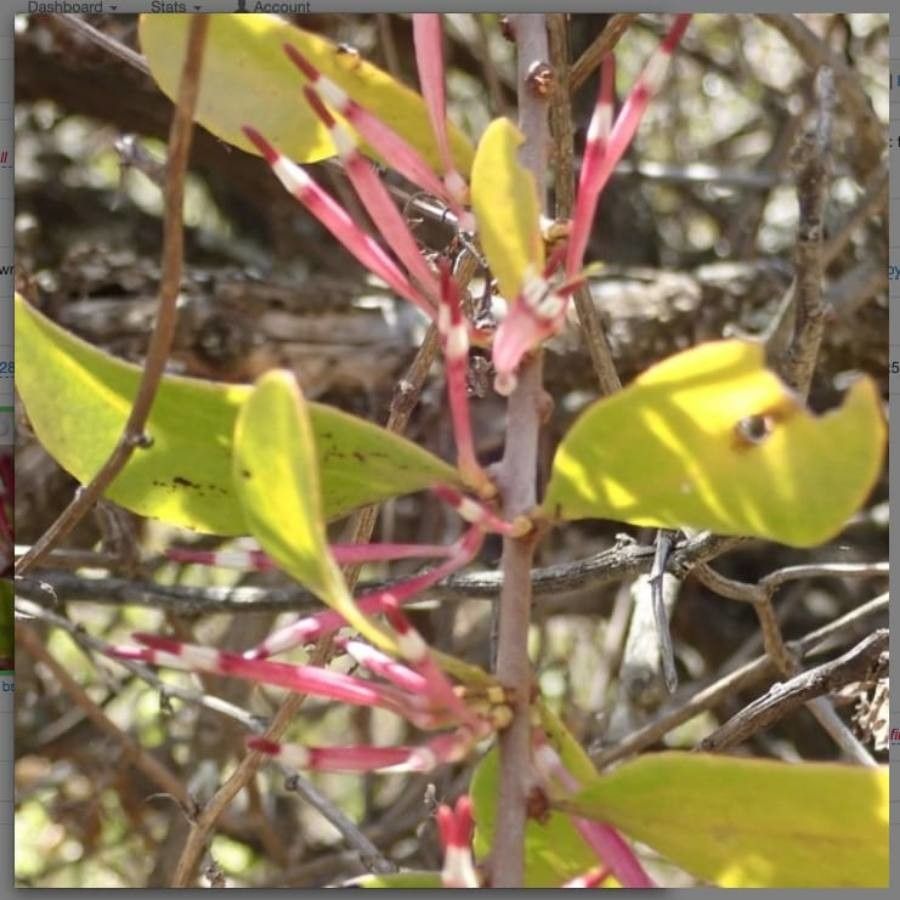
Oh, Agelanthus zizyphifolius! What a gorgeous plant. Its delicate, almost ethereal blooms and lovely foliage bring such a unique charm to any space, whether it’s a sun-drenched windowsill or a cozy corner of the garden. And the joy of coaxing a brand new plant into existence from a simple piece of its parent? Well, that’s just pure magic, isn’t it?
Now, about propagating it. If you’re new to the gardening game, you might find Agelanthus a tad bit challenging, but don’t let that discourage you! With a little patience and a few key techniques, you’ll be celebrating success in no time. Think of it as a rewarding learning curve.
The Best Time to Start
My favorite time to get stuck into propagating Agelanthus is during its active growing season, which usually means late spring through summer. This is when the plant has plenty of energy to invest in producing roots. You’ll want to select stems that are firm but not woody – think of them as “semi-ripe.” Avoid anything too soft and floppy, or conversely, tough and brittle.
Supplies You’ll Need
Here’s what you’ll want by your side:
- Sharp Pruning Shears or a Clean Knife: For making clean cuts.
- Rooting Hormone (Optional but Recommended): A powder or gel that encourages root development.
- Well-Draining Potting Mix: A blend of perlite, peat moss, and maybe a bit of coarse sand works wonders. You want to avoid waterlogging!
- Small Pots or Seed Trays: Clean, with good drainage holes.
- Plastic Bags or a Propagator Lid: To create a humid environment.
- Water Spray Bottle: For keeping things moist.
- Labels: To keep track of what you’ve propagated!
Propagation Methods
I find stem cuttings to be the most reliable method for Agelanthus zizyphifolius. Here’s how I do it:
- Take Your Cuttings: Using your clean shears, snip off healthy stems that are about 4-6 inches long. Make your cut just below a leaf node (where a leaf grows from the stem).
- Prepare the Cuttings: Gently remove the lower leaves, leaving just a couple at the top. If the leaves are quite large, you can even cut them in half to reduce water loss.
- Apply Rooting Hormone (If Using): Dip the cut end of the stem into your rooting hormone, tapping off any excess.
- Plant Your Cuttings: Fill your small pots with your well-draining potting mix. Make a hole in the center with a pencil or your finger, and insert the cutting, firming the soil around it.
- Water Gently: Water thoroughly but gently, ensuring the soil is moist but not soggy.
- Create Humidity: Pop a clear plastic bag over the pot, securing it with a rubber band. Alternatively, place the pots inside a propagator with a lid. This little greenhouse effect is crucial!
The “Secret Sauce” (Pro Tips)
Here are a couple of little tricks that have saved many a cutting for me:
- The “No Leafy Dip” Rule: When you water your cuttings, make absolutely sure the leaves aren’t submerged. If they sit in water, they’re much more prone to rotting before they can root.
- Bottom Heat is Your Friend: If you can, place your pots on a heat mat designed for seedlings. This gentle warmth from below really encourages those roots to get going. It makes a noticeable difference!
Aftercare & Troubleshooting
Once your cuttings are planted, keep them in a spot with bright, indirect light. Avoid direct sun, which can scorch those tender new plants. Mist the leaves every couple of days, or when the soil starts to feel a little dry.
The real test comes when you gently tug on a cutting. If you feel resistance, congratulations! You’ve got roots! This usually takes 4-8 weeks, sometimes longer. Once you see good root development, you can gradually remove the plastic bag, allowing the plant to acclimate to normal humidity.
The most common foe is rot. If your cutting turns black and mushy, it’s a sign of too much moisture and not enough air circulation. If you see this, sadly, it’s usually best to discard it and start again. Don’t get disheartened – it happens to the best of us!
A Encouraging Closing
Propagating Agelanthus zizyphifolius is a journey, and like any good journey, it requires a bit of patience. Don’t get discouraged if your first attempts aren’t perfect. Each time you try, you’ll learn something new. So, gather your supplies, get your hands in the soil, and enjoy the wonderful process of bringing more of this beautiful plant into your life. Happy growing!
Resource: