Oh, isn’t Afzelia xylocarpa just a marvel? That glorious timber, the unique beauty of its flowers, and the sheer satisfaction of nurturing a new life from a tiny piece of yours. It’s a plant that whispers stories of resilience and reward.
The Lure of the Afzelia Xylocarpa
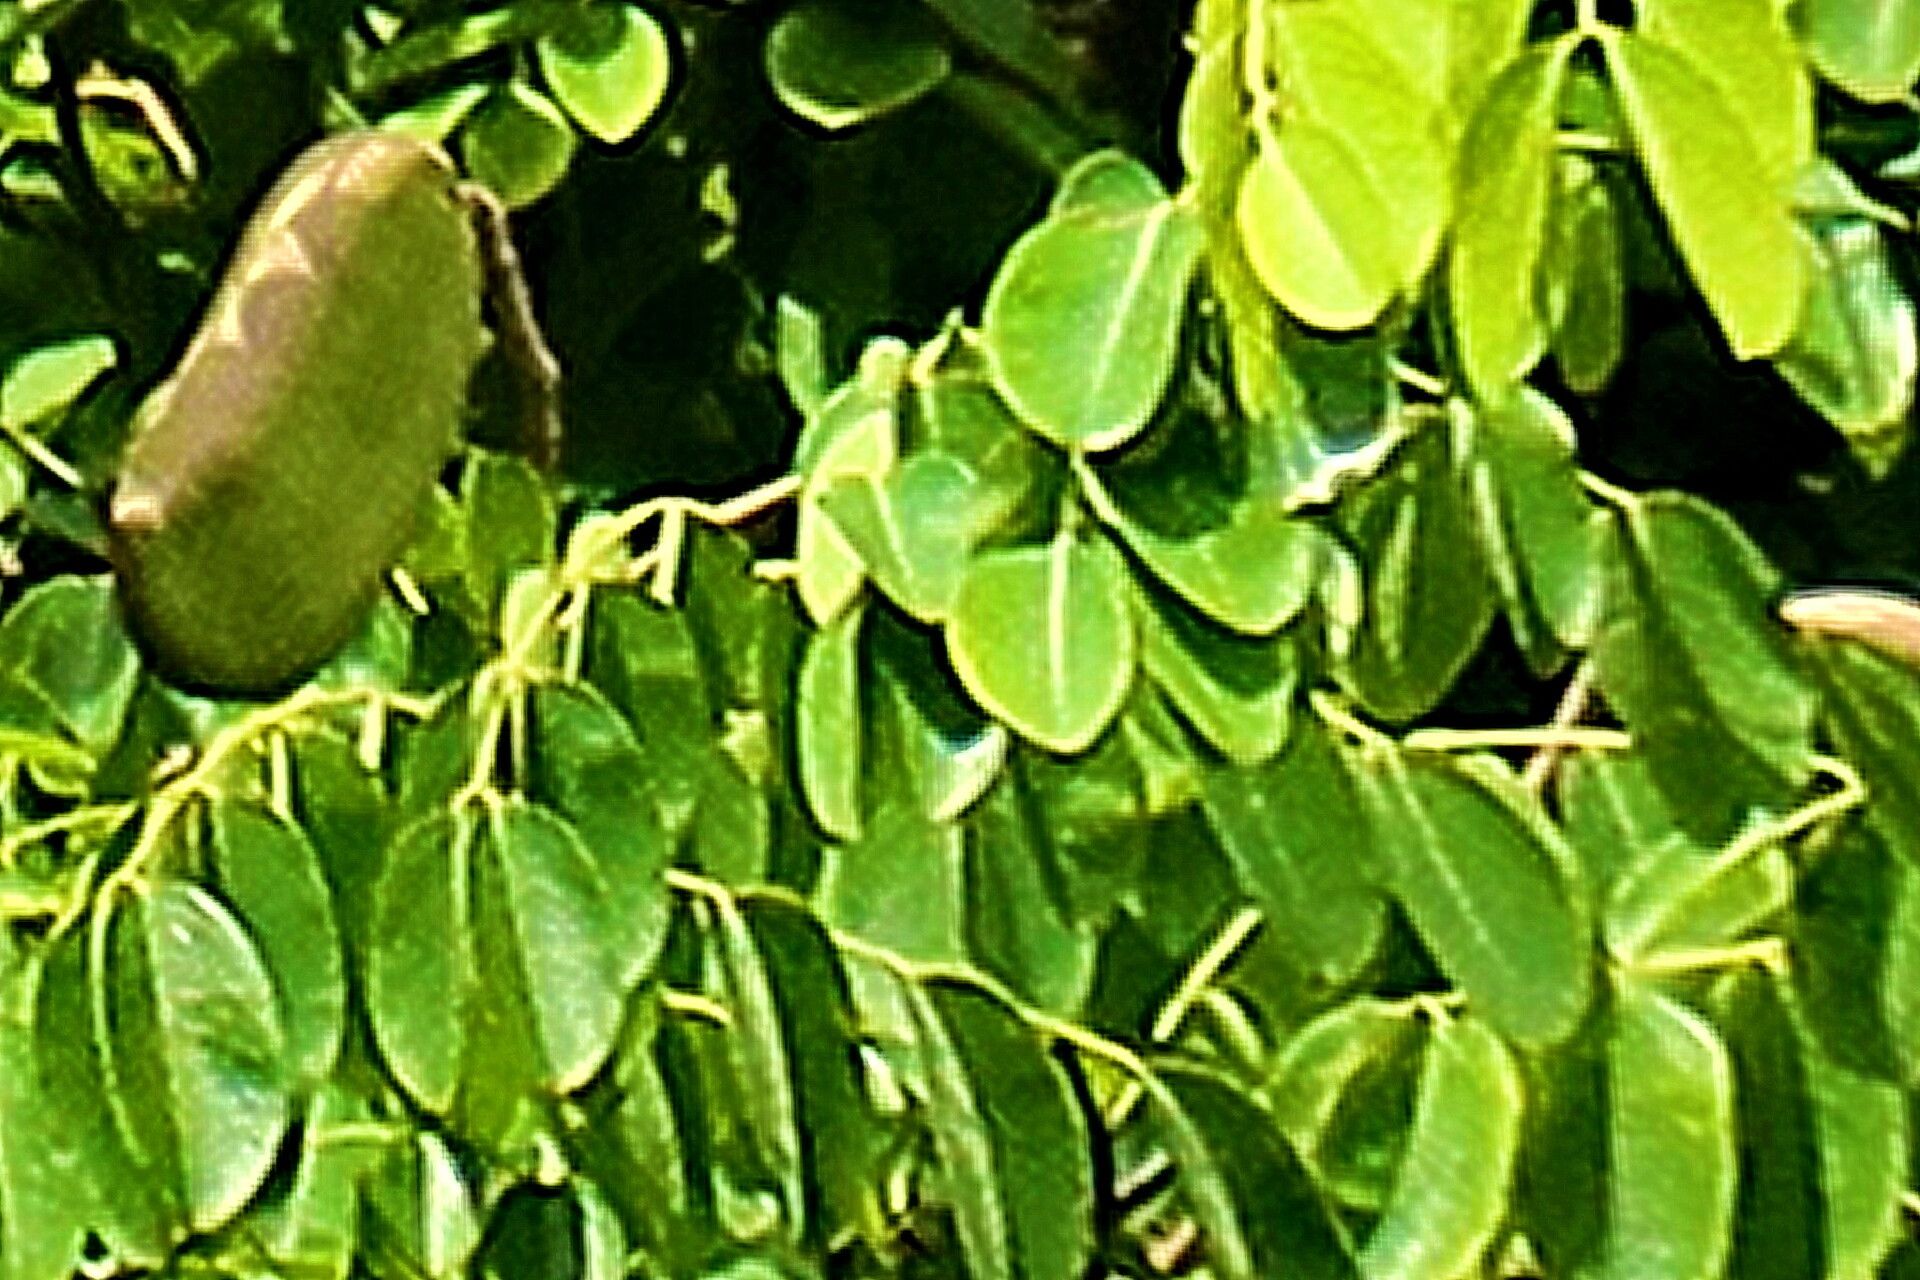
I’ve always been drawn to Afzelia xylocarpa for its rugged charm and the incredible qualities of its wood. It’s a tree that holds a special place in many hearts, and propagating it yourself? That’s a truly special kind of gardening joy. You’re not just growing a plant; you’re cultivating a legacy.
When is the Green Light to Start?
For Afzelia xylocarpa, your best bet is to take cuttings in late spring or early summer. This is when the plant is actively growing and has the most energy to put into rooting. You want to look for semi-hardwood cuttings – they’ll be firm but still have a bit of flexibility. Avoid brand-new, soft, floppy growth.
Your Propagation Toolkit
Gathering the right supplies makes all the difference. Here’s what you’ll want on hand:
- Sharp Pruning Shears or a Knife: Clean, sterile tools are a must to prevent introducing diseases.
- Rooting Hormone: This is your secret helper! Gel or powder works fine.
- Well-Draining Potting Mix: I love a mix of coarse sand, perlite, and peat moss. About a 1:1:1 ratio is a good starting point.
- Small Pots or Trays: Clean them thoroughly before use.
- Clear Plastic Bag or Humidity Dome: To create a mini-greenhouse.
- Watering Can with a Fine Rose: Gentle watering is key.
- (Optional) Bottom Heat Mat: This can significantly speed up rooting, especially in cooler conditions.
Bringing New Afzelias to Life
While Afzelia xylocarpa can be a bit particular, stem cuttings are generally the most reliable method I’ve found.
- Select Your Cuttings: Choose healthy stems from your established plant. Look for pieces that are about 4-6 inches long and have at least a few sets of leaves.
- Prepare the Cuttings: Using your clean shears or knife, make a clean, angled cut just below a leaf node. This is where the magic happens, where the roots tend to form.
- Strip Lower Leaves: Gently remove any leaves from the bottom half of your cutting. This prevents them from rotting in the soil. You can leave 1-2 sets of leaves at the very top.
- Dip in Rooting Hormone: Moisten the cut end of the stem slightly with water, then dip it into the rooting hormone, tapping off any excess.
- Plant Them Up: Make a pilot hole in your prepared potting mix with a pencil or your finger. Gently insert the cutting into the hole, ensuring the rooting hormone-coated end is fully in contact with the soil. Firm the soil gently around the base.
- Water Gently: Water the potting mix thoroughly but carefully, so you don’t dislodge the cutting.
- Create a Humid Environment: Place the pot or tray inside a clear plastic bag, sealing it loosely, or cover it with a humidity dome. This will keep the humidity high around your cuttings, which is crucial for them to root.
My “Secret Sauce” for Success
I’ve learned a few tricks over the years that really make a difference with trickier plants like Afzelia xylocarpa.
- Don’t Let Leaves Touch Water: If you’re doing a propagation where leaves dangle (like some water propagation, though I find it less effective here), never let those leaves sit in the water. They’ll rot quickly and can take the whole cutting down with them. Stick to keeping the cut stem submerged.
- Bottom Heat is Your Friend: Especially if you’re propagating outside of peak summer warmth, a bottom heat mat can be a game-changer. It encourages root development from below, giving your cuttings a real head start. It mimics the warmth of the soil after a warm rain.
- A Gentle Mist is Better Than a Soaking: Instead of watering heavily after the initial planting, I like to lightly mist the inside of the plastic bag or humidity dome every few days if things look dry. This maintains humidity without waterlogging the soil.
The Waiting Game: Aftercare and When Things Go Wrong
Once your cuttings are planted and nestled in their humid haven, patiently wait! You’re looking for signs of new growth, which usually indicates that roots have formed. This can take anywhere from a few weeks to a couple of months.
Don’t be tempted to pull them out to “check for roots” too often, as this can damage delicate new ones.
Troubleshooting: The most common culprit for failure with cuttings is rot. This usually happens from overwatering and poor air circulation. If you see your cutting turning black and mushy, it’s likely succumbed to rot. Always ensure your soil drains exceptionally well. Another sign of trouble is if the leaves start to yellow and drop before any signs of rooting appear. This can indicate either the cutting is failing or the environment is too dry.
Keep Growing!
Propagating Afzelia xylocarpa might take a little patience, and there might be a moment or two of doubt. But don’t be discouraged! Each attempt is a learning experience. Celebrate the small victories, learn from any setbacks, and most importantly, enjoy the beautiful, hopeful process of bringing a new tree into existence. Happy gardening!
Resource:
https://identify.plantnet.org/k-world-flora/species/Afzelia%20xylocarpa%20(Kurz)%20Craib/data