Hey there, fellow plant lovers!
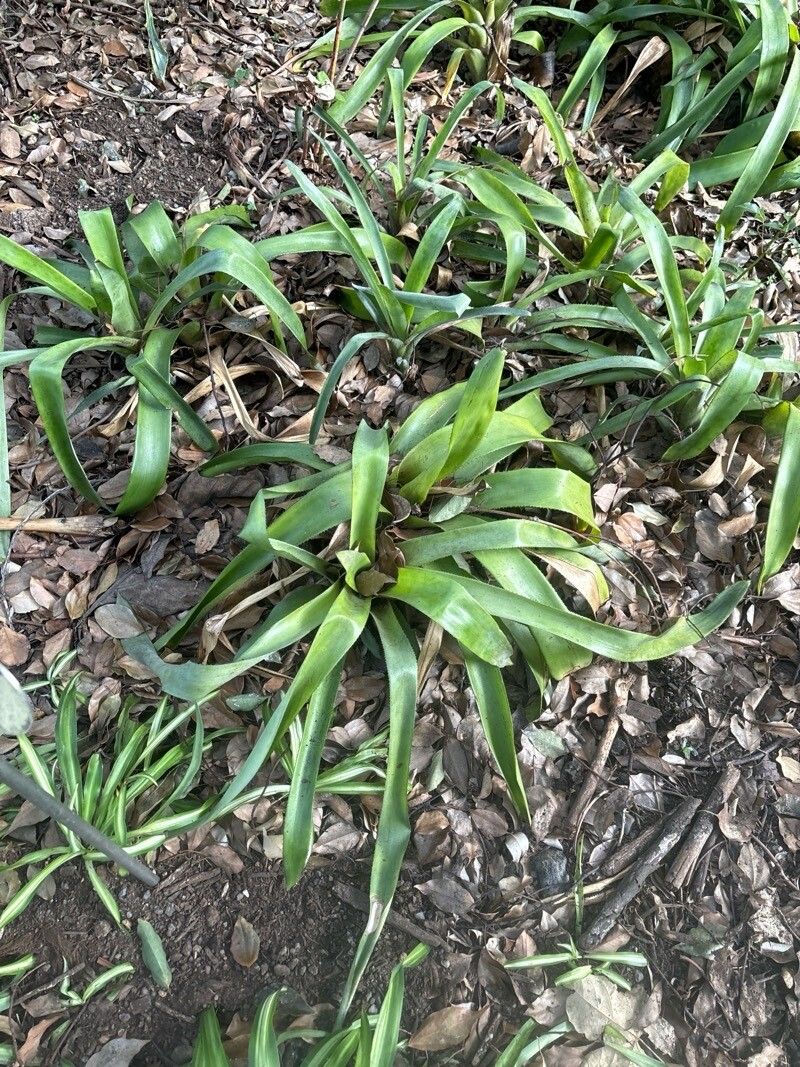
Let’s talk about a bromeliad that’s a real stunner: Aechmea angustifolia. If you haven’t met it yet, imagine striking, upright leaves with a beautiful speckling and a vibrant bloom that’s just out of this world. They bring such a tropical flair to any space, and the joy of watching a new plant grow from a little bit of the parent plant? Well, that’s pure gardening magic, truly.
Now, I know some of you might be eyeing this beauty and wondering if it’s a tricky one to propagate. The good news is, for most of us, Aechmea angustifolia is quite forgiving. It’s a fantastic choice for those dipping their toes into the world of bromeliad propagation.
The Best Time to Start
When it comes to getting your Aechmea angustifolia to put down roots, spring and early summer are your golden ticket. This is when the plant is actively growing and has the most energy to spare for producing babies, or pup. It’s also a good time to separate offsets that have already formed and are a decent size, typically at least a quarter of the size of the mother plant.
Supplies You’ll Need
Before we get our hands dirty, let’s gather our essentials:
- Sharp Pruning Shears or a Clean Knife: For making clean cuts. Sterilize them with rubbing alcohol before you start – this is super important to prevent disease!
- Well-Draining Potting Mix: A mix formulated for bromeliads or orchids is ideal. You can also make your own by combining equal parts perlite, orchid bark, and peat moss or coco coir. We want good airflow to the roots!
- Small Pots or Containers: These should have drainage holes. The size will depend on the size of the pups you’re removing.
- Rooting Hormone (Optional but Recommended): A powder or gel can give your pups a little extra boost.
- Spray Bottle: For misting.
- Labels: To jot down the plant name and date – trust me, you’ll forget otherwise!
Propagation Methods
Aechmea angustifolia is best propagated through division, which means separating the “pups” or offsets that grow from the base of the mother plant.
- Identify Your Pups: Look around the base of your mature Aechmea angustifolia. You’ll see small plantlets emerging. Wait until these pups are a good size – at least a few inches tall and have developed their own tiny root system.
- Prepare the Mother Plant: Gently remove the mother plant from its pot. This makes it much easier to see where the pups are attached.
- The Gentle Separation: Using your clean, sharp shears or knife, carefully cut the pup away from the mother plant. Try to get as many of its own roots as possible. If a pup is really stubborn, you might need to make a more precise cut right at the point of connection.
- Prepare the Pup: If you’re using rooting hormone, dip the cut end of the pup into the powder or gel. Don’t be shy; a good coating helps!
- Potting Up: Fill your small pots with your well-draining potting mix. Make a small well in the center and gently place the pup in it, ensuring the base is covered by soil. You don’t want to bury the leaves too deeply.
- Watering In: Lightly water the soil. You don’t want to drench it, just enough to settle the soil around the roots.
The “Secret Sauce” (Pro Tips)
Here are a couple of things I’ve learned over the years that really make a difference:
- The Drying-Out Trick: After you separate the pup, let the cut end air dry for a day or two in a semi-shady spot before potting it up. This allows the cut to callus over, which significantly reduces the risk of rot. It’s like giving your baby plant a little protective band-aid!
- Mimic Humidity: Bromeliads love a humid environment. Once potted, I like to pop the new pot into a clear plastic bag (open the top a little for ventilation) or place it in a terrarium. It creates a cozy greenhouse effect that really encourages root development. Just remember to open it up for a bit of fresh air every few days to prevent fungal issues.
Aftercare & Troubleshooting
Once your pup is safely in its new pot, keep the soil lightly moist, not wet. Misting the leaves occasionally will also be appreciated. Place it in a bright, indirect light location – no direct sun, as it can scorch tender new growth.
The most common issue you might encounter is rot. If you notice mushy leaves or a black, foul-smelling base, it’s usually a sign of too much moisture and not enough airflow. If you catch it early, try unpotting it, trimming away the rotted bits with your sterilized shears, letting it dry out for a longer period, and then repotting in fresh, dry mix. Patience is key here!
A Encouraging Closing
Propagating Aechmea angustifolia is such a rewarding journey. It’s a chance to watch life emerge from a piece of something you already love. Be patient with your new little ones; they’ll take their time establishing themselves. Enjoy the process, and soon you’ll have even more of these gorgeous bromeliads to admire! Happy growing!
Resource:
https://identify.plantnet.org/k-world-flora/species/Aechmea%20angustifolia%20Poepp.%20&%20Endl./data