Oh, hello there! Pull up a chair. Let’s talk about one of my favorite spiky treasures: Acyphilla colensoi, or Speargrass as it’s affectionately known. I’ve been growing these beauties for years, and honestly, there’s something incredibly satisfying about coaxing a whole new plant from just a piece of an established one. It’s like a little horticultural magic trick, and I’m just thrilled to share how to do it with you.
Why Grow Speargrass?
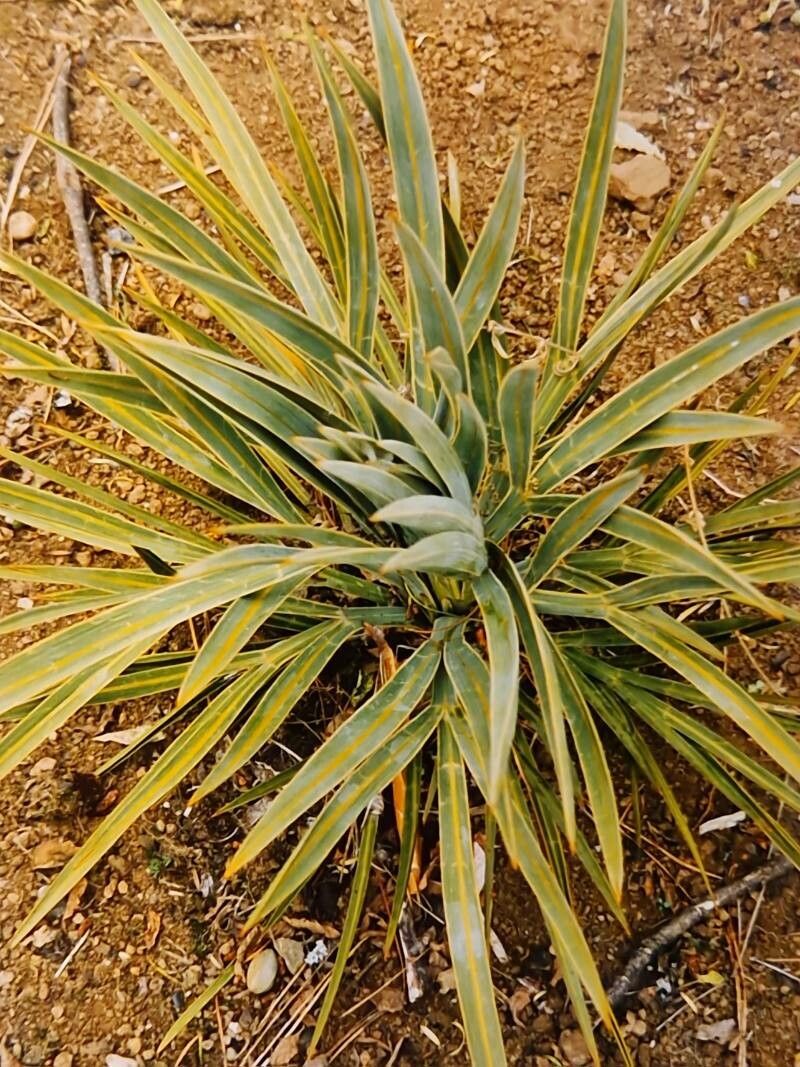
Speargrass is a truly unique New Zealand native. Its architectural form and shimmering, silver-green foliage add such drama to any garden. It’s the kind of plant that makes people stop and ask, “What is that?” Propagating it allows you to share this wonder with friends, fill in gaps in your own borders, or simply increase your collection without breaking the bank. Now, for the honest truth: Speargrass can be a tad particular to propagate, so it might not be your absolute easiest first venture into plant parenting, but with a little care and attention, it’s entirely achievable and oh-so-rewarding.
The Best Time to Start
For the highest chance of success, I always aim to propagate Speargrass in late spring or early summer, after the plant has put on some vigorous new growth but before the real heat of summer sets in. This is when the stems are actively growing and have plenty of stored energy.
Supplies You’ll Need
Here’s what you should gather before we dive in:
- Sharp, clean pruning shears or a sharp knife: Essential for making clean cuts.
- Small pots or trays: Clean ones, of course!
- Well-draining potting mix: I like a blend of coarse perlite, coco coir, and a bit of horticultural grit. A good base for succulents and cacti often works well here, too.
- Rooting hormone powder (optional but recommended): This can significantly boost your success rate.
- A spray bottle: For gentle misting.
- A dibber or pencil: To make planting holes.
- Labels: You’ll want to remember what you planted and when!
- A heat mat (optional): This can really speed up root development.
Propagation Methods
We’ll focus on the most reliable method for Speargrass: stem cuttings.
- Take Your Cuttings: On a mild, dry day, select healthy, non-flowering stems from your mature Speargrass plant. Look for stems that are about 4-6 inches long and have a bit of flexibility – not too woody, but not too soft either. Using your clean shears, make a clean cut just below a leaf node. A leaf node is where a leaf joins the stem, and it’s where roots are most likely to form.
- Prepare the Cuttings: Gently remove the lower leaves from the cutting, leaving just a few at the very top. This is important because any leaves below the soil line will just rot. If the remaining leaves are very large, you can trim them in half to reduce water loss.
- Apply Rooting Hormone: If you’re using rooting hormone, dip the cut end of the stem into the powder, tapping off any excess. Give it a light coating.
- Plant Your Cuttings: Make a hole in your prepared potting mix with a dibber or pencil. Insert the cut end of the stem into the hole, making sure the leaf nodes are buried. Gently firm the soil around the base of the cutting.
- Water Gently: Water the pot thoroughly with a gentle spray from your bottle. You want the soil to be moist but not waterlogged.
- Provide the Right Environment: Place your pots in a bright spot with indirect light. Avoid direct sun, which can scorch the tender cuttings. If you have a heat mat, place the pots on it – consistent warmth from below is a game-changer for rooting these guys. You can also cover your pots loosely with a clear plastic bag to create a humid microclimate, but make sure there’s some air circulation to prevent fungal issues.
The “Secret Sauce”
Here are a couple of tricks I’ve learned over the years:
- Don’t overwater! This is perhaps the biggest mistake beginners make. Speargrass, like many succulents and tough natives, hates soggy feet. Let the top inch of soil dry out slightly between waterings.
- Let the sap seal: After taking your cuttings, I often let them sit out for a few hours before planting. This allows the cut ends to callous over slightly. It might seem counterintuitive, but it can help prevent rot.
- Bottom heat is your friend: Seriously, if you can manage it, a gentle heat mat set to around 70-75°F (21-24°C) will dramatically speed up root formation and significantly improve your success rate.
Aftercare & Troubleshooting
Once your cuttings have been in the pots for a few weeks, you can gently tug on them. If you feel resistance, it means roots have formed! At this point, you can start to acclimate them to slightly less humidity and give them a bit more light, but still avoid direct sun. Continue watering only when the topsoil feels dry.
The most common sign of failure is rot. If your cutting turns mushy and black at the soil line, it’s usually a sign of too much moisture. Unfortunately, once this happens, it’s very difficult to save. Another sign is wilting that doesn’t improve with watering, which can indicate poor rooting or that the cutting has dried out completely.
A Little Patience Goes a Long Way
Propagating Speargrass might take a little patience. Don’t be discouraged if not every cutting takes. Learn from each attempt, adjust your approach, and most importantly, enjoy the process. Watching those tiny roots emerge and eventually seeing your new Speargrass flourish is a truly wonderful feeling. Happy gardening!
Resource:
https://identify.plantnet.org/k-world-flora/species/Aciphylla%20colensoi%20Hook.f./data