Hello there, fellow garden enthusiasts! My name is [Your Name], and for two decades now, I’ve had the immense pleasure of getting my hands dirty with plants. Today, I want to chat about a real gem in the garden: Achillea odorata, commonly known as Sweet Woodruff.
Your Garden’s Sweet Scented Solution: Propagating Achillea odorata
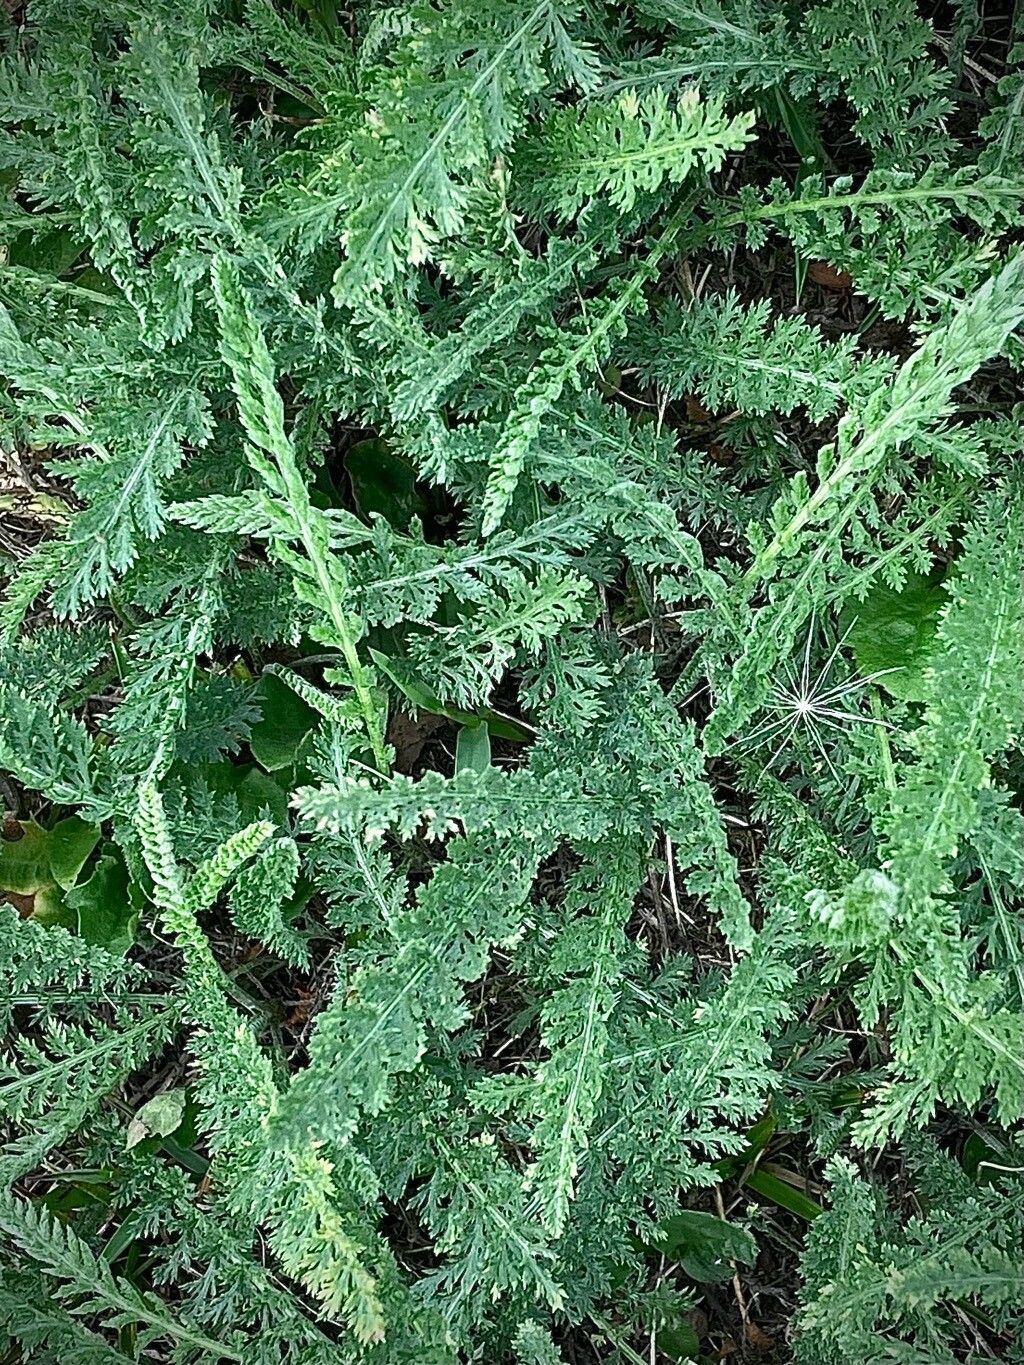
There’s something so incredibly charming about Sweet Woodruff. That delicate, white, star-shaped bloom and the sweet, hay-like scent it releases when dried… it’s pure aromatherapy for the garden! Plus, it’s a fantastic groundcover, slowly spreading to create a lush carpet. The best part? Propagating it is a joy, and honestly, it’s quite forgiving. If you’re new to plant propagation, this is a wonderful one to start with. Beginners, you’ve got this!
When to Get Your Hands Dirty
Generally, the absolute best time to propagate Achillea odorata is in the late spring or early summer. This is when the plant is actively growing and has plenty of energy to put into developing new roots. You want to catch it while it’s putting on its show, before things get too hot and dry.
Gear Up: Your Propagation Toolkit
Before we dive in, let’s make sure you have everything you need. Think of it like packing for a garden adventure!
- Sharp Pruning Shears or a Clean Knife: For making those crucial cuts.
- Rooting Hormone (Optional but helpful): A little boost can speed things up.
- Well-Draining Potting Mix: A blend of peat moss or coir, perlite, and a bit of compost is ideal. You want it light and airy.
- Small Pots or Seed Trays: Clean ones are important to prevent disease.
- Watering Can with a Fine Rose: For gentle watering.
- Plastic Bag or Dome: To create a humid environment.
- Gloves (Optional): If you prefer to keep your hands clean!
The Magic of Making More: Propagation Methods
Sweet Woodruff is pretty adaptable, so we have a couple of easy-peasy methods to play with.
Method 1: Stem Cuttings – The Speedy Way
This is my go-to for Sweet Woodruff. It’s straightforward and usually yields great results.
- Take Your Cuttings: On a mild day, select healthy, non-flowering stems from your mature plant. Using your sharp shears, cut pieces about 3-4 inches long. Make your cut just below a leaf node (where a leaf grows from the stem).
- Prep the Cuttings: Gently remove the lower leaves, leaving just a few at the very top. This prevents them from rotting in the soil. If you’re using rooting hormone, dip the cut end into it now.
- Plant Them Up: Fill your small pots or trays with your prepared potting mix. Make a small hole with your finger or a pencil and insert the cutting, firming the soil gently around it.
- Water and Cover: Water thoroughly but gently. Then, place a clear plastic bag over the pot or tray, or use a propagator lid. This creates a mini-greenhouse to keep humidity high.
Method 2: Division – The Established Plant’s Gift
If your Sweet Woodruff is already a good size and spreading nicely, division is a fantastic way to get more plants and also rejuvenate the parent.
- Dig Up the Plant: In the early spring or fall (when it’s not actively blooming or setting seed), carefully dig up the entire clump of your Sweet Woodruff.
- Divide Gently: Gently shake off excess soil. You can usually pull the root ball apart with your hands. If it’s a bit stubborn, you can use your clean knife or even a spade to slice through it. Aim for sections that have plenty of roots and a few leafy shoots.
- Replant Immediately: Water the new divisions thoroughly and replant them in your garden beds or in pots filled with fresh soil.
The “Secret Sauce”: My Insider Tips
Here are a couple of tricks I’ve picked up over the years that can really give your cuttings a helping hand.
- Don’t Let Leaves Touch the Soil: When you’re potting up cuttings, always ensure the lower leaves are above the soil line. Any foliage sitting in damp soil is a fast track to rot. It’s better to have a slightly longer stem with fewer leaves than a stem with leaves sulking in the soil.
- A Warm Bottom Can Work Wonders: Sweet Woodruff cuttings, like many plants, love a little warmth from below. If you have a heating mat for seedlings, placing your pots on it can significantly speed up root development. It mimics the cozy feeling of spring soil.
Aftercare and What to Watch For
Once your cuttings are planted and cozy under their plastic cover, the real anticipation begins!
- Keep it Moist, Not Soggy: Check the soil regularly. It should always feel damp but never waterlogged. If it starts to dry out, give it a gentle watering. Remove the plastic cover for a few minutes each day to allow for air circulation and prevent mold.
- Checking for Roots: After a few weeks, you can gently tug on a cutting. If you feel resistance, it means roots are forming! You can also look for new leaf growth.
- What if it Rotts?: The most common culprit is too much moisture. If you see stems turning mushy and brown, sadly, that cutting is likely lost. Remove it and try to improve airflow and reduce watering.
- Transplanting Time: Once your new plants have a good root system (you should see roots coming out of the drainage holes), and they feel sturdy, it’s time to transplant them into larger pots or their final garden spot.
Go Forth and Grow!
Propagating Sweet Woodruff is a truly rewarding experience. It’s a chance to multiply the beauty and fragrance in your garden, and it’s a wonderful way to connect with the plant’s life cycle. Be patient, keep an eye on your little ones, and enjoy the process. Happy gardening!
Resource:
https://identify.plantnet.org/k-world-flora/species/Achillea%20odorata%20L./data