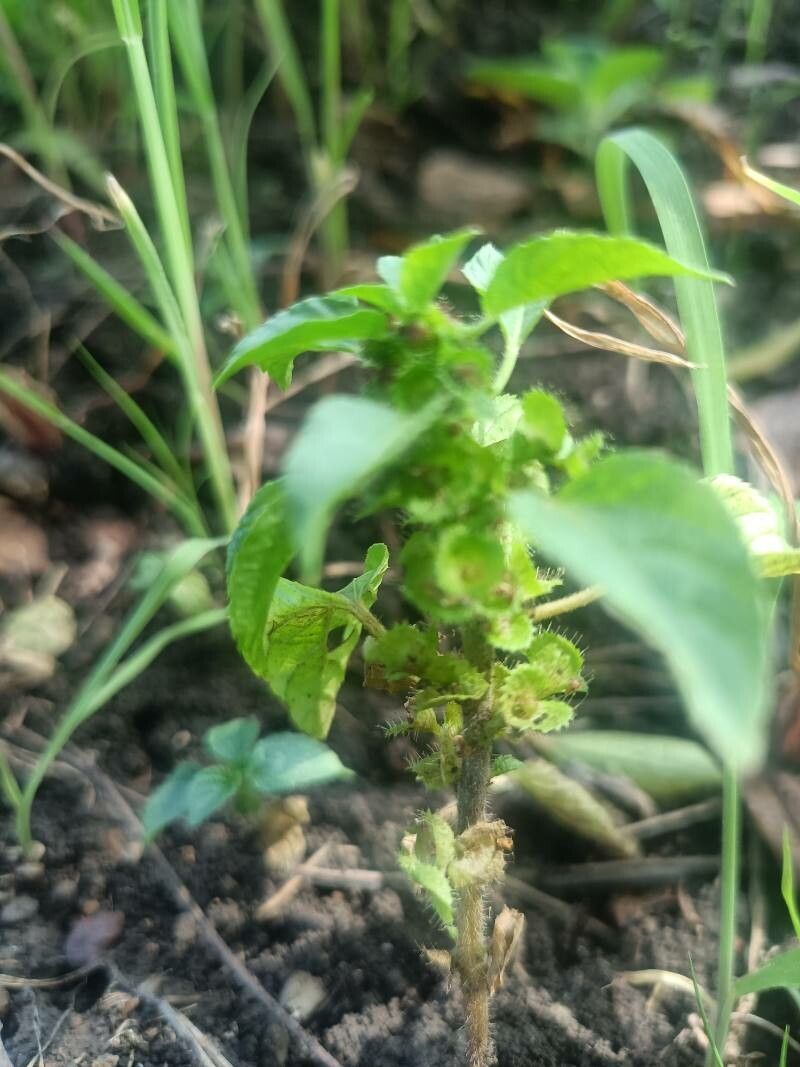
Hello green thumbs! Today, I want to talk about a plant that truly brightens up any corner with its fuzzy, almost whimsical blooms: the Acalypha ciliata, commonly known as the Christmas Candle plant. Those delightful red, bottlebrush-like catkins are just bursting with charm.
If you’ve fallen for this beauty, you’ll be thrilled to know that propagating it is a really rewarding experience. It’s a fantastic way to expand your collection or share a little bit of seasonal cheer with friends and family. And for beginners? You’ll be happy to hear that Acalypha ciliata is quite forgiving, making it a great plant to get your propagation skills honed.
The Best Time to Start
When it comes to getting the best strike rate with your Acalypha ciliata, spring and early summer are your golden windows. This is when the plant is actively growing, and its stems have plenty of energy to put into developing new roots. You want to look for new, yet firm, growth – often referred to as “semi-hardwood” cuttings. Avoid taking cuttings from old, woody stems or from flowering stalks.
Supplies You’ll Need
Gathering your tools ahead of time makes the whole process so much smoother. Here’s what I usually have on hand:
- Sharp Pruning Shears or a Clean Knife: For taking precise, clean cuts.
- Rooting Hormone (Optional but Recommended): This really gives your cuttings a boost. I prefer a powder type for cuttings.
- Potting Mix: A light, well-draining mix is key. I love a blend of peat moss or coco coir, perlite, and a little bit of coarse sand. A standard seedling mix works well too.
- Small Pots or Trays: Clean pots with drainage holes are a must.
- Plastic Bag or Humidity Dome: To create a humid microclimate around your cuttings.
- Small Watering Can or Mister: For gentle watering.
- Labels and a Pen: To keep track of what you’ve propagated and when.
Propagation Methods
Acalypha ciliata is wonderfully responsive to stem cuttings. It’s straightforward and generally gives excellent results.
Stem Cuttings:
- Select Your Cuttings: Find a healthy, non-flowering stem on your mature Acalypha. Look for a section that has grown in the last year. You’re aiming for cuttings that are about 4-6 inches long.
- Make the Cut: Using your sharp shears or knife, make a clean cut just below a leaf node (the point where a leaf attaches to the stem). This is where roots are most likely to form.
- Prepare the Cutting: Gently remove the lower leaves, leaving just a couple of leaves at the very top. This helps prevent the cutting from rotting in the soil and reduces moisture loss. If the remaining leaves are very large, you can even cut them in half.
- Apply Rooting Hormone (Optional): Dip the cut end of the stem into your rooting hormone, tapping off any excess.
- Plant Your Cuttings: Fill your small pots with your prepared potting mix. Make a small hole with your finger or a pencil. Insert the cut end of the Acalypha cutting into the hole, ensuring the leaf nodes where you removed leaves are below the soil surface. Gently firm the soil around the cutting.
- Water Gently: Water thoroughly but gently until water drains from the bottom of the pot.
- Create Humidity: Cover the pot loosely with a plastic bag or place a humidity dome over your cuttings. This is crucial to keep the leaves from drying out before roots develop. Prop the bag up with skewers or sticks so it doesn’t touch the leaves.
The “Secret Sauce” (Pro Tips)
Now, for a couple of little tricks I’ve learned over the years that can really make a difference:
- Bottom Heat is Your Friend: Many plants, including Acalypha, absolutely love a bit of warmth from below. Placing your pots on a heated propagator mat can significantly speed up root formation. It mimics the warm soil of spring and gives those developing roots a real encouraging nudge.
- Don’t Let Leaves Touch the Soil: This might sound obvious, but it’s worth repeating. When preparing your cuttings, ensure no leaves are touching the surface of the potting mix. They’ll rot quickly, and that rot can travel down the stem. Keep them elevated and airy.
- The “Wiggle Test” is for Later: Don’t be tempted to tug on your cuttings to check for roots too early. You’ll disturb any developing rootlets. Patience is key here!
Aftercare & Troubleshooting
Once your cuttings are planted and happily covered, the main job is to keep them consistently moist but not waterlogged. Place them in a bright location, but out of direct, harsh sunlight. Mist them occasionally, gently, and check the soil moisture daily.
You’ll know your cuttings are taking root when you see new leaf growth emerging from the top. This can take anywhere from a few weeks to a couple of months, so don’t despair if it takes a while.
The most common sign of failure is rot. If your cutting turns black and mushy, or if it wilts dramatically and stays that way, it’s likely succumbed to rot. This usually happens due to too much moisture in the soil, or if the cuttings are in a space that’s too cold and damp. If you spot rot, best to discard that cutting and try again, perhaps with drier soil or better air circulation.
A Bit of Encouragement
Propagating plants is a journey, and each successful strike feels like a little gardening victory! Be patient with your Acalypha ciliata cuttings. Nature works on its own schedule, and with a little care and attention, you’ll soon be rewarded with brand new plants. Enjoy the process, and happy gardening!
Resource:
https://identify.plantnet.org/k-world-flora/species/Acalypha%20ciliata%20Forssk./data