Hello fellow plant lovers! Today, we’re diving into something truly special: propagating Abies bracteata, the gorgeous Santa Lucia Fir. If you’ve ever seen one of these magnificent trees, you know their unique, upright cones and elegant, silvery needles are a showstopper. Growing them from seed or cuttings might seem daunting, but trust me, it’s an incredibly rewarding journey. While a bit more niche than your average houseplant, giving propagation a try with this beauty can be a wonderfully fulfilling gardening project.
The Best Time to Start
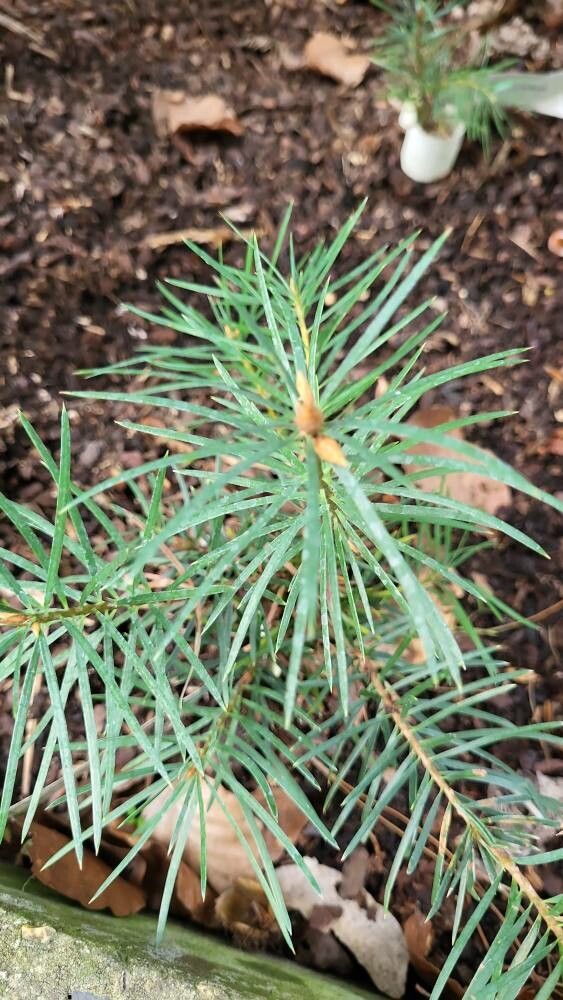
For the highest chances of success, I always recommend starting your Abies bracteata propagation in late spring or early summer. This is when the plant is actively growing and has plenty of stored energy. Look for new, pliable growth that hasn’t hardened off yet. These are called softwood cuttings, and they root much more readily than older, woody stems.
Supplies You’ll Need
Here’s what you should gather before you begin:
- Sharp, clean pruning shears or a sharp knife: For taking cuttings without damaging the parent plant.
- Rooting hormone: A powder or gel specifically formulated for woody plants.
- Well-draining potting mix: A good blend of perlite, peat moss, and compost works wonders. You can also find specialized conifer or bark-based mixes.
- Small pots or seed trays: With drainage holes, of course!
- Plastic bags or a propagator: To create a humid environment for your cuttings.
- A spray bottle: For misting.
- Labels: To keep track of your projects!
Propagation Methods
Since Abies bracteata can be a bit particular, the most effective method for home gardeners is usually taking stem cuttings.
Taking Stem Cuttings:
- Select your source: Find healthy, vigorous branches on your mature Abies bracteata.
- Make the cut: Using your clean shears, take cuttings that are about 4-6 inches long. Make the cut just below a leaf node (where a leaf attaches to the stem).
- Prepare the cutting: Gently strip off any needles from the bottom 2-3 inches of the cutting. You want a clean stem to encourage root formation there.
- Apply rooting hormone: Dip the cut end of the stem into your rooting hormone, tapping off any excess. This step is crucial and significantly boosts your success rate.
- Plant the cuttings: Moisten your potting mix and gently insert the prepared cuttings about an inch deep. Make sure the leaves aren’t buried.
- Create humidity: Lightly mist the cuttings and cover the pots with a plastic bag or place them in a propagator. Ensure the plastic doesn’t touch the needles too much. Open the bag or propagator for a few minutes daily to allow for air circulation and prevent fungal issues.
- Find a good spot: Place your pots in a location that gets bright, indirect light. Avoid direct sun, which can scorch the tender cuttings.
The “Secret Sauce” (Pro Tips)
Here are a couple of things I’ve learned over the years that really make a difference:
- Bottom heat is your friend: A gentle warmth from below, using a seedling heating mat, can dramatically speed up root development. It mimics the natural warmth of spring soil and gives those roots a real kickstart.
- Don’t crowd your cuttings: Give each cutting enough space. Overcrowding can lead to competition for resources and increase the risk of disease. A little space goes a long way in helping them thrive.
Aftercare & Troubleshooting
Once your cuttings have been planted, the waiting game begins. Be patient! It can take several weeks to a few months for roots to form. You can gently tug on a cutting after about 6-8 weeks; if there’s resistance, roots are likely developing.
The signs of failure are usually pretty clear:
- Wilting and browning needles: This can indicate dehydration or rot if the soil is too wet.
- Mushy stem: This is a sure sign of rot, often caused by overwatering or poor drainage. If you see this, it’s best to discard the cutting and start fresh, ensuring better air circulation and a well-draining medium next time.
When you see good root development, you can gradually acclimate your new plant to normal humidity by slowly opening the propagator or removing the plastic bag over a week or two. Water gently when the top inch of soil feels dry, and continue to provide bright, indirect light.
A Encouraging Closing
Growing Abies bracteata from cuttings might require a bit of patience and attention, but the joy of nurturing a young tree from a tiny twig is unparalleled. Don’t be discouraged if your first attempts aren’t perfect. Every gardener learns through experience. So, take a deep breath, get your hands in the soil, and enjoy the wonderful process of bringing new life into your garden. Happy propagating!
Resource:
https://identify.plantnet.org/k-world-flora/species/Abies%20bracteata%20(D.Don)%20Poit./data