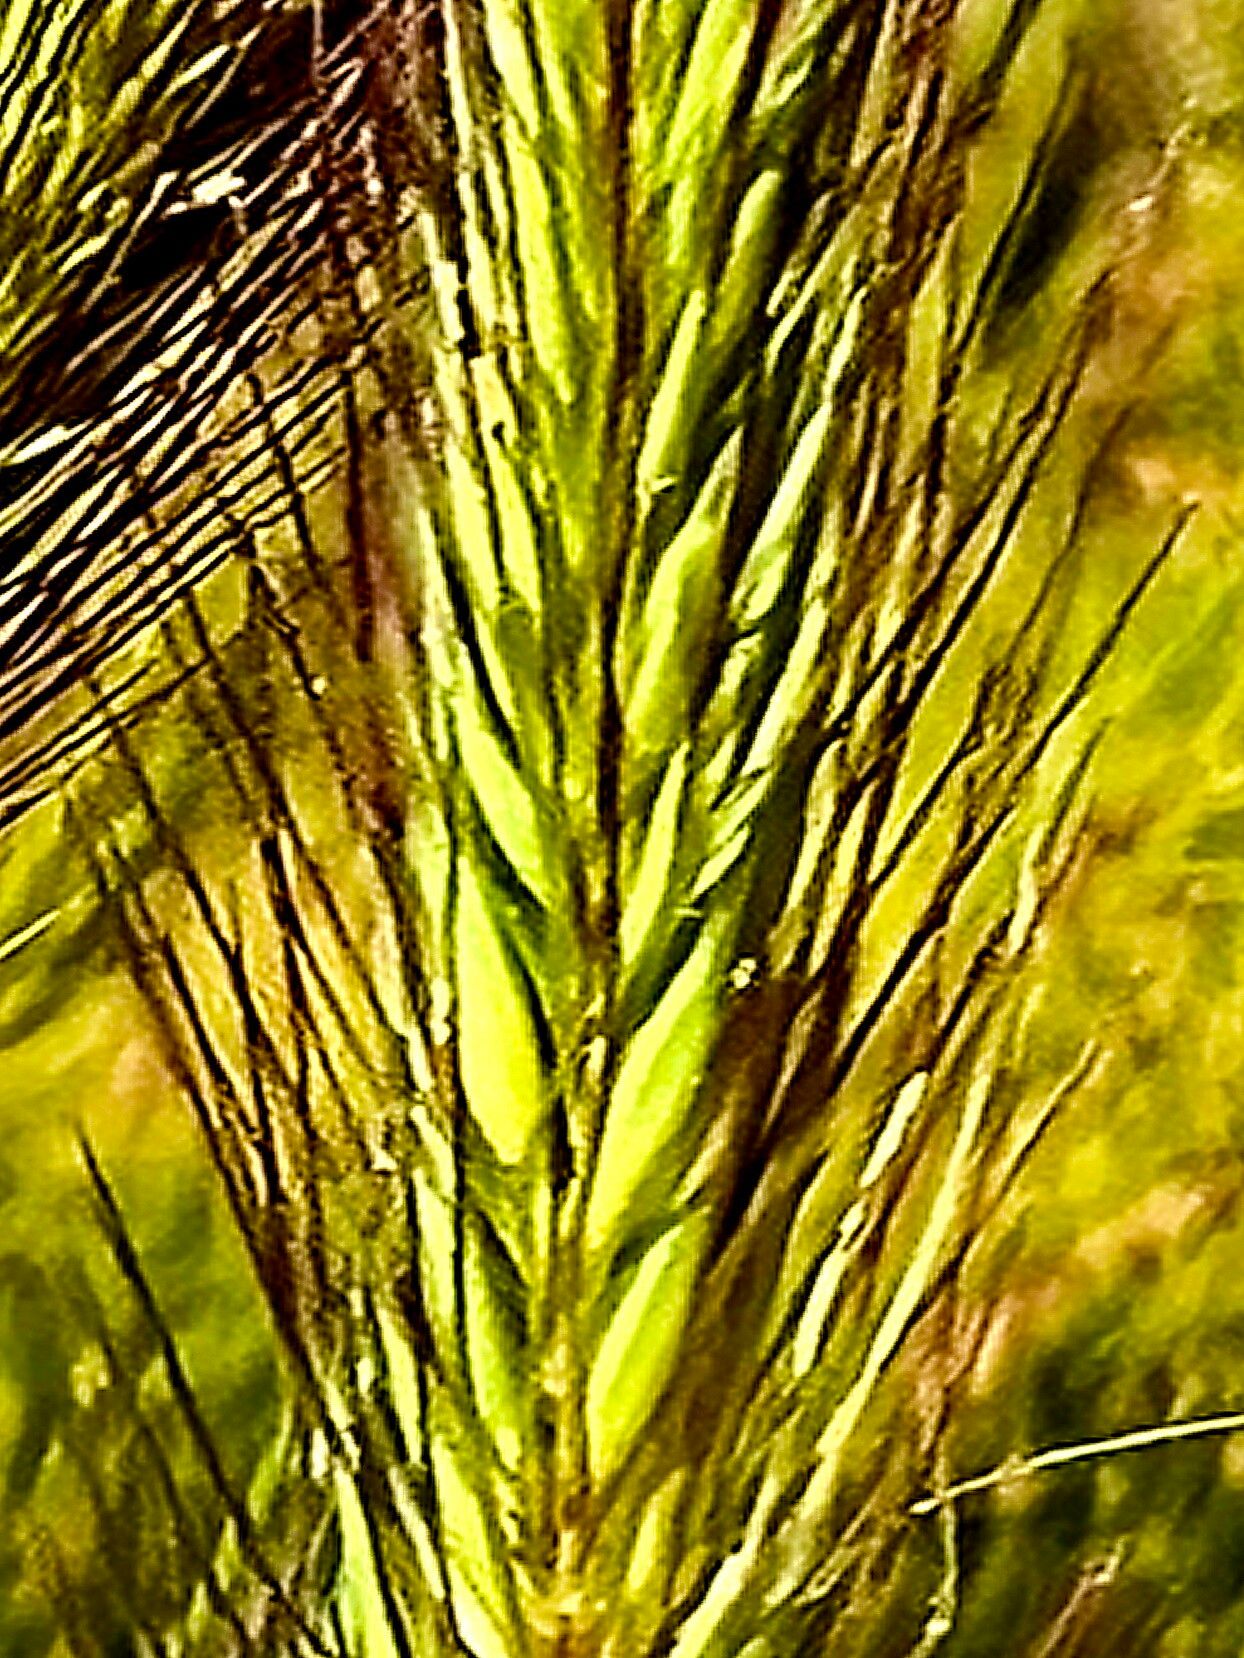
Oh, hello there! Come on in, grab yourself a mug. Let’s chat about something that brings me so much joy: making more of the plants we love. Today, we’re diving into the wonderful world of Hordeum brachyantherum, also known as Meadow Barley. If you’ve seen this graceful grass swaying in the breeze, perhaps in a meadow garden or even a stylish container, you know its charm. It’s got this lovely, arching habit and delicate seed heads that add such texture and movement. And guess what? Propagating it is a truly rewarding endeavor, and I’m happy to say, it’s quite accessible, even for those of you just dipping your toes into the gardening pool.
The Best Time to Start
When it comes to Meadow Barley, spring is your best friend for propagation. Think of it as waking up with the rest of the garden. You want to catch it during its active growth phase, which is usually after the last frost has safely passed. This is when the plant has good energy reserves to put into developing new roots. Starting in early to mid-spring gives your new little plants plenty of time to establish themselves before the heat of summer or the chill of fall arrives.
Supplies You’ll Need
Gathering your tools beforehand makes the whole process so much smoother. Here’s what I always have on hand:
- Sharp pruning shears or a clean, sharp knife: For making clean cuts.
- Well-draining potting mix: I love a blend of equal parts peat moss (or coco coir), perlite, and a good quality potting soil. This ensures good aeration and prevents waterlogging.
- Small pots or seed trays: Clean ones, always!
- Rooting hormone (optional but helpful): A powder or gel can give cuttings a nice boost.
- Dibber or pencil: For making planting holes.
- Watering can with a fine rose: Gentle watering is key.
- Label stakes: So you don’t forget what you planted where!
Propagation Methods
Meadow Barley is quite amenable to propagation by division, which is my go-to method for this lovely grass. It’s essentially giving a mature plant a haircut and a new lease on life, but you get multiple new plants out of it!
Here’s how I do it:
- Gently dig up your mature Hordeum brachyantherum plant. You want to do this when the soil is slightly moist, as it’s easier to work with. Be careful not to damage the roots too much.
- Shake off excess soil. You want to be able to see the root structure and the crowns clearly.
- Locate the natural clumps or divisions. You’ll see where the plant has naturally split at the base.
- Using your hands or a clean trowel, carefully pull the clumps apart. If it’s a bit stubborn, don’t be afraid to use your pruning shears to cut through thicker rhizomes or roots. Aim for divisions that have a good number of healthy roots and at least a few shoots or leaves.
- Plant each division immediately. Make a hole in your prepared potting mix, place the division in it, and backfill gently. The base of the shoots should be at soil level, just as they were on the parent plant.
- Water thoroughly. Give your newly planted divisions a good drink.
The “Secret Sauce” (Pro Tips)
Now, for a couple of little tricks I’ve picked up over the years that really make a difference:
- Don’t overwater the divisions right away. While they need moisture to establish, constantly soggy soil can lead to rot. Water them well initially, then let the top inch of soil dry out slightly between waterings. They’re tough grasses, but even they don’t like wet feet constantly.
- Consider a light layer of mulch. Once your divisions are planted and watered, a thin layer of straw or wood chips can help retain moisture and keep the roots cool. It mimic that nice meadow environment.
Aftercare & Troubleshooting
Once your little Meadow Barley divisions are in their new pots or garden spots, treating them with a bit of extra care will set them up for success. Keep them in a location that receives bright, indirect light for the first week or two. Once they start showing signs of new growth – you’ll see fresh green shoots unfurling – you can gradually introduce them to more direct sunlight.
The main thing to watch out for is rot. If you see any yellowing leaves that aren’t from the old growth dying back, or a mushy base, it’s a sign that the soil is staying too wet. If you catch it early, you can try gently lifting the plant, allowing the roots to air out a bit, and replanting in slightly drier soil. If things look really bad, it’s best to discard the affected plant to prevent it from spreading. Most of the time, though, if you’ve used a good, well-draining mix and haven’t drowned them, they’ll be just fine.
And there you have it! Seeing those little grasses put down roots and grow into their own beautiful specimens is incredibly satisfying. Don’t rush the process, and don’t be discouraged if a division doesn’t make it. Gardening is a journey, and each new plant you coax into existence is a little victory. Happy propagating!
Resource:
https://identify.plantnet.org/k-world-flora/species/Hordeum%20brachyantherum%20Nevski/data