Well, hello there! Grab your mug, settle in, and let’s talk about one of my favorite palms, the enchanting Sabal minor, or Dwarf Palmetto. This beauty is native to the southeastern United States and brings such a wonderful, tropical flair to the garden, even in cooler climates. It’s a palm that stays low-growing, often a clumping form, with those gorgeous, fan-shaped leaves. Honestly, seeing a new little Sabal minor sprout from seed or a division is incredibly satisfying. It’s definitely a palm that’s accessible for beginners, and I promise, you’ll feel like a real plant rockstar when you succeed!
The Best Time to Start
For propagating Sabal minor, timing is everything, and I find the late spring or early summer to be your golden window. That’s when the plant is in full swing of its growing season, soaking up all that warmth and light. This active growth phase means it’s ready to put energy into developing new roots or shoots. Waiting until after the last frost has safely passed is key, as these young propagations can be quite sensitive to cold.
Supplies You’ll Need
Gathering your supplies beforehand makes the whole process much smoother. Here’s what I typically have on hand:
- Sharp pruning shears or a clean knife: For making clean cuts.
- Well-draining potting mix: I like a blend of equal parts peat moss, perlite, and coarse sand. Or, a good quality cactus/succulent mix works well too.
- Small pots or seedling trays: Make sure they have drain holes!
- Watering can or spray bottle: For gentle watering.
- Rooting hormone (optional, but helpful): A powder or gel can give your cuttings an extra boost.
- A small trowel or spoon: For scooping soil.
- Labels and a marker: To keep track of what you’ve planted and when.
- A plastic bag or propagation dome: To create a humid environment.
Propagation Methods
Sabal minor is primarily propagated through seeds and division, and both are pretty straightforward once you know the drill.
From Seed
This is often the most common and rewarding way to start.
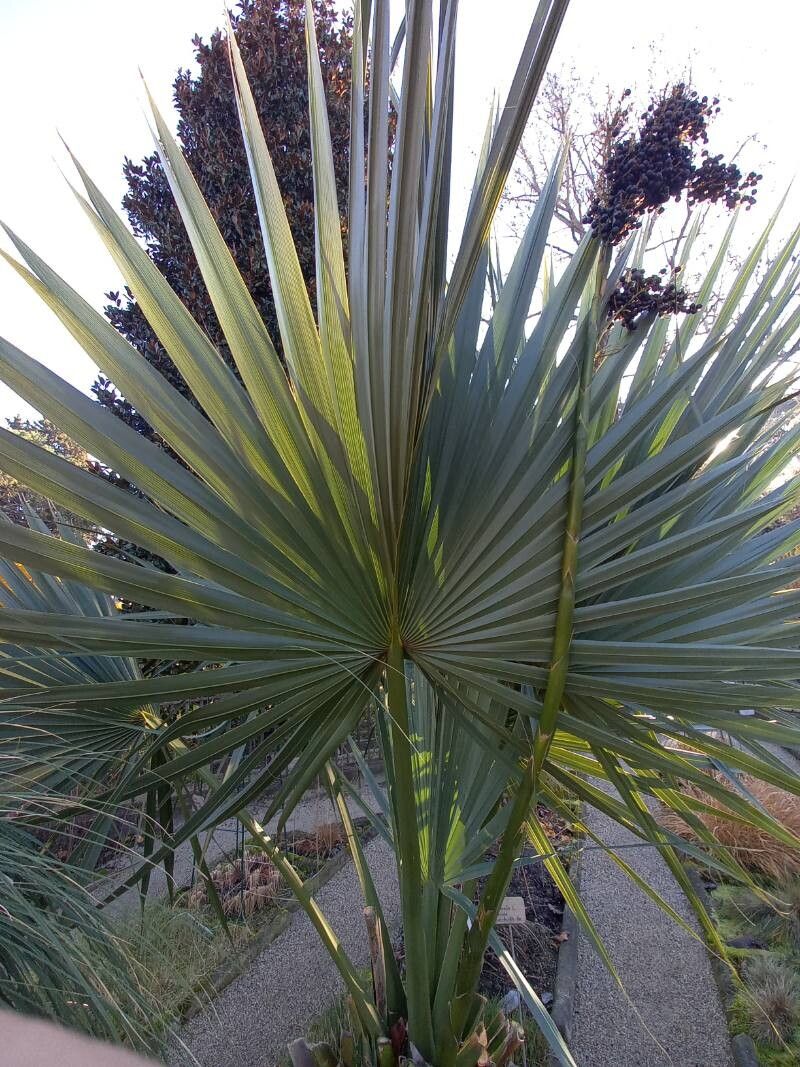
- Collect the seeds: The fruits of Sabal minor are small, dark berries. Collect them directly from the plant when they are ripe, usually in late summer or fall.
- Clean the seeds: Gently remove any fruit pulp from the seeds. You can rub them with a damp cloth. Don’t worry if a little pulp remains, but try to get most of it off.
- Scarification (optional): Sabal minor seeds have a hard coat. While not strictly necessary, you can speed up germination by lightly scarifying them. This means gently nicking or scratching the seed coat with a file or sandpaper. Be careful not to damage the embryo inside.
- Soaking: Soak the cleaned seeds in warm water for 24-48 hours. This helps to soften the seed coat and encourage germination.
- Sowing: Fill your pots or trays with your well-draining potting mix. Plant the seeds about 1/2 inch deep. Space them a few inches apart if using a tray.
- Water and Cover: Water the soil thoroughly but gently. Then, cover the pots or tray with a plastic bag or propagation dome to maintain high humidity.
- Location: Place the pots in a warm location, ideally with indirect sunlight. Bottom heat from a seedling mat can significantly speed up germination.
- Patience is Key: Germination can be slow and erratic, sometimes taking several months to a year. Don’t give up! Keep the soil consistently moist but not waterlogged.
By Division
If you have a mature, clumping Sabal minor, you can divide it. This method is excellent for getting a larger plant sooner.
- Excavate the Clump: Carefully dig around the base of the Sabal minor clump. The goal is to expose the root ball and the individual “pups” or new shoots.
- Assess the Divisions: Look for sections of the clump that have their own root system and at least one or two healthy leaves or emerging spears.
- Separate: Using a sharp, clean spade or knife, carefully cut through the roots to separate the divisions. Try to make the cuts as clean as possible, leaving a good portion of roots on each new piece.
- Prune (if necessary): If there are damaged roots or leaves, trim them back. You can also reduce the leaf surface area on very large divisions to help them conserve energy while they establish.
- Potting: Plant each division in its own pot filled with your well-draining potting mix. Ensure the base of the plant is at soil level.
- Watering: Water each division thoroughly.
- Location: Place the newly potted divisions in a partially shaded area with protection from direct sun for the first few weeks. Keep the soil consistently moist.
The “Secret Sauce” (Pro Tips)
Here are a couple of things I’ve learned over the years that really make a difference:
- Don’t Let Leaves Muddle: When you’re propagating anything (and this is great for seeds that have sprouted!), ensure no leaves are touching the soil surface. This is a recipe for rot, plain and simple. It restricts airflow and traps moisture.
- Embrace Bottom Heat: For seed propagation, a heat mat is a game-changer. It provides that consistent, gentle warmth that mimics summer soil temperatures, encouraging much faster and more consistent germination. It’s one of those investments that pays off season after season.
Aftercare & Troubleshooting
Once your Sabal minor starts to show signs of life – a new leaf unfurling, or your division begins to put on new growth – you’ve done it! Gradually introduce your new plants to more light. Keep the soil consistently moist but never soggy. As they grow stronger, you can transition them to a spot with more sun, depending on your climate and the specific needs of Sabal minor in your area.
The biggest challenge you’ll likely face is rot, which is usually caused by overwatering or poor drainage. If you see leaves turning yellow and mushy, or the base of the stem starts to look soft and dark, it’s often a sign of too much moisture. In this case, allow the soil to dry out more between waterings and ensure good air circulation around your plants. If you’re starting from seed and nothing is happening after a long time, don’t despair! Some Sabal minor seeds can be notoriously stubborn. Just keep them warm and moist, and they might surprise you one day.
A Encouraging Closing
Propagating plants is all about patience and observation. Nature has its own pace, and Sabal minor is no exception. Don’t get discouraged if your first attempt isn’t a roaring success; learning what works best in your specific environment is part of the fun. Enjoy the process of nurturing these little palms, and before you know it, you’ll have a whole grove of your own beautiful Sabal minor to share with friends or admire in your garden. Happy growing!
Resource:
https://identify.plantnet.org/k-world-flora/species/Sabal%20minor%20(Jacq.)%20Pers./data