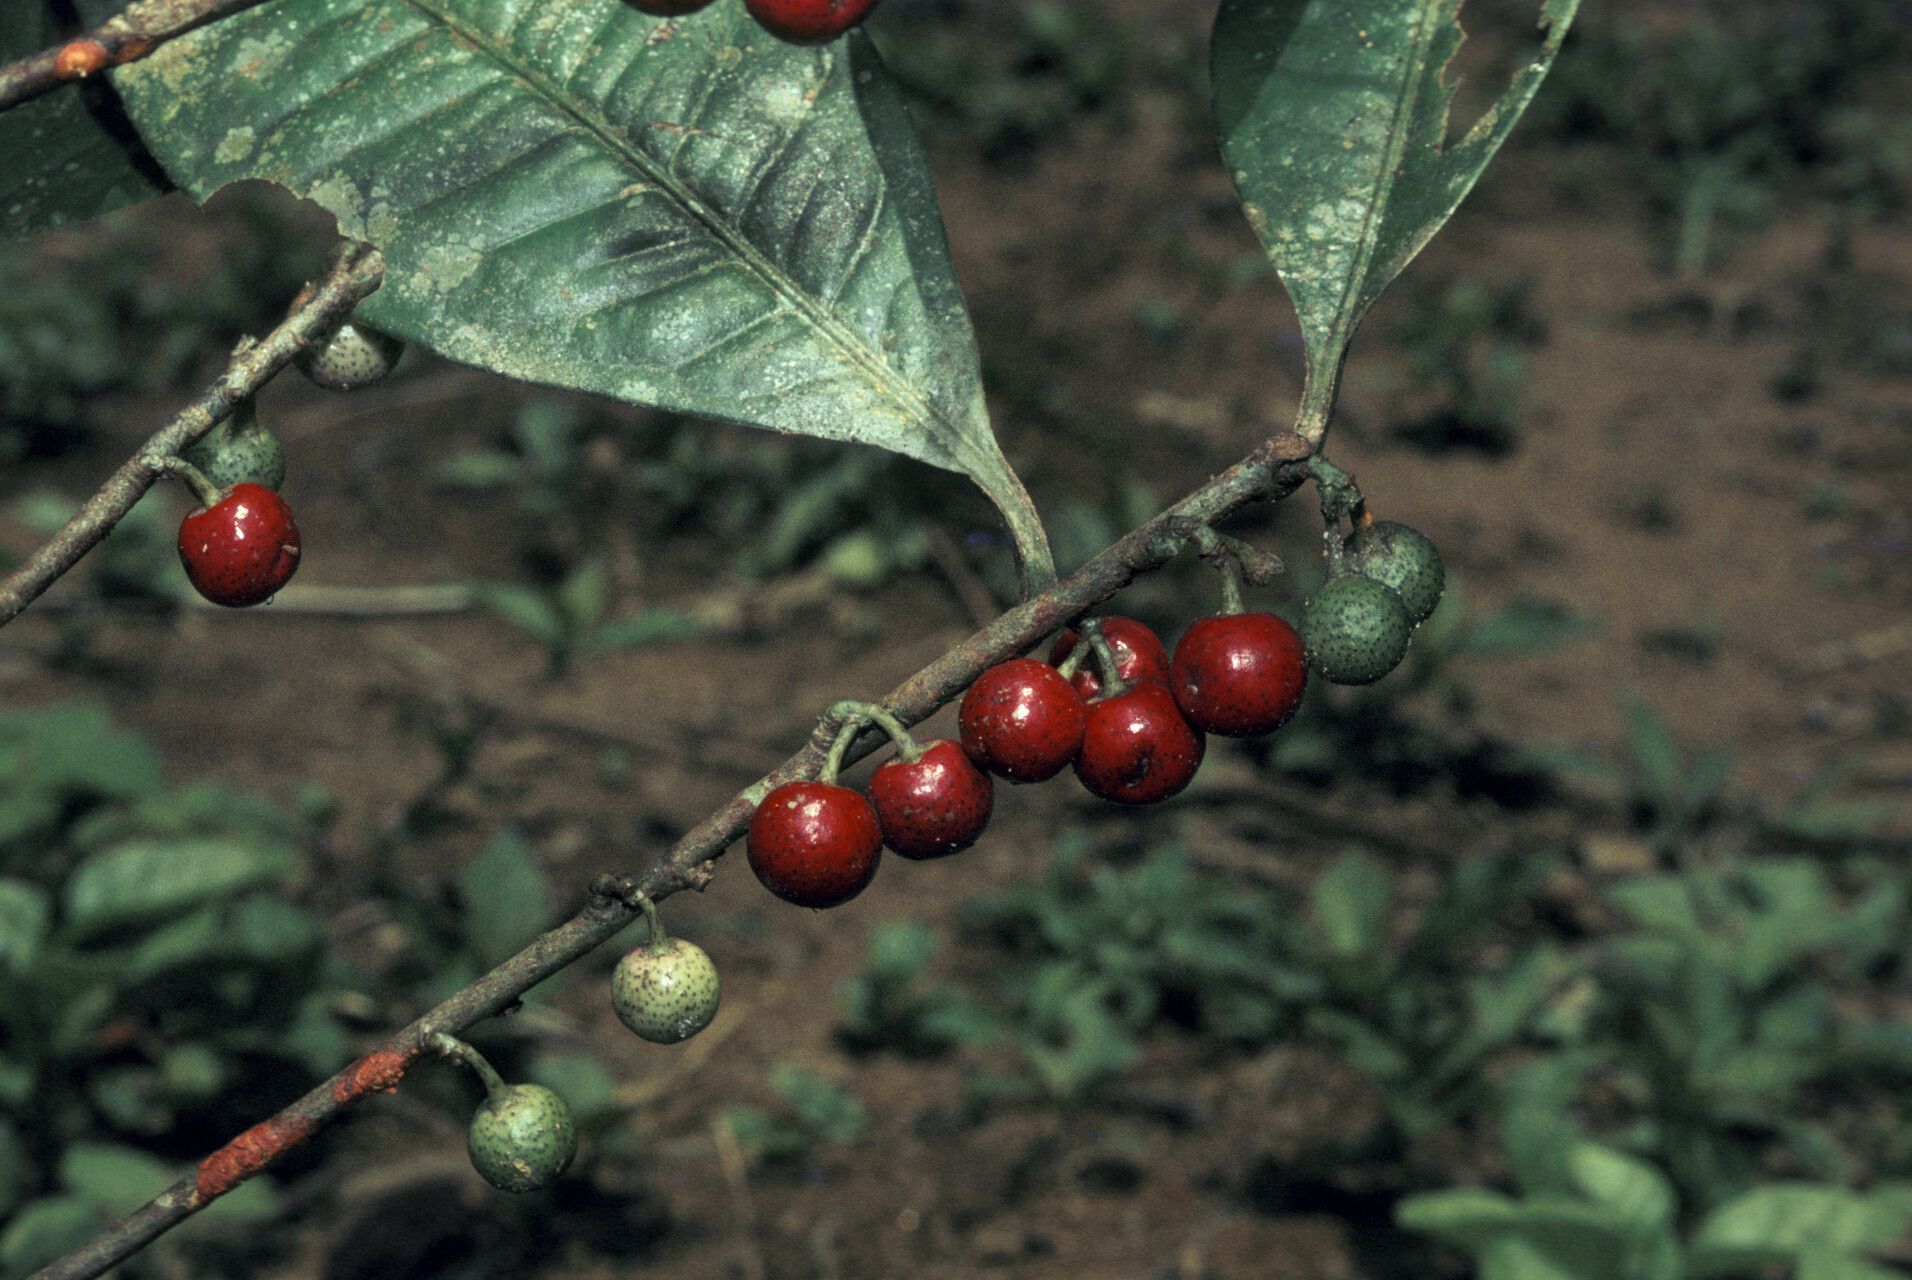
Oh, hello there! Come on in, let’s chat about plants. Today, we’re diving into the wonderful world of Stylogyne micrantha. If you haven’t met this beauty yet, you’re in for a treat. It’s got this lovely, understated elegance, those delicate leaves… perfect for adding a touch of green sophistication to your home or garden. And the best part? Sharing that beauty by propagating it yourself. It’s truly one of gardening’s greatest joys, watching a tiny cutting transform into a new, thriving plant. Now, I’ll be honest, Stylogyne micrantha can be a little fussy, so it might not be the absolute first plant I’d suggest for a complete beginner. But with a bit of care and attention, you’ll get the hang of it!
The Best Time to Start
When it comes to coaxing new life from our plant friends, timing is everything. For Stylogyne micrantha, you want to take cuttings during its active growing season. Think late spring through summer. This is when the plant is full of vigor, energy, and ready to put out new growth. Trying to propagate when it’s resting will just lead to disappointment.
Supplies You’ll Need
Gathering your tools beforehand makes the whole process smoother. Here’s what I recommend:
- Sharp, clean pruning shears or a razor blade: For making nice, clean cuts.
- Rooting hormone (optional, but helpful): A powder or gel that encourages root development.
- Well-draining potting mix: A blend of peat moss, perlite, and a little bit of compost works beautifully. Or, you can use a specific cuttings mix.
- Small pots or seed trays: Clean ones, please!
- Plastic bag or propagator lid: To create a humid environment.
- Water: For misting and watering.
- Patience: The most important ingredient!
Propagation Methods
Let’s get our hands dirty! My go-to method for Stylogyne micrantha is stem cuttings. It’s reliable and gives you a good chance of success.
Stem Cuttings:
- Select a healthy parent plant. Look for stems that are semi-hardwood – they’re not too flimsy and new, but not old and woody either. This usually means a stem that has grown this season and is starting to firm up a bit.
- Make your cut. About an hour after watering your parent plant, use your sharp shears to cut a piece of stem that’s 4-6 inches long. Make the cut just below a leaf node (where a leaf attaches to the stem). This is where rooting tends to happen most easily.
- Prepare the cutting. Gently remove the lower leaves, leaving just a couple of leaves at the very top. If the leaves are quite large, you can even cut them in half to reduce water loss.
- Apply rooting hormone (if using). Dip the cut end into your rooting hormone, tapping off any excess.
- Plant your cutting. Fill your pots with your prepared potting mix. Make a small hole with your finger or a pencil and insert the cutting, ensuring the leaf nodes are buried. Gently firm the soil around it.
- Create humidity. Water the soil gently until it’s moist but not soggy. Then, cover the pot with a clear plastic bag or a propagation lid. This creates a mini-greenhouse effect, keeping humidity high, which is crucial for preventing the cutting from drying out before it can root. I like to prop the plastic bag up with a skewer or two so it doesn’t touch the leaves.
The “Secret Sauce” (Pro Tips)
Here are a couple of things I’ve learned over the years that really make a difference:
- Don’t let the leaves touch the water. If you’re trying water propagation (which I find a bit trickier for this one), or if condensation builds up inside your propagator, make sure the leaves aren’t sitting in water. This is a fast track to rot! I always give my cuttings a good trim to ensure no leaf is submerged.
- Bottom heat is a game-changer. If you have a heat mat designed for seedlings, using it under your pots will significantly speed up root development. It mimics the warmth of spring soil and gives those root hormones a real boost.
Aftercare & Troubleshooting
Once your cuttings are potted, place them in a bright spot with indirect light. Avoid direct sun, as this can scorch those delicate new leaves. Keep the soil consistently moist but not waterlogged. You’ll start to see new leaf growth after a few weeks to a couple of months – that’s your sign that roots are forming!
What if things go wrong? The most common culprit is rot. If your cutting turns mushy or black, it’s usually because it’s too wet and not getting enough air circulation, or the temperature is too cool. If you see signs of rot, remove the affected cutting immediately to prevent it from spreading. Fungal issues can also arise, so good air flow and clean tools are your best defense.
A Little Encouragement
Growing plants from cuttings is a journey, and sometimes it takes a few tries. Don’t get discouraged if not every single cutting takes. Each attempt is a learning experience. Be patient, observe your cuttings closely, and most importantly, enjoy the magic of creating new life. Happy propagating!
Resource:
https://identify.plantnet.org/k-world-flora/species/Stylogyne%20micrantha%20(Kunth)%20Mez/data