Oh, hello there! Pull up a chair, let’s chat about something truly special – Malpighia albiflora. You know, the one with those delicate, star-shaped white flowers that just make your heart sing? And then, if you’re lucky, those lovely little red fruits follow. It’s a plant that brings a touch of sunshine and elegance to any garden or patio, and honestly, propagating it yourself is such a rewarding endeavor. It’s not the absolute easiest plant to start from scratch, but with a bit of patience and these tips, you’ll be well on your way to success.
The Best Time to Start
My favorite time to take cuttings from Malpighia albiflora is when the plant is actively growing, but not under any stress. Think late spring or early summer. The new growth, or softwood, will have more energy and be more responsive to rooting. You want cuttings that are flexible but not too soft and floppy.
Supplies You’ll Need
Here’s what I always have on hand:
- Sharp Pruning Shears or a Clean Knife: Essential for clean cuts that prevent disease.
- Rooting Hormone: A good quality product really boosts your chances. I prefer the powdered kind.
- Well-Draining Potting Mix: A blend of peat moss, perlite, and a bit of coarse sand works wonders. You can also buy specific cutting mixes.
- Small Pots or Seedling Trays: Enough to give your cuttings ample space. Make sure they have drainage holes!
- Plastic Bags or a Humidity Dome: To create a humid microclimate.
- Water: For misting.
- Labels and a Marker: So you don’t forget what you’ve planted and when!
Propagation Methods
I find stem cuttings to be the most reliable method for Malpighia albiflora.
-
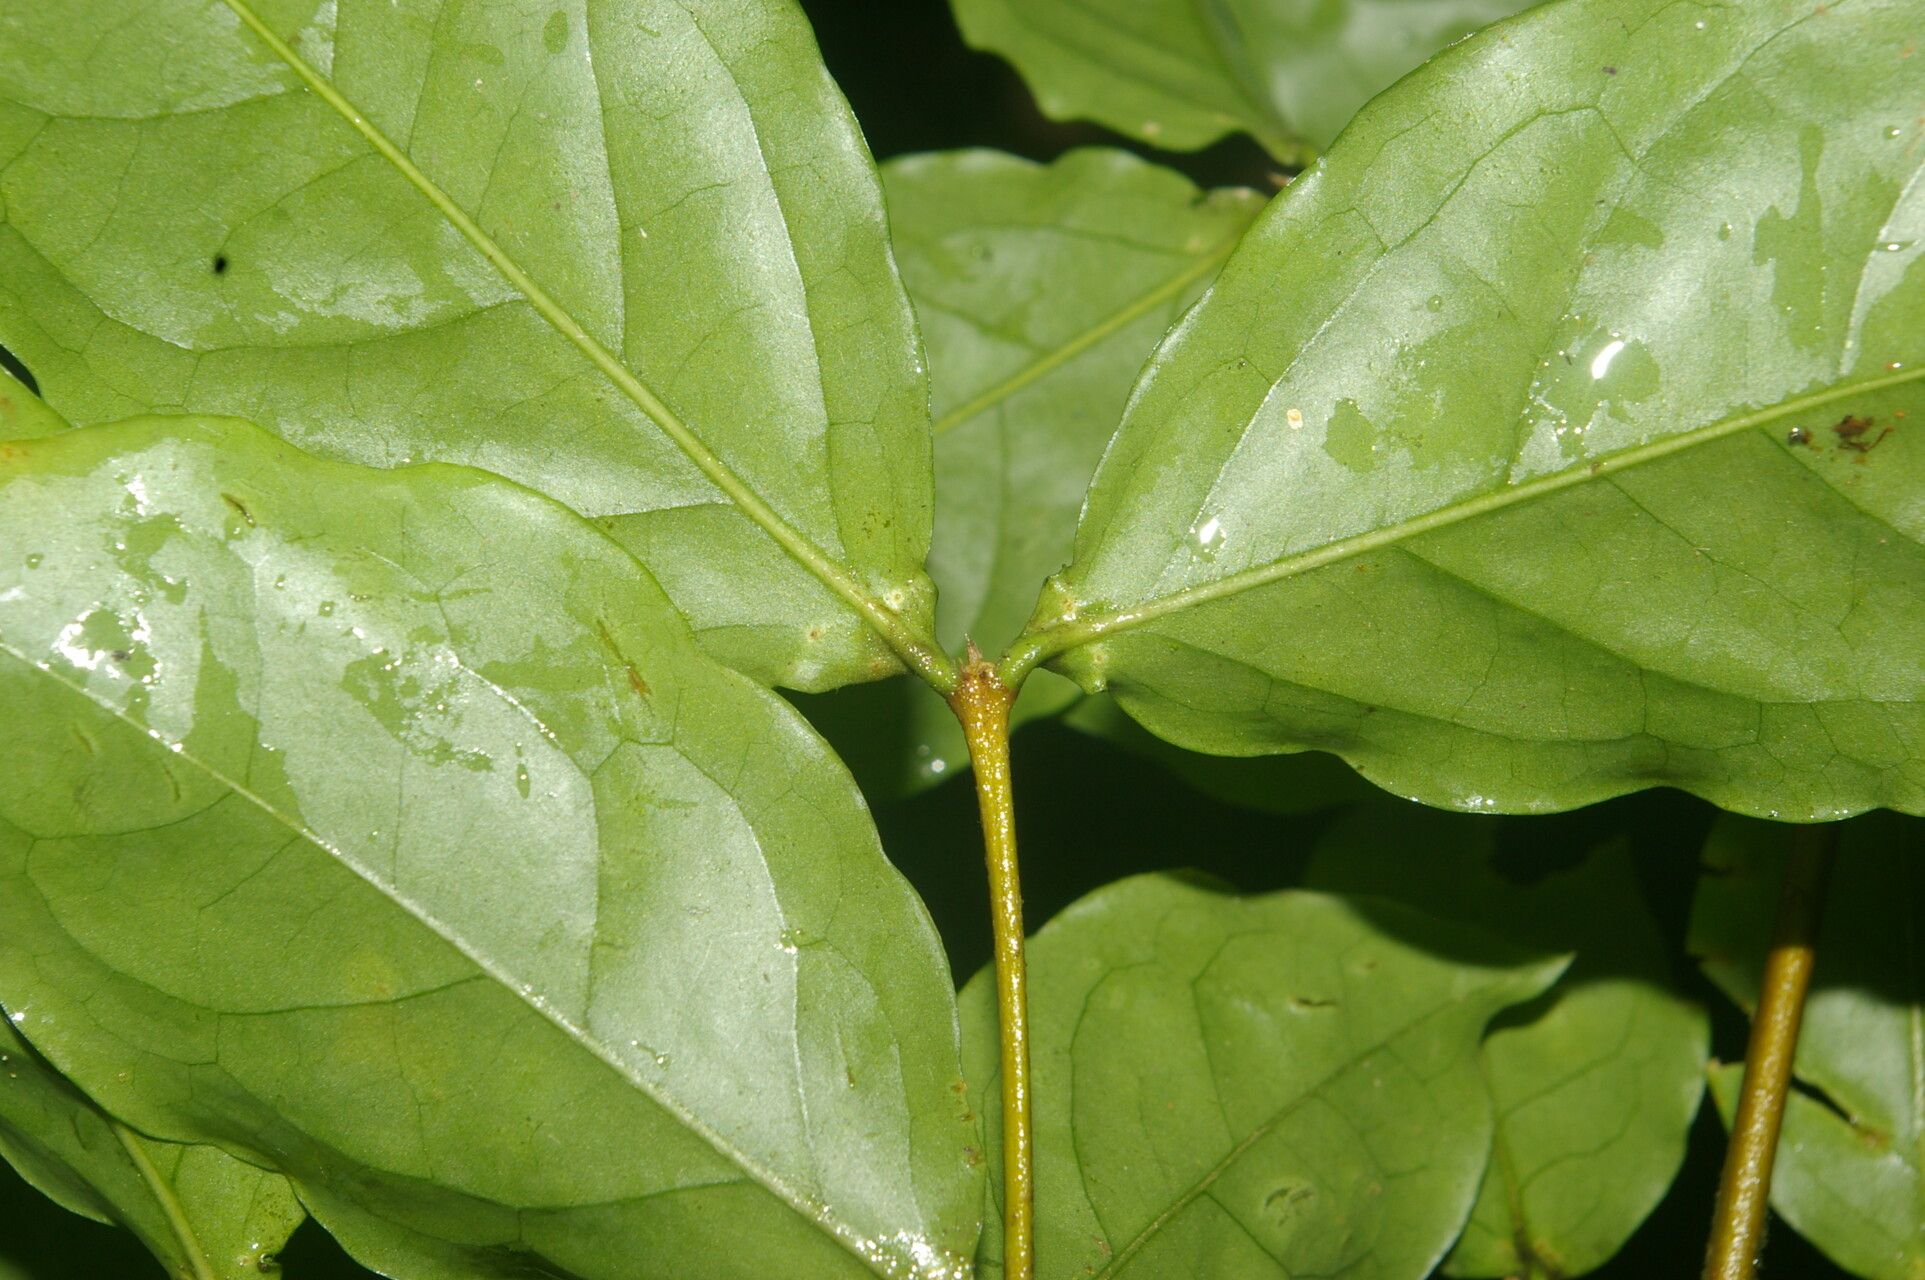
Take Your Cuttings: Select healthy, non-flowering stems from your established plant. Look for stems that are about 4-6 inches long and have at least a few sets of leaves. Using your clean shears, make a cut just below a leaf node. A leaf node is where a leaf attaches to the stem, and this is where roots will typically form. Remove the lower leaves from the cutting, leaving just a few at the top. This prevents them from rotting in the soil.
-
Prepare the Cutting: Lightly moisten the cut end of the stem. Dip it into your rooting hormone, tapping off any excess. This step is crucial for encouraging root development.
-
Plant Your Cuttings: Fill your small pots or trays with your well-draining potting mix. Make a small hole in the center of the mix with your finger or a pencil. Gently insert the prepared cutting into the hole, ensuring the nodes where you removed the leaves are submerged in the soil. Firm the soil gently around the base of the cutting to provide support.
-
Create a Humid Environment: Water your cuttings lightly. Then, cover the pots loosely with a plastic bag or place them under a humidity dome. This traps moisture around the leaves, preventing them from drying out while they’re trying to root. Make sure the plastic bag doesn’t touch the leaves.
-
Provide Light and Warmth: Place the pots in a bright, indirect light location. Avoid direct sunlight, as it can scorch the delicate cuttings. A spot on a windowsill out of harsh sun or under grow lights is perfect. If you have access to a heat mat, placing the pots on one can significantly speed up root formation.
The “Secret Sauce”
Here are a couple of things I’ve learned over the years that really make a difference:
- Don’t Crowd Them: Resist the urge to stuff too many cuttings into one pot. Each cutting needs a little breathing room to develop roots without competing for resources or potentially spreading any fungal issues.
- Gentle Misting is Key: While humidity is vital, soggy soil is the enemy. I like to mist the leaves of my cuttings every couple of days, especially if the greenhouse or room they’re in feels a bit dry. It keeps them plump and happy.
Aftercare & Troubleshooting
Once you see new growth emerging, that’s a good sign that roots are forming! You can gently tug on a cutting; if there’s resistance, you’ve got roots. At this stage, you can start to gradually acclimate your new plants to lower humidity by opening the plastic bag or dome for increasing periods over a week or two. Water them when the top inch of soil feels dry.
The most common sign of failure is rot. If your cutting turns black and mushy, it’s likely rotted. This is usually due to overwatering or poor drainage. Another sign is wilting that doesn’t recover, which can indicate it didn’t root or dried out too quickly. Don’t get discouraged if a few don’t make it; it happens to the best of us!
A Little Patience Goes a Long Way
Propagating from cuttings takes time. You might not see roots for several weeks, or even a couple of months. The most important thing is to be patient and consistent with your care. Just keep them in their happy, humid little worlds, and before you know it, you’ll have charming new Malpighia albiflora plants to enjoy and perhaps even share. Happy growing!
Resource: