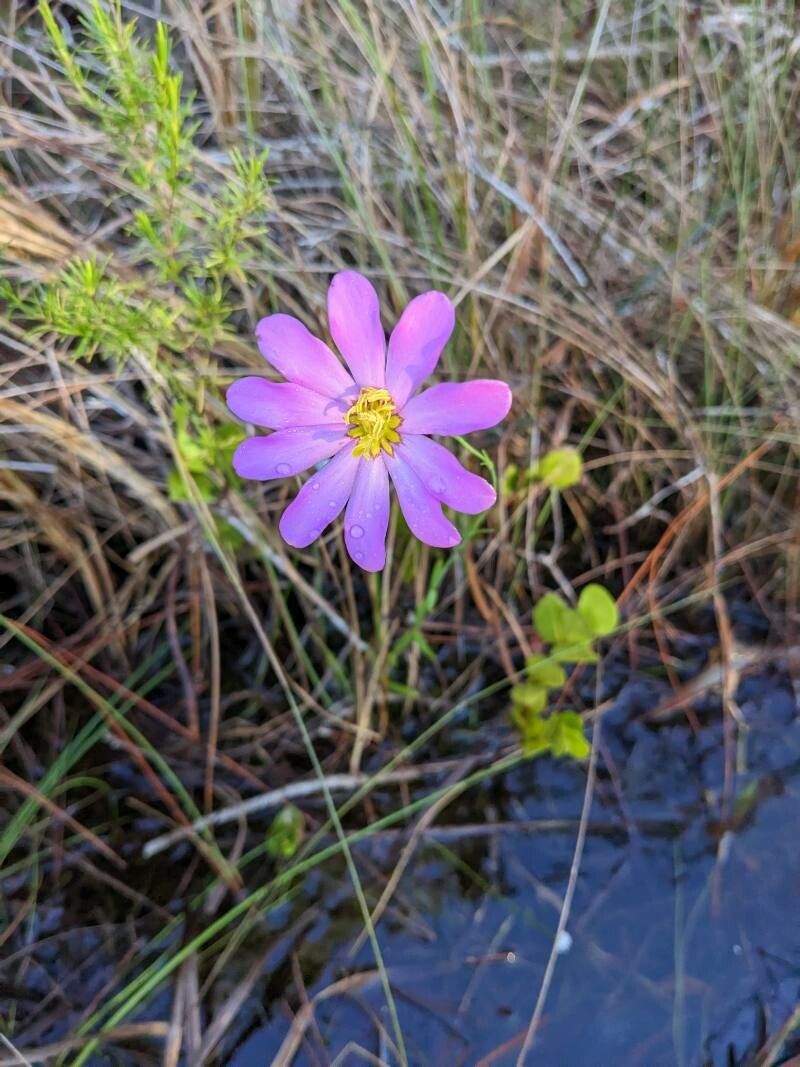
Hey there, fellow plant enthusiasts! Let’s talk about a real gem for the garden: Sabatia gentianoides, or the Marsh Pink. If you love those beautiful, starry pink blooms that nod so elegantly in the breeze, you’re not alone. They bring such a sweet, wild charm to any landscape, especially to those damper spots that can be a bit tricky to fill.
Now, I know the thought of propagating might sound a little daunting, but trust me, with Sabatia gentianoides, it’s a journey worth taking. Is it a walk in the park for absolute beginners? Honestly, it’s got a few nuances, but with a little guidance and patience, you’ll be celebrating success. I find it incredibly rewarding to nurture these beauties from a tiny start into a blooming plant.
The Best Time to Start
When it comes to getting your Sabatia gentianoides off to a good start, late spring to early summer is your sweet spot. This is when the plant is actively growing and has plenty of energy to put into rooting. If you’re working with divisions, you can also do this in early spring as new growth emerges, or in early fall after the heat of summer has passed.
Supplies You’ll Need
Before we get our hands dirty, let’s gather our trusty tools:
- Well-draining potting mix: I like a blend of peat moss, perlite, and a bit of compost. For these guys, make sure it’s not too heavy.
- Sharp pruning shears or a clean knife: For making clean cuts.
- Small pots or seed trays: Clean and with drainage holes, of course.
- Rooting hormone (optional but helpful): A powder or gel can give your cuttings a little boost.
- Spray bottle: For misting.
- Clear plastic bag or propagation dome: To create humidity.
Propagation Methods
Sabatia gentianoides can be a bit particular, but I’ve found a couple of methods that work quite well.
1. Stem Cuttings (My Preferred Method):
This is my go-to for a reason! It’s efficient and often yields good results.
- Take your cuttings: In late spring or early summer, select healthy, non-flowering shoots. You’re looking for stems that are about 3-4 inches long. Cut just below a leaf node (where a leaf attaches to the stem).
- Prepare the cuttings: Gently remove the lower leaves from the cutting, leaving just the top few. This prevents them from rotting when they’re in the soil. If you’re using rooting hormone, dip the cut end into it.
- Plant your cuttings: Fill your small pots with your well-draining mix. Make a small hole with your finger and insert the prepared cutting. Gently firm the soil around it.
- Create humidity: Water the soil lightly and then cover the pot with a clear plastic bag or propagation dome. This high humidity is crucial!
2. Division (Best for Established Plants):
If you have a mature Sabatia gentianoides that’s gotten a bit crowded, division is a great way to multiply it.
- Dig up the plant: In early spring or fall, carefully dig up the entire plant. Try to disturb the roots as little as possible.
- Gently separate the clumps: Look for natural divisions. You can often gently pull apart the root ball with your hands. If it’s stubborn, a clean knife or trowel can help you make a cut through the roots and stems.
- Replant: You want each division to have healthy roots and at least a few stems or growth points. Plant them immediately into their new locations or into pots filled with your potting mix. Water them in well.
The “Secret Sauce” (Pro Tips)
Here are a couple of things I’ve learned that make a real difference:
- Avoid letting leaves touch the water (if using a propagation dome): If your cuttings seem to be getting waterlogged or developing mold, it’s often because the lower leaves are sitting in moisture. Make sure those leaves are above the soil line.
- Bottom warmth is your friend: Sabatia gentianoides loves a bit of warmth to encourage root development. Placing your pots on a heat mat (like those used for seed starting) can significantly speed up the rooting process. It’s especially helpful for stem cuttings.
Aftercare & Troubleshooting
Once your cuttings have rooted (you might see new growth or feel a gentle tug when you lightly pull on a stem), it’s time to give them a bit more freedom.
- Gradually acclimate: Slowly remove the plastic bag or dome over a few days to let the new plants get used to normal humidity.
- Consistent moisture: Keep the soil consistently moist but not waterlogged. Water when the top inch of soil feels dry.
- Light: Provide bright, indirect light. Once they’re established, they’ll appreciate more sun.
- Troubleshooting: The most common issue you’ll face is rot. This usually happens from overwatering or poor drainage. If you see mushy stems or leaves turning black, unfortunately, that cutting might be a goner. Don’t get discouraged; try again with new cuttings and adjust your watering.
A Gentle Encouragement
Propagating Sabatia gentianoides is a rewarding practice that connects you even more deeply with these lovely plants. It takes a little observation and a lot of patience, but the satisfaction of watching a new seedling or cutting thrive is truly unmatched. So, get your hands in the soil, enjoy the process, and happy growing!
Resource:
https://identify.plantnet.org/k-world-flora/species/Sabatia%20gentianoides%20Elliott/data