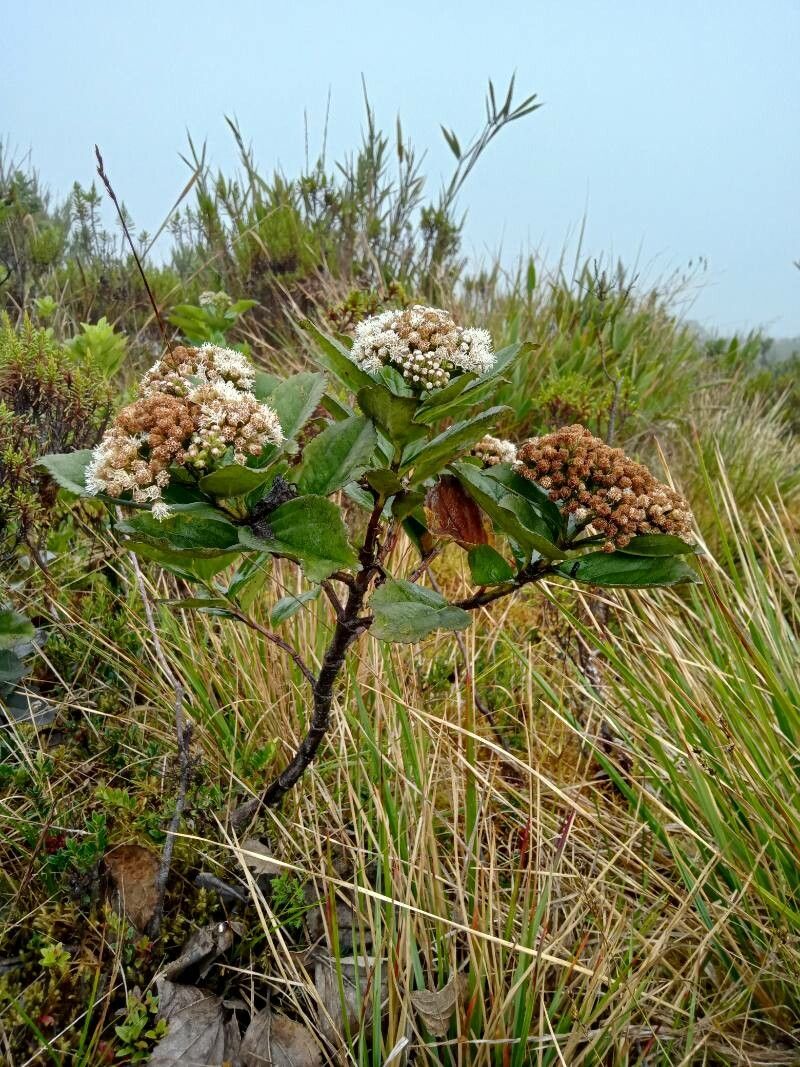
Oh, hello there! It’s so lovely to have you join me today. We’re going to talk about a plant that holds a special place in my heart – Baccharis prunifolia. You might know it better by its common names, like ‘False Rosemary’ or ‘Greenstem’. I’ve been growing this beauty for years, and let me tell you, it’s a real workhorse. Its delicate, fragrant foliage can bring a touch of wild charm to any garden, and it’s surprisingly tough.
Now, if you’re new to the gardening game, I have good news for you. Propagating Baccharis prunifolia is generally quite forgiving. In fact, I’d say it’s a fantastic plant for beginners looking to dip their toes into the world of plant propagation. Seeing a little cutting transform into a whole new plant? There’s nothing quite like that feeling of accomplishment!
The Best Time to Start
For the highest chance of success, aim to take your cuttings in late spring to early summer. This is when the plant is actively growing, and the new shoots are still a bit soft and pliable. You can also have success in early autumn with slightly more mature, but not woody, stems. Avoid taking cuttings from very old, woody growth or when the plant is stressed from extreme heat or drought.
Supplies You’ll Need
Here’s what you’ll want to have on hand before you get started:
- Sharp Pruning Shears or a Knife: Make sure they’re clean to prevent disease.
- Rooting Hormone (Optional but Recommended): A powder or gel will significantly boost your success rate.
- A Well-Draining Potting Mix: I like a blend of equal parts perlite, peat moss, and compost. You can also buy a good quality seedling starter mix.
- Small Pots or a Propagation Tray: Clean pots are crucial!
- Watering Can with a Fine Rose: For gentle watering.
- Plastic Bags or a Clear Dome: To create a humid environment.
- Labels and a Marker: To remember what you’ve planted and when.
Propagation Methods
We’ll focus on stem cuttings, as this is the most reliable and straightforward method for Baccharis prunifolia.
- Take Cuttings: Using your clean shears, select healthy stems that are about 4-6 inches long. Look for stems that are semi-hardwood – they’ll be flexible but not floppy. Cut just below a leaf node (where the leaves attach to the stem). This is where the plant’s rooting hormones are most concentrated.
- Prepare the Cuttings: Gently remove the lower leaves, leaving only the top few leaves. This prevents the leaves from rotting when they’re in the soil or water. If you’re using rooting hormone, dip the cut end into the hormone powder or gel, tapping off any excess.
- Planting: Fill your small pots or propagation tray with your prepared potting mix, lightly moistening it. Make a small hole in the center of the soil with your finger or a pencil. Insert the cut end of your Baccharis cutting into the hole, about an inch deep. Gently firm the soil around the stem.
- Create Humidity: Once all your cuttings are planted, water them gently. Then, cover the pots with a clear plastic bag, securing it around the rim with a rubber band, or place the tray under a clear plastic dome. This traps moisture and creates a humid microclimate, which is vital for new cuttings.
The “Secret Sauce” (Pro Tips)
Here are a few things I’ve learned over the years that can really make a difference:
- “When in doubt, trim it out.” If the leaves on your cutting are very large, don’t be afraid to cut them in half. This reduces water loss from the leaves while still allowing for photosynthesis. Less leaf surface means less water evaporating, giving the cutting a better chance to develop roots before it dries out.
- Watch that condensation! While humidity is good, you don’t want the leaves touching the sides of the plastic bag or dome constantly. If you see excessive condensation dripping, open the cover for an hour or two to allow for some air circulation. This helps prevent fungal diseases.
- Give them a warm drink! Baccharis roots really well when they have a little warmth at their base. If you have a propagation mat or can place your tray on top of a warm appliance (like a refrigerator), this bottom heat can significantly speed up root development.
Aftercare & Troubleshooting
Once your cuttings look like they’re taking off – you might see tiny new leaves appearing or feel a slight resistance when you gently tug on them – it’s time for a bit more attention.
Gradually reduce the humidity by opening the plastic bag or dome a little more each day over a week. Once they seem comfortable, you can remove the cover entirely. Keep the soil consistently moist, but never waterlogged. Think of it as keeping a damp sponge.
What if things go wrong? The most common sign of failure is rot – the stem will turn brown and mushy. This usually happens due to too much moisture and poor air circulation. If you see rot, sadly, that cutting is likely lost. Don’t be discouraged! Simply remove the affected cutting and examine your conditions. Another sign is wilting that doesn’t improve with watering; this can indicate that the cutting has dried out completely.
A Little Patience Goes a Long Way
Propagating plants is a process, my friends. It takes time and a bit of observation. Don’t get disheartened if not every cutting takes. Just enjoy the journey of nurturing these little pieces of life, and soon you’ll have an abundance of Baccharis prunifolia to fill your garden or share with friends. Happy propagating!
Resource:
https://identify.plantnet.org/k-world-flora/species/Baccharis%20prunifolia%20Kunth/data