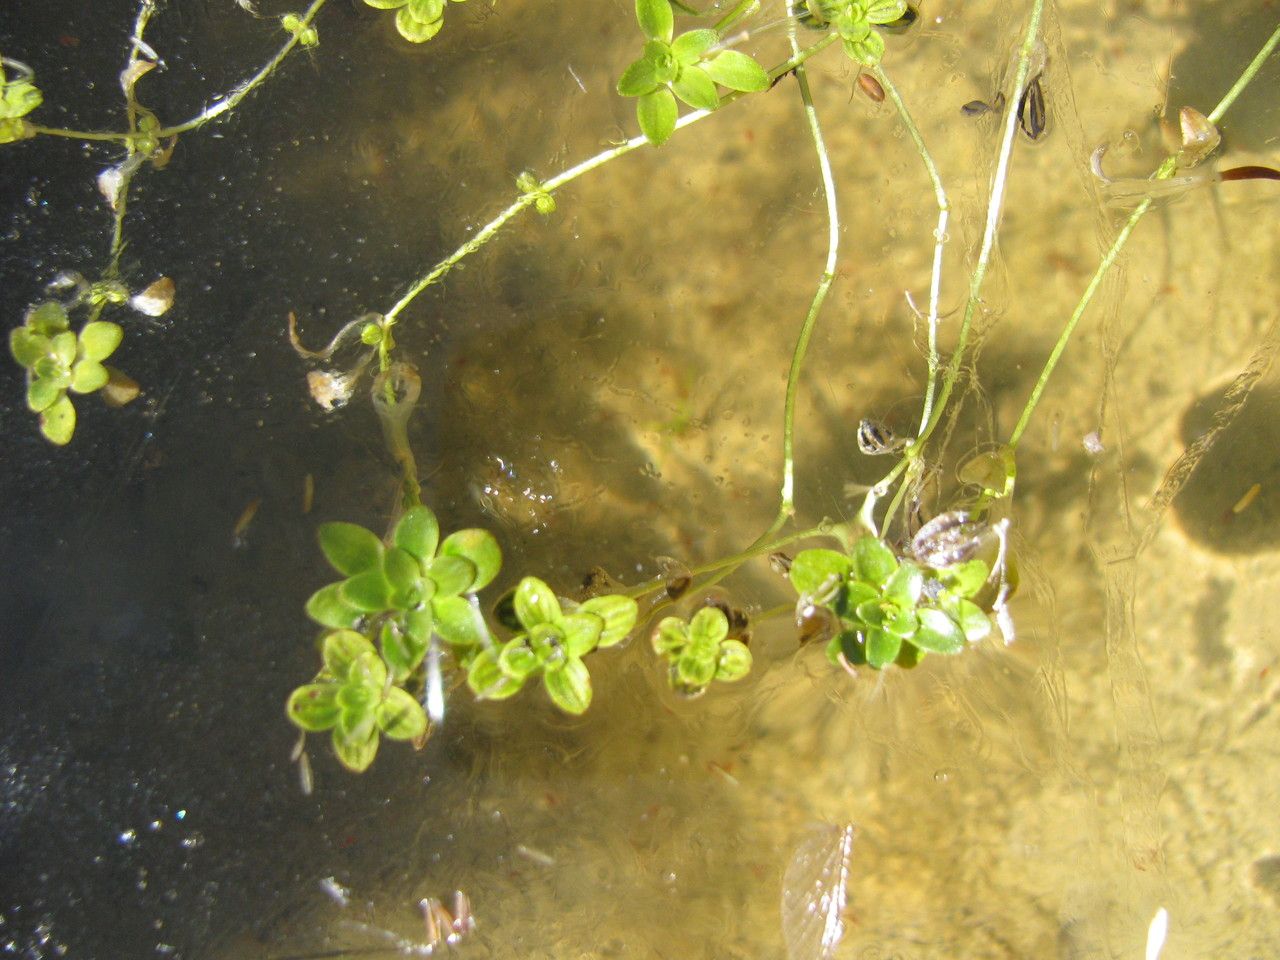
Hello there, fellow plant lovers! Today, I want to talk about a little gem that’s been stealing my heart in the garden: Callitriche heteropoda. You might know it by its more common name, the European Water Starwort. This aquatic wonder brings a lovely, delicate charm to ponds and water features with its dainty leaves. Propagating it is incredibly rewarding, and I’m happy to report that it’s a pretty forgiving plant to work with, even for those just dipping their toes into the world of plant propagation.
The Best Time to Start
For Callitriche heteropoda, spring and early summer are your golden ticket to success. This is when the plant is actively growing and has the most energy to put into developing new roots. You’ll see it really starting to push out new growth, which is exactly what we want. Aim to propagate from healthy, vibrant stems during this peak growth period.
Supplies You’ll Need
Gathering your tools beforehand makes the whole process so much smoother. Here’s what I always have on hand:
- Sharp pruning shears or scissors: Clean cuts are crucial to prevent disease.
- A clean container: A shallow tray, small pots, or even clean jars will do.
- pH-neutral water: Tap water is usually fine, but if yours is particularly hard, consider using filtered or rainwater.
- Rooting hormone (optional but helpful): A powder or gel can give your cuttings a little boost.
- A well-draining potting mix (for soil propagation): I like a mix of peat moss, perlite, and sand for good aeration.
- A propagation tray with a clear lid (optional): This helps maintain humidity.
Propagation Methods
Callitriche heteropoda is wonderfully versatile. Here are my go-to methods:
Stem Cuttings
This is hands-down my favorite and most consistent method.
- Select a healthy stem: Look for a vigorous shoot that’s at least 3-4 inches long.
- Make a clean cut: Using your sharp shears, cut the stem just below a leaf node. A leaf node is where a leaf attaches to the stem, and it’s where roots are most likely to form.
- Pinch off lower leaves: Gently remove the leaves from the bottom 1-2 inches of the cutting. This prevents them from rotting in the water or soil and encourages root development from the exposed stem.
- Apply rooting hormone (optional): If you’re using it, dip the cut end of the stem into the rooting hormone, tapping off any excess.
- Place the cutting:
- Water Propagation: Simply place the prepared cutting into a jar or glass of clean water. Make sure the leaf nodes where you removed the leaves are submerged, but try to keep the remaining leaves out of the water.
- Soil Propagation: Gently insert the cut end into your prepared potting mix. You can use a pencil or your finger to make a small hole first. Firm the soil gently around the stem.
Division
If you have a mature clump of Callitriche heteropoda that’s really taking off, division is a fantastic, quick way to get more plants.
- Gently remove the plant: Carefully lift the entire clump from its planting spot.
- Separate the crowns: With clean hands or a knife, gently tease apart the mat of roots and stems into smaller sections. Each section should have at least a few healthy roots and some leafy shoots.
- Replant immediately: You can replant the divisions back into their original location or into new pots or water features.
The “Secret Sauce” (Pro Tips)
Here are a few little tricks I’ve picked up over the years:
- Don’t let the leaves touch the water (in water propagation): This is so important! Submerged leaves will begin to decay, which can introduce rot and set back root development or even kill your cutting. Air exposure at the leaf nodes is what encourages rooting.
- Provide a humid environment for soil cuttings: If you’ve planted cuttings in soil, placing them in a propagation tray with a lid or loosely covering them with a plastic bag will create a mini-greenhouse effect. This helps keep the leaves from drying out while they’re trying to root.
- Consider bottom heat (if available): For soil propagation, a heat mat placed under the propagation tray can significantly speed up root formation. Plants love a bit of warmth at their base.
Aftercare & Troubleshooting
Once you see tiny white roots emerging from your cuttings (this can take anywhere from a couple of weeks to a month, depending on conditions), it’s time for a little extra care.
- For water cuttings: Once the roots are about an inch long, you can gently transplant them into shallow pots filled with your potting mix or directly into your water feature. Continue to keep the soil consistently moist.
- For soil cuttings: Continue to water regularly, ensuring the soil stays moist but not waterlogged. You can gradually remove the humidity dome or plastic bag over a week or so, allowing the new plant to acclimate to normal humidity.
Now, what if things don’t go as planned? The most common issue I see is rot. This usually happens when cuttings are kept too wet without enough air circulation, or if you have decaying plant matter in the water. If you notice a cutting turning mushy or black, it’s best to discard it and try again. Another sign of stress is wilting. If your cuttings wilt before rooting, ensure they have adequate moisture and humidity. Sometimes, a little patience is all they need!
A Encouraging Closing
Propagating Callitriche heteropoda is a rewarding journey, and the success you’ll have will bring you so much joy. Don’t be discouraged if your first attempt isn’t perfect – gardening is all about learning and experimenting! Enjoy the process, celebrate those little roots, and soon you’ll have a beautiful water feature brimming with this lovely plant. Happy propagating!
Resource: