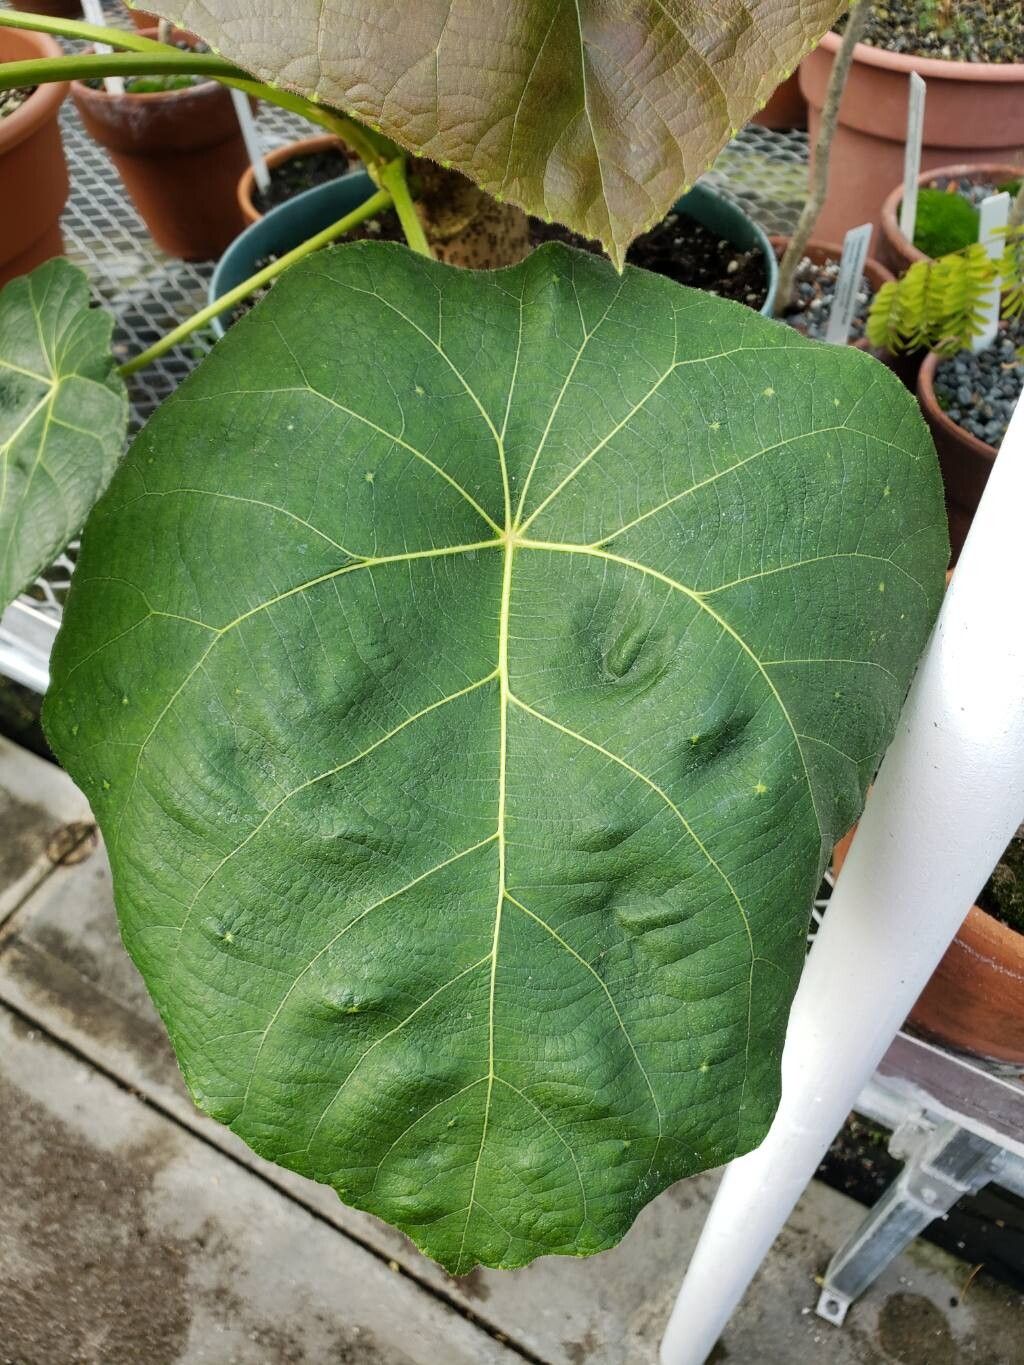
Hello, fellow plant lovers! Today, we’re diving into the wonderful world of propagating Macaranga grandifolia. If you’ve ever admired its magnificent, broad leaves and the way it can create a lush, tropical feel in your garden or home, you’re in for a treat. Growing new plants from cuttings is such a rewarding experience, like unlocking nature’s little secrets. And the good news? Macaranga grandifolia is a fairly forgiving plant, making it a great choice, even if you’re just starting your propagation journey.
The Best Time to Start
My favorite time to get stuck into propagating Macaranga grandifolia is when the plant is in its active growth phase. This typically means late spring through summer. You’ll notice the plant is sending out new shoots and growing vigorously. This fresh, healthy material has the best energy and resources to develop new roots. Trying to propagate when the plant is dormant will likely lead to disappointment.
Supplies You’ll Need
Before we get our hands dirty, let’s gather our tools. Having everything ready makes the process so much smoother:
- Sharp Pruning Shears or a Clean Knife: For making clean cuts.
- Rooting Hormone Powder or Gel (Optional but Recommended): Helps speed up root development.
- Propagation Potting Mix: A well-draining blend. I like to use a mix of perlite, coco coir, and a bit of peat moss. You can also buy pre-made succulent or cactus mix, which works quite well.
- Small Pots or Propagation Trays: Clean pots with drainage holes are essential.
- Watering Can or Spray Bottle: For gently watering.
- Clear Plastic Bag or Dome: To create a humid environment for cuttings.
- Small Pebbles or Gravel (for water propagation): To keep cuttings stable.
Propagation Methods
Macaranga grandifolia is a champion at reproducing itself, and stem cuttings are usually my go-to method.
Stem Cuttings
This is the most reliable way to grow a new Macaranga grandifolia.
- Select a Healthy Stem: Look for a healthy, non-flowering stem that’s at least 6-8 inches long. It should have several sets of leaves. Avoid very woody or very soft, new growth. A stem that’s slightly mature but still green is perfect.
- Make the Cut: Using your sharp shears or knife, make a clean cut just below a leaf node (the little bump where a leaf attaches to the stem). This is where root development is most likely to occur.
- Prepare the Cutting: Remove the lower leaves from the cutting, leaving just a few at the top. This prevents them from rotting when the cutting is in the soil or water.
- Apply Rooting Hormone (Optional): Dip the cut end of the stem into your rooting hormone powder or gel. Tap off any excess. This step significantly increases your chances of success and speeds up rooting.
- Plant the Cutting:
- For Soil Propagation: Fill your small pot with your propagation mix. Make a hole in the center with your finger or a pencil. Insert the cut end of the Macaranga cutting into the hole, ensuring the node where you removed leaves is buried. Gently firm the soil around the stem.
- For Water Propagation: Fill a clean jar or glass with room-temperature water. Place the prepared cutting in the water, making sure the leaf nodes are submerged. You can add a few small pebbles to help keep the cutting upright.
- Create Humidity: Lightly water the soil if you planted in it. Then, cover the pot with a clear plastic bag or place it inside a propagation dome. Make sure the leaves aren’t touching the plastic if possible. For water propagation, you don’t need a bag, but aim for a spot with good humidity.
The “Secret Sauce” (Pro Tips)
Here are a couple of tricks I’ve learned over the years that really give my Macaranga cuttings an edge:
- The Bottom Heat Boost: This is a game-changer, especially if you’re propagating during cooler periods or in a less-than-tropical climate. Place your pot on a seedling heat mat. This provides gentle warmth to the base of the cutting, encouraging root formation from beneath. It tells the plant, “Hey, it’s time to start rooting down there!”
- Don’t Overwater, Especially in Soil: While humidity is crucial, soggy soil is the enemy of new cuttings. Feel the soil regularly. It should be consistently moist but never waterlogged. If you see water pooling at the bottom of the pot, you’re watering too much. Good drainage is paramount.
Aftercare & Troubleshooting
Once your cuttings have been planted, place them in a bright, indirect light location. Avoid direct sunlight, which can scorch the delicate leaves.
- When Roots Appear: You’ll know your cutting is taking off when you see new leaf growth (a small sign of life is a good indicator!) or when you gently tug on the cutting and feel resistance, meaning roots have formed. This can take anywhere from 2 to 6 weeks, sometimes longer.
- Transitioning: Once you have a good network of roots, you can slowly acclimate your new plant to normal room conditions by gradually opening the plastic bag or removing the dome for longer periods. If you started in water, carefully transplant the rooted cutting into a pot with your well-draining potting mix. Water it thoroughly.
- Troubleshooting Rot: The most common issue is rot. This often happens from overwatering or poor drainage. If you see the cutting turning black and mushy, it’s likely rotted. Sadly, there’s not much you can do at that point, so it’s best to try again with fresh material and a slightly drier approach. Ensure good air circulation around your cuttings too.
A Encouraging Closing
Growing a new Macaranga grandifolia from a cutting is a journey of patience and observation. Don’t be discouraged if your first attempt isn’t a roaring success. Each cutting, each attempt, teaches you something new about your plant and your environment. So, grab some cuttings, enjoy the process, and soon you’ll be surrounded by more of these stunning leafy beauties! Happy propagating!
Resource:
https://identify.plantnet.org/k-world-flora/species/Macaranga%20grandifolia%20(Blanco)%20Merr./data